Language selection
В настоящее время портал работает - ведутся технические работы.
Catalog
Accessories
358 products
View:
- Selected: 0Areas of use
- Selected: 0Item names
- Selected: 0Manufacturer
- Selected: 0Made in
- Selected: 0Additional
View:
358 products
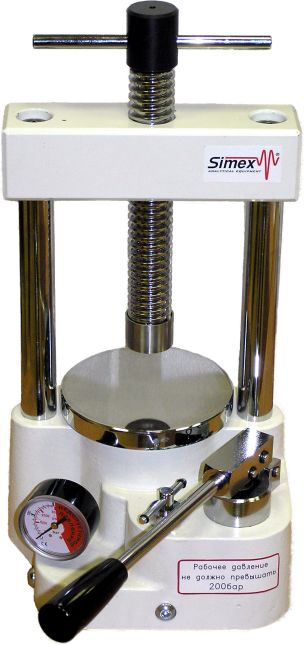
Hydraulic press GP 200-13
Designed for the preparation of samples in the form of compressed tablets with a diameter of up to 13 mm, consisting of the test substance in a mixture with microcrystalline potassium bromide (KBr).
- the principle of operation of the press is based on the injection of pressure in the hydraulic system by swinging the lever.
- to control the working pressure, the press is equipped with a pressure gauge
- complete with a press, molds with a diameter of 13 mm and 3.5 mm can be used
- for the study of finished samples on a Fourier spectrometer, a KBr tablet holder and D13mm substrate windows or a microfocusing attachment (for 3.5 mm tablets) is used
SIMEKS
Novosibirsk
Produced in: Novosibirsk

Digital vacuum controller VC-Pro
from
105 000 ₽
VC Pro is a modern Russian vacuum controller designed for precise pressure regulation in laboratory systems.
The device combines high reliability, ease of operation, and extensive functionality, making it an ideal solution for chemical, pharmaceutical, and research laboratories.
Precise vacuum control – digital pressure stabilization
Wide adjustment range – from 1 to 1000 mbar
Compatible with rotary evaporators, vacuum drying ovens, lyophilizers, and other systems
Bright touchscreen display – intuitive control and parameter visualization
Connection interfaces – USB, Wi-Fi
Operating modes: maintaining a set vacuum; process programming
Primelab
Mytishchi
Produced in: Mytishchi
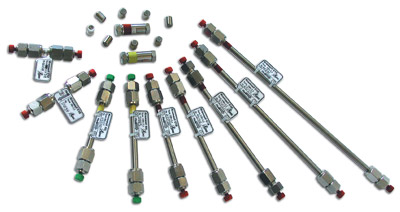
Chromatographic columns for HPLC
1 supp.
Variants of execution: - silica gel with grafted octadecyl groups (C18, RP, ODS) - for the variant of reversed-phase HPLC (OF HPLC);
- unmodified silica gel (SIL) – for normal-phase HPLC (NF HPLC).
Lumeks
Saint Petersburg
Produced in: Saint Petersburg
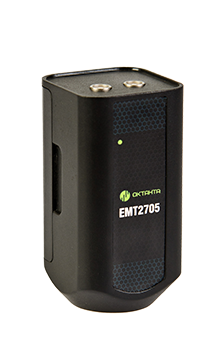
Active Electromagnetic-Acoustic Converter EMT2705
from
74 900 ₽
Oktanta
Saint Petersburg
Produced in: Saint Petersburg
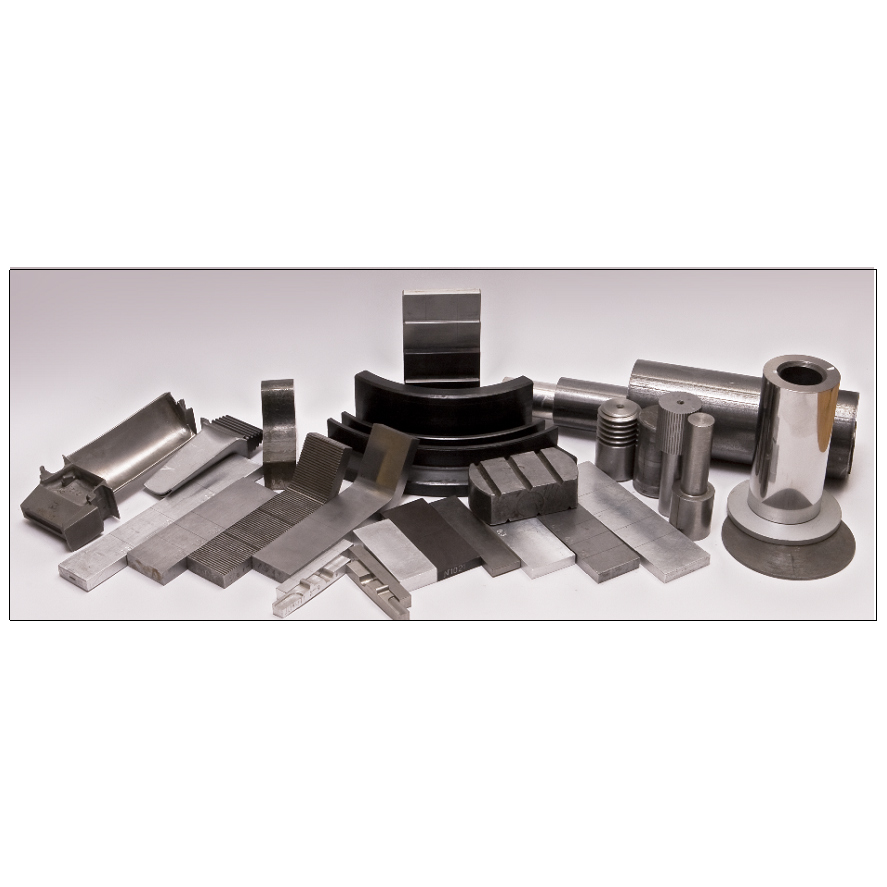
KOIDZ-VD Sets of samples of artificial defects and gaps
from
0 ₽
KOIDZ-VD kits consist of samples of artificial defects (SAD) and samples of gaps (SG). Samples of artificial defects are made in the form of flat and curved plates and cylinders, on the working surfaces of which defects are made in the form of continuity violations like slits of various depths, opening widths and lengths.
The working surfaces of flat SADs are two opposite surfaces on which longitudinal slits are cut by an electroerosion method
The working surfaces of the SAD, reproducing a positive curved surface, are samples with a cylindrical surface.
The working surface of the SAD reproducing negative curvature is the inner surface of the curved plate — the place of inflection.
The KOIDZ-VD kit contains an SAD for determining the influence of various quantities.
To determine the effect of the roughness of the working surfaces, the kit contains SADs with different roughness, on which defects of the same depth are made.
To determine the effect of positive curvature and surface roughness, the kit contains cylindrical samples with different roughness of working surfaces on which defects of the same depth are made.
To determine the simultaneous effect of negative curvature and surface roughness, the kit contains curved plates on which two defects of the same depth are cut, one of which is located on the flat, the other on the curved parts of the sample.
To determine the effect of the chemical composition of the material of the controlled products, the kit contains samples of steel 10, steel 20 and steel 45. The same defects are made on each sample.
To account for the influence of specific electrical conductivity, the kit contains samples from non-magnetic structural materials: aluminum alloy D16T and titanium alloy VT-23. The same defects are made on each sample.
Gap samples are flat and curved plates of different thicknesses made of dielectric material.
Technical specifications
The range of nominal values of the depth of defects, mm: from 0.1 to 10.
The limits of permissible error of the value of the depth of defects, mm: from ± 0.02 to ± 0.25.
The range of nominal values of the width of the opening of defects, mm: from 0.03 to 0.15.
The limits of the permissible error of the width of the opening
of defects, mm: from ± 0.01 to ± 0.05.
The range of nominal values of the length of defects, mm: from 6 to 100.
The limits of permissible error of the value of the length of defects, mm: from ± 0.5 to ± 1.
The range of nominal values of the thickness
of the dielectric gap samples, mm: from 0.2 to 10.
The limits of the permissible error of the thickness of the samples, mm: from ± 0.02 to ± 0.5.
The range of nominal values of the radius of curvature
of curved surfaces with defects, mm:
- convex: from 13 to 510;
- concave: 10.
RII MNPO SPEKTR
Moscow
Produced in: Moscow
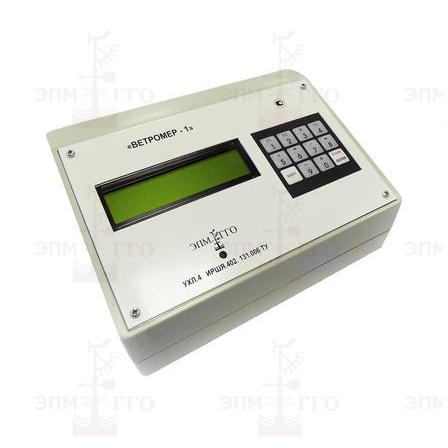
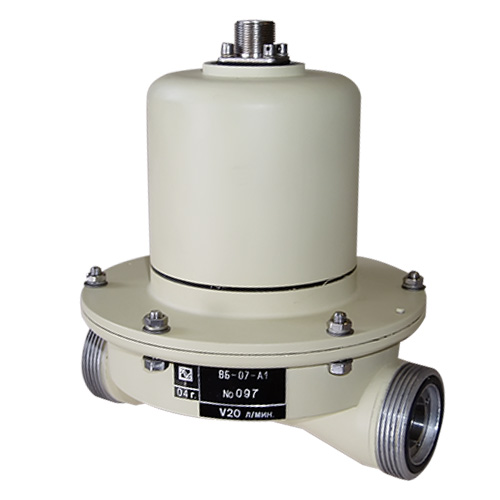
Air flow relays VB-07A1 and VB-07B1
NNPO im. M.V.Frunze
Nizhny Novgorod
Produced in: Nizhny Novgorod

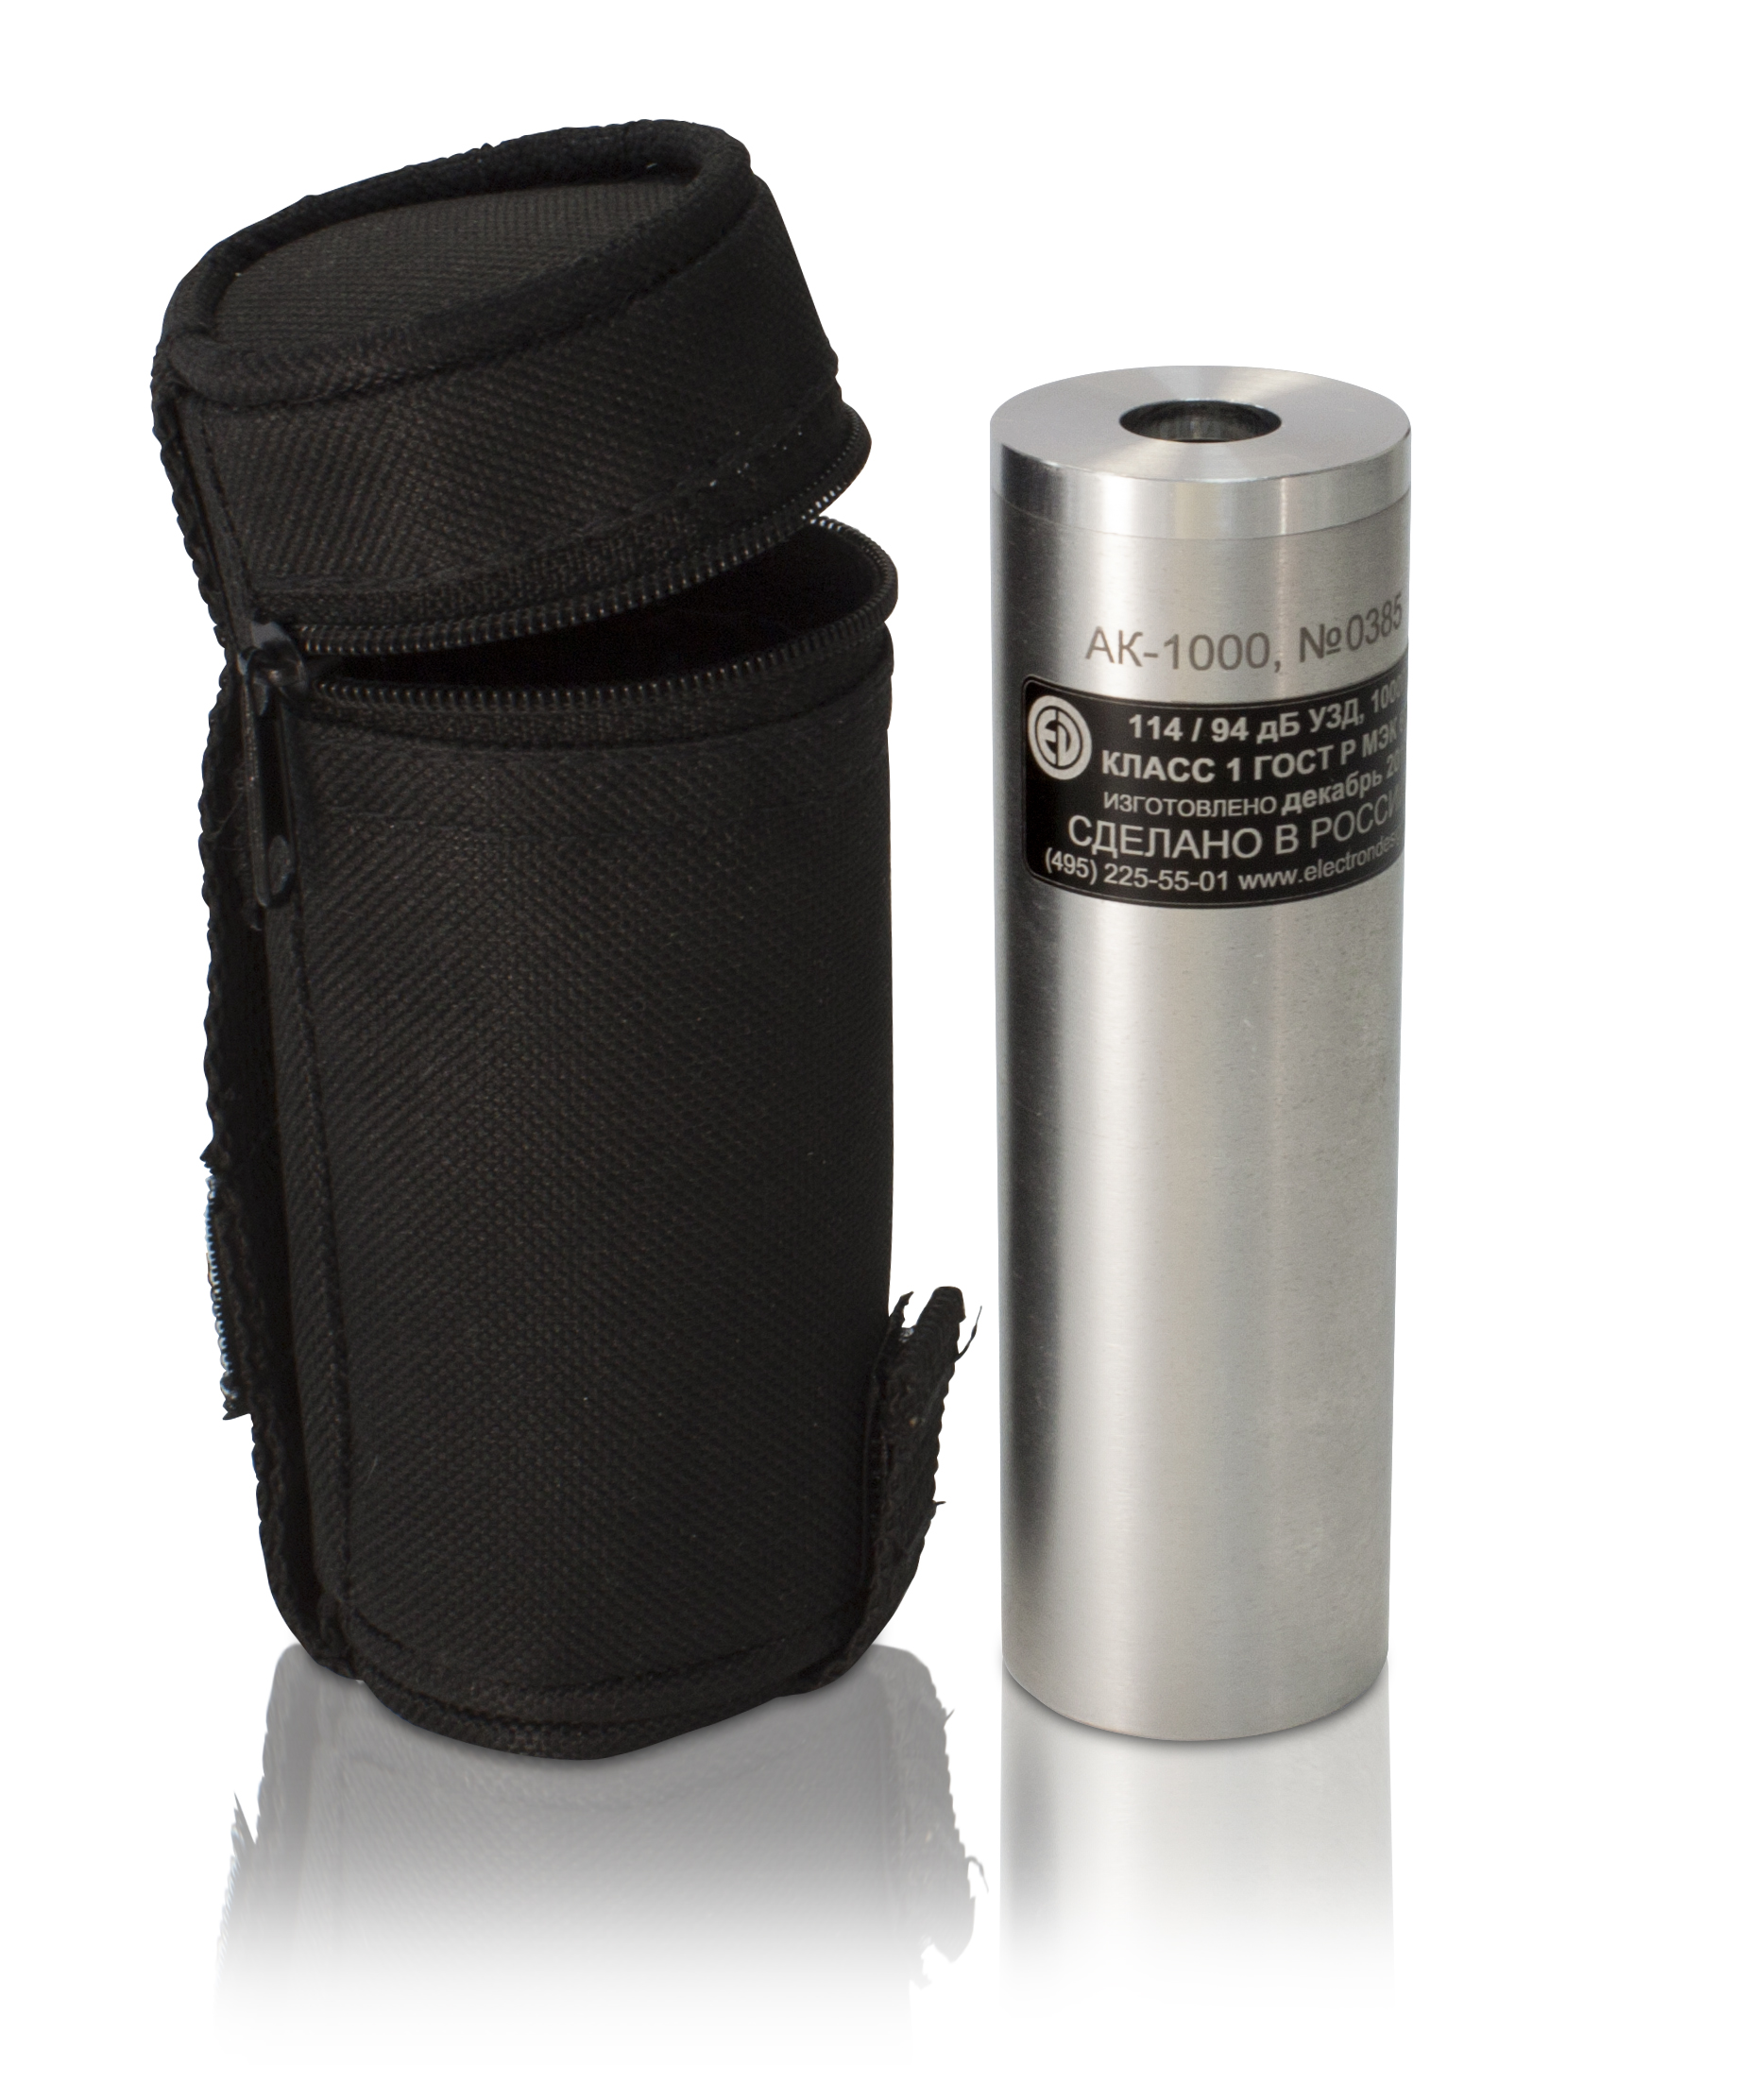
AK-1000 Acoustic calibrator
characteristics
The AK-1000 is recommended for use with OCTAVE-101A, OCTAVE-101AM, OCTAVE-110A, OCTAVE-110A-ECO, OCTAVE-121, OCTAPHONE-110, OCTAVE-201, ECOPHYSICS-110A sound meters. The AK-1000 can be used for calibration of acoustic measuring paths with VMK-205, MK-265, MR-201, M-201, MK-233 microphones, and other ½-inch microphones.
technical specifications
Reproducible ultrasound, dB (rel. 20 µPa): 94 and 114
The limits of the permissible basic error of the reproducible ultrasound, dB: ± 0.25
Limits of the permissible additional error of the ultrasound caused by a change
in ambient temperature in the operating temperature range, dB: ± 0.08
Frequency of the reproduced sound pressure, Hz: 1000
Limits of the permissible basic relative error of reproduction of the sound
pressure frequency, %: ± 0.7
Limits of the permissible additional relative error of the sound pressure frequency caused by a change in ambient temperature in the operating temperature range, %: ± 0.07
Coefficient of nonlinear distortion, %, not more than: 2.5
Weight (with batteries), kg, no more than: 0.250
Overall dimensions (length×diameter), mm, no more: 158×35
Operating conditions:
- ambient temperature, ° C: from minus 10 to 50
- relative humidity (at 40 ° C), %, not more than: 90
- atmospheric pressure, kPa: from 65 to 108
PKF TSIFROVYE PRIBORY
Moscow
Produced in: Moscow
