Catalog
Equipment
2279 products
View:
- Selected: 0Applying
- Selected: 0Names
- Selected: 0Manufacturer
- Selected: 0Made in
- Selected: 0Additional
View:
2279 products
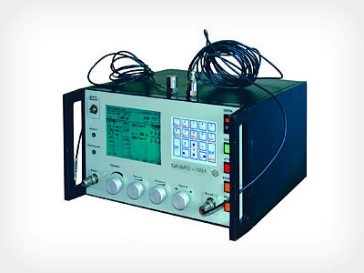
Vibration automatic monitoring and tracking equipment "Basis-001"
The equipment "Basis-001" is designed to measure vibration parameters, set and automatically maintain vibration parameters, control the vibration spectrum and determine resonant frequencies as part of vibration electrodynamic test units of the VEDS series (VEDS-100M; 200M; 400M; 1500M) and similar
VIBROPRIBOR
Yaroslavl
Produced in: Yaroslavl

Reflection prefix PO-45 V
It is intended for express analysis of various types of solid opaque samples, including polymer films and fragments, paint coatings, finished dosage forms in the form of tablets, optical parts and semiconductor materials.
• The sample is located on the subject plane of the investigated surface downwards, the angle of incidence of the central beam on the sample is 45 °
• The diameter of the focus spot is 3 mm
• Allows you to explore objects of any shape and size
• When using a mini-press, it allows you to examine samples in the form of a thin layer rolled out on a mirror plate made of alloy steel (radiation passes through the substance layer twice, reflecting from the mirror surface)
• Not used: for the study of bulk and liquid substances
SIMEKS
Novosibirsk
Produced in: Novosibirsk

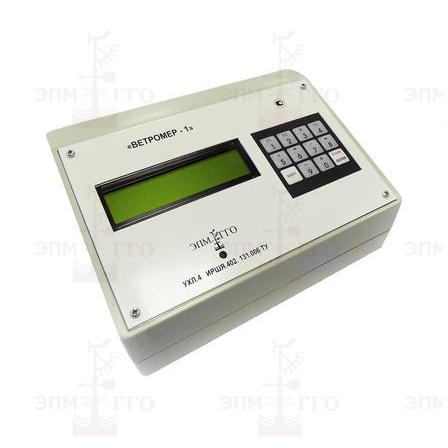
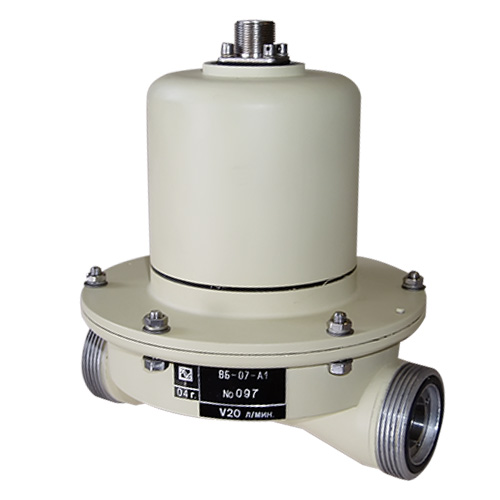
Air flow relays VB-07A1 and VB-07B1
NNPO im. M.V.Frunze
Nizhny Novgorod
Produced in: Nizhny Novgorod
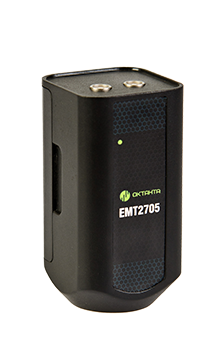
Active Electromagnetic-Acoustic Converter EMT2705
from
74 900 ₽
Oktanta
Saint Petersburg
Produced in: Saint Petersburg
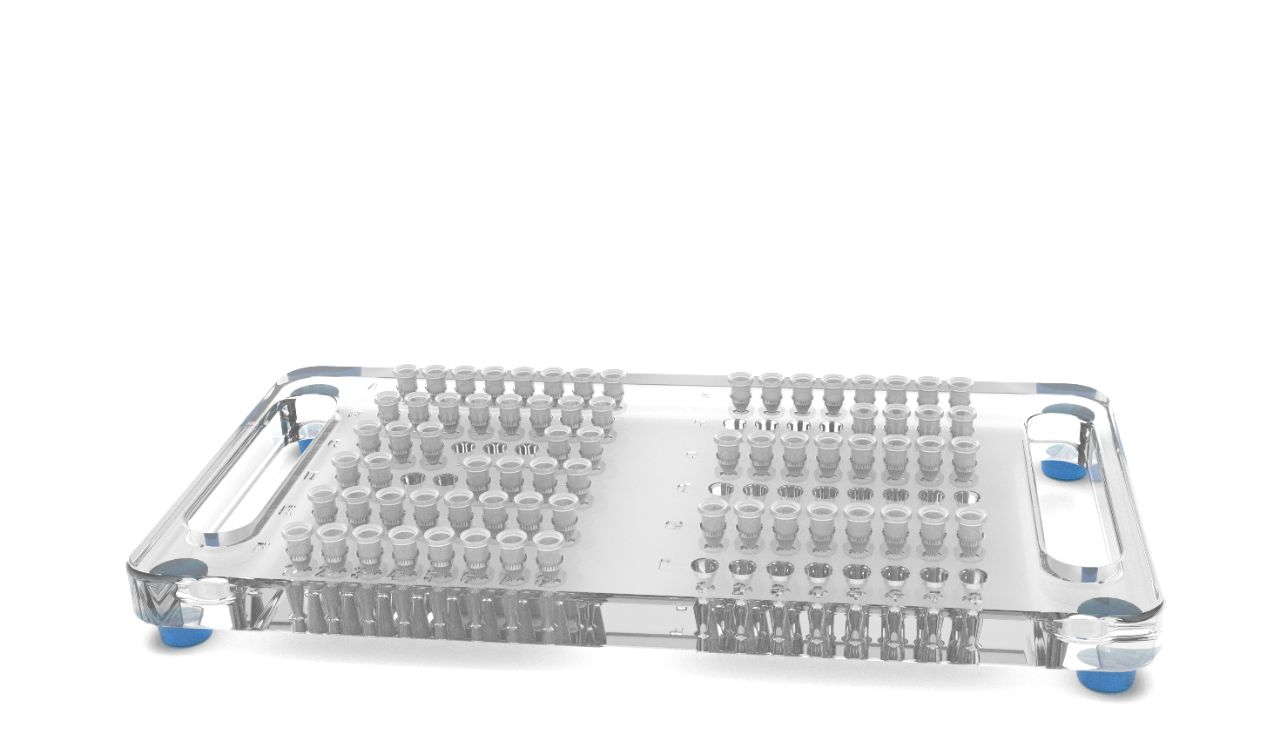
Tripod "workplace" for single and stripped 0.2 ml tubes, 96 seats (plexiglass)
Material of manufacture: Plexiglass
Product Color: Transparent
Tripod legs: rubber (to prevent sliding)
For test tubes: 0.2 ml.
VIS MED
Berdsk
Produced in: Bryansk, Novosibirsk region
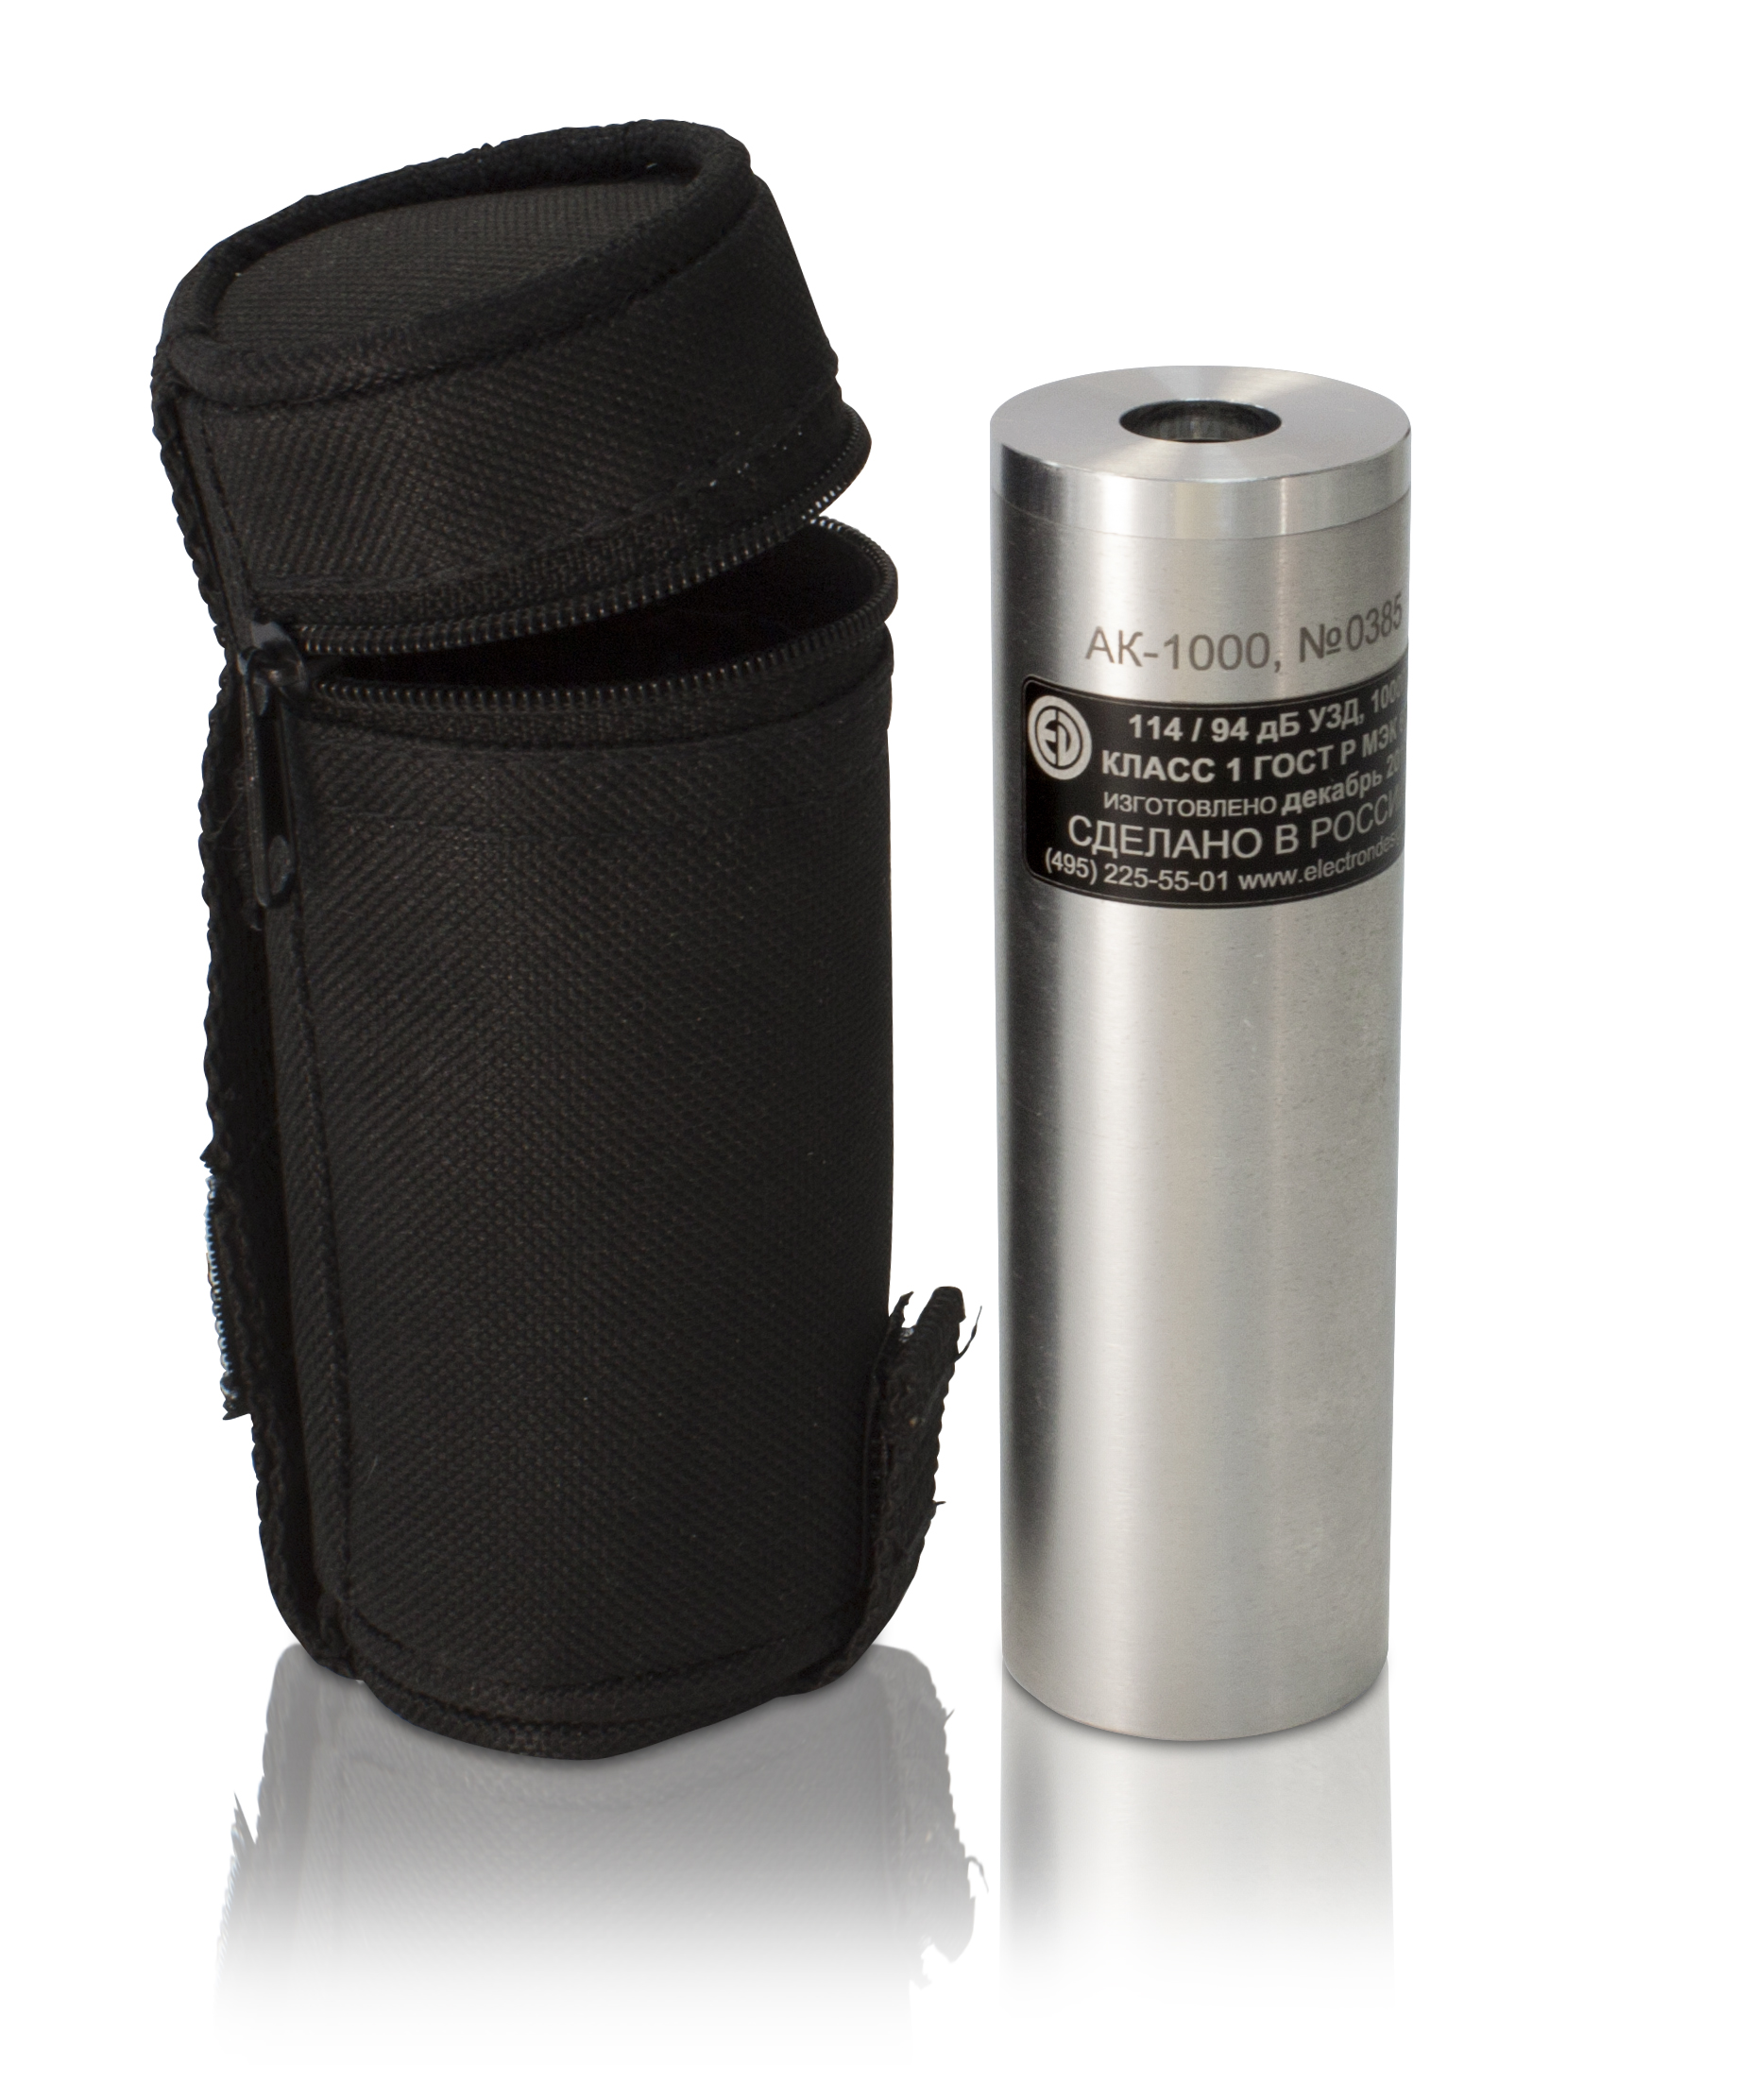
AK-1000 Acoustic calibrator
characteristics
The AK-1000 is recommended for use with OCTAVE-101A, OCTAVE-101AM, OCTAVE-110A, OCTAVE-110A-ECO, OCTAVE-121, OCTAPHONE-110, OCTAVE-201, ECOPHYSICS-110A sound meters. The AK-1000 can be used for calibration of acoustic measuring paths with VMK-205, MK-265, MR-201, M-201, MK-233 microphones, and other ½-inch microphones.
technical specifications
Reproducible ultrasound, dB (rel. 20 µPa): 94 and 114
The limits of the permissible basic error of the reproducible ultrasound, dB: ± 0.25
Limits of the permissible additional error of the ultrasound caused by a change
in ambient temperature in the operating temperature range, dB: ± 0.08
Frequency of the reproduced sound pressure, Hz: 1000
Limits of the permissible basic relative error of reproduction of the sound
pressure frequency, %: ± 0.7
Limits of the permissible additional relative error of the sound pressure frequency caused by a change in ambient temperature in the operating temperature range, %: ± 0.07
Coefficient of nonlinear distortion, %, not more than: 2.5
Weight (with batteries), kg, no more than: 0.250
Overall dimensions (length×diameter), mm, no more: 158×35
Operating conditions:
- ambient temperature, ° C: from minus 10 to 50
- relative humidity (at 40 ° C), %, not more than: 90
- atmospheric pressure, kPa: from 65 to 108
PKF TSIFROVYE PRIBORY
Moscow
Produced in: Moscow
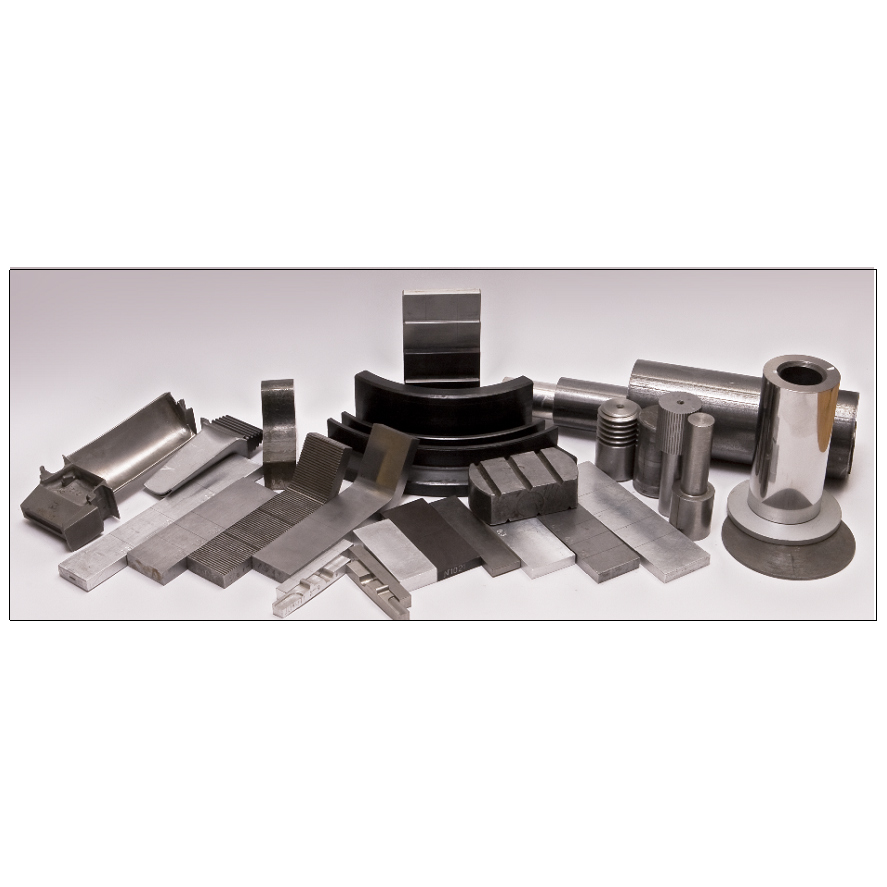
KOIDZ-VD Sets of samples of artificial defects and gaps
from
0 ₽
KOIDZ-VD kits consist of samples of artificial defects (SAD) and samples of gaps (SG). Samples of artificial defects are made in the form of flat and curved plates and cylinders, on the working surfaces of which defects are made in the form of continuity violations like slits of various depths, opening widths and lengths.
The working surfaces of flat SADs are two opposite surfaces on which longitudinal slits are cut by an electroerosion method
The working surfaces of the SAD, reproducing a positive curved surface, are samples with a cylindrical surface.
The working surface of the SAD reproducing negative curvature is the inner surface of the curved plate — the place of inflection.
The KOIDZ-VD kit contains an SAD for determining the influence of various quantities.
To determine the effect of the roughness of the working surfaces, the kit contains SADs with different roughness, on which defects of the same depth are made.
To determine the effect of positive curvature and surface roughness, the kit contains cylindrical samples with different roughness of working surfaces on which defects of the same depth are made.
To determine the simultaneous effect of negative curvature and surface roughness, the kit contains curved plates on which two defects of the same depth are cut, one of which is located on the flat, the other on the curved parts of the sample.
To determine the effect of the chemical composition of the material of the controlled products, the kit contains samples of steel 10, steel 20 and steel 45. The same defects are made on each sample.
To account for the influence of specific electrical conductivity, the kit contains samples from non-magnetic structural materials: aluminum alloy D16T and titanium alloy VT-23. The same defects are made on each sample.
Gap samples are flat and curved plates of different thicknesses made of dielectric material.
Technical specifications
The range of nominal values of the depth of defects, mm: from 0.1 to 10.
The limits of permissible error of the value of the depth of defects, mm: from ± 0.02 to ± 0.25.
The range of nominal values of the width of the opening of defects, mm: from 0.03 to 0.15.
The limits of the permissible error of the width of the opening
of defects, mm: from ± 0.01 to ± 0.05.
The range of nominal values of the length of defects, mm: from 6 to 100.
The limits of permissible error of the value of the length of defects, mm: from ± 0.5 to ± 1.
The range of nominal values of the thickness
of the dielectric gap samples, mm: from 0.2 to 10.
The limits of the permissible error of the thickness of the samples, mm: from ± 0.02 to ± 0.5.
The range of nominal values of the radius of curvature
of curved surfaces with defects, mm:
- convex: from 13 to 510;
- concave: 10.
RII MNPO SPEKTR
Moscow
Produced in: Moscow
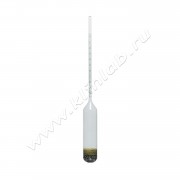
AS-3 Areometer-saccharometer by Chimlabpribor
from
1 224.12 ₽
Designed to measure the concentration of sugar in sugar-containing solutions by weight of dry matter. Hydrometers are manufactured in accordance with GOST 18481-81.
CHIMLABORPRIBOR
Klin
Produced in: Wedge, Moscow region
