Catalog
Equipment
2222 products
View:
- Selected: 0Areas of use
- Selected: 0Item names
- Selected: 0Manufacturer
- Selected: 0Made in
- Selected: 0Additional
View:
2222 products
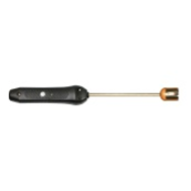
High-precision smart surface probe L =150 mm SZPWT.150P with built-in flash memory
from
15 249 ₽
High-precision smart surface probe L =150 mm SZPWT. 150P with built-in flash memory is designed to measure the temperature of various materials by direct contact of the probe with the measuring object and transmitting the measured value via Bluetooth to devices with the ThermoMonitor, Android program installed.
Operating conditions of the SZPVT.150P smart probe
Ambient temperature, °C: -20...+55.
Relative humidity, %: not more than 80 at T=35 °C.
Atmospheric pressure, kPa: 86...106.
Functionality of the SZPVT.150P smart probe
Measurement of physical quantities with a resolution of 0.01.
Recording of measured values at intervals from 5 seconds to 23 hours 59 minutes 59 seconds (only smart probes with built-in memory).
Transmission of data about measured physical quantities via Bluetooth to a device with the ThermoMonitor, Android program installed.
Transmitting information about the state of charge of the built-in battery via Bluetooth to a device with the ThermoMonitor, Android program installed.
Automatic transition to sleep mode after 50 seconds.
The ability to connect external power.
Possibility of calibration.
TEKHNO-AS
Kolomna
Produced in: Kolomna, Moscow region
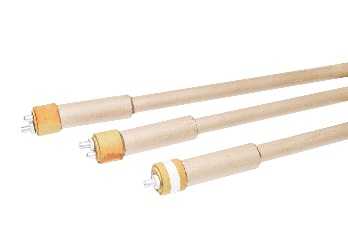
EVRAZCOMB – 2 in 1
Purpose: Temperature measurement and sampling of molten steel.
Scope of application: Oxygen converters, electric arc furnaces, induction furnaces, casting buckets
Measuring range: from 1400 to 1800 °C - metal temperature
Accuracy: 0 + 3°C at 1554°C
The shape of the selected metal shape:
Circle: thickness 12 mm
Oval: thickness 12 mm
Deoxidizer: Without deoxidizer, aluminum, zirconium, titanium
Measurement time: 8 sec
Tube Length: from 100 to 2500 mm (other length is possible on request)
Slag Cap: Steel, Aluminum, Cardboard
Type of NSH: B, S, R
EVRAZPRIBOR
Lipetsk
Produced in: Lipetsk
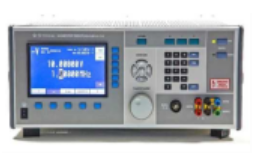
Universal calibrator H4-24
The main field of application of the calibrator is the verification of measuring instruments.
The calibrator is capable of operating both independently and as part of automated measuring systems with interfaces such as USB, RS-232, IEEE-488 and ETHERNET.
Technical specifications
Ranges of reproduction of electrical quantities:
- constant electrical voltage from 0 to 1000 V
- alternating electric voltage in the frequency range from 10 Hz to 70 kHz from 0.9 mV to 1050 V
- alternating electric voltage in the frequency range up to 100 kHz up to 750 V
- alternating electrical voltage in the frequency range up to 1 MHz to 110 V
- the power of direct electric current from 0 to 2 A
- the power of alternating electric current in the frequency range from 10 Hz to 10 kHz from 0.9 µA to 2 A
- electrical resistance of 1, 10, 100 ohms, 1,10,100 kOhm, 1,10,100 mOhm
Errors in the reproduction of electrical quantities:
- constant electrical voltage ± (0.0012 – 0.003)% of U + (0.0003 – 0.015)% of
Up - alternating electric voltage in the frequency range from 10 Hz to 1 MHz ± (0.007 – 0.3)% of U + (0.001 – 0.25)% of
Up - DC current ± (0.004 – 0.007)% of I + (0.001 – 0.01)% of
Ip - AC electric current in the frequency range from 10 Hz to 10 kHz ± (0.015 – 0.1)% of I + (0.002 – 0.1)% of
Ip - electrical resistance ± (0.002 – 0.005)%
General characteristics:
Operating temperature range from 5 to 40 °C
AC power supply 220 V, 50 Hz
Power consumption, no more than 500 VA
Overall dimensions, mm 480x200x550
Weight, not more than 35 kg
TEKHNOYAKS
Moscow
Produced in: Moscow
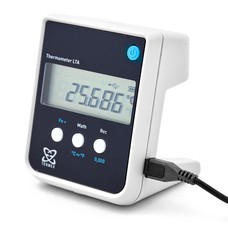
Laboratory electronic thermometer LTA-E
It can be used as an accurate universal thermometer for contact temperature measurement of non-aggressive liquid, bulk and gaseous media.
It can be connected to a computer for calibration and transmission of measurement results.
• Range of temperature measurements -50...+200 °C
The minimum immersion depth of the sensor is 75 mm
Overall dimensions of the electronic unit 80x75x100 mm
Weight 0.25 kg
Termeks
Tomsk
Produced in: Tomsk
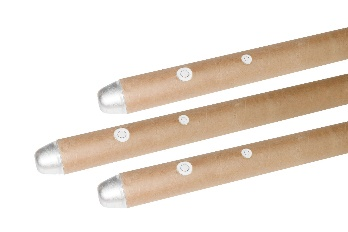
EVRAZCOMB – TSC
Purpose: Temperature measurement, sampling of molten metal
Scope of application: Oxygen converters
Measuring range:
from 1400 to 1800 °C - metal temperature
from 0.010 to 0.200% - carbon content
Accuracy: 0 + 3 °C at 1554 °C; (from 5 to 10) mV (depending on the oxygen activity level)
The shape of the selected metal mold:
Circle: diameter 34 mm, thickness 12 mm
Oval: diameter 34mm, length 42mm, thickness 12 mm
Deoxidizer: Without deoxidizer, aluminum, zirconium, titanium
Measurement time: 8 sec
Tube Length: from 100 to 2500 mm (other lengths are available on request)
Slag Cap: Steel, Aluminum, Copper, cardboard
Type of NSH: B, S, R
EVRAZPRIBOR
Lipetsk
Produced in: Lipetsk
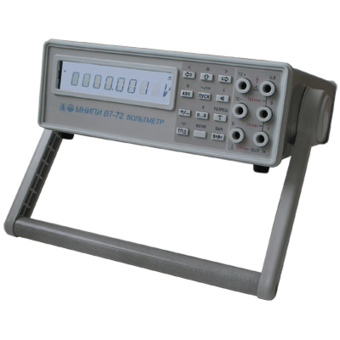
Voltmeter V7-72
Technical specifications:
DC voltage
Measuring range 2 mv-1000 V
Measurement error ± (0.001 - 0.004)%
AC voltage
Measuring range 1 mV - 700 V
Measurement error ± (0.1-8)%
Frequency range 10 Hz -1 MHz
MNIPI
Minsk
Produced in: Belarus, Minsk
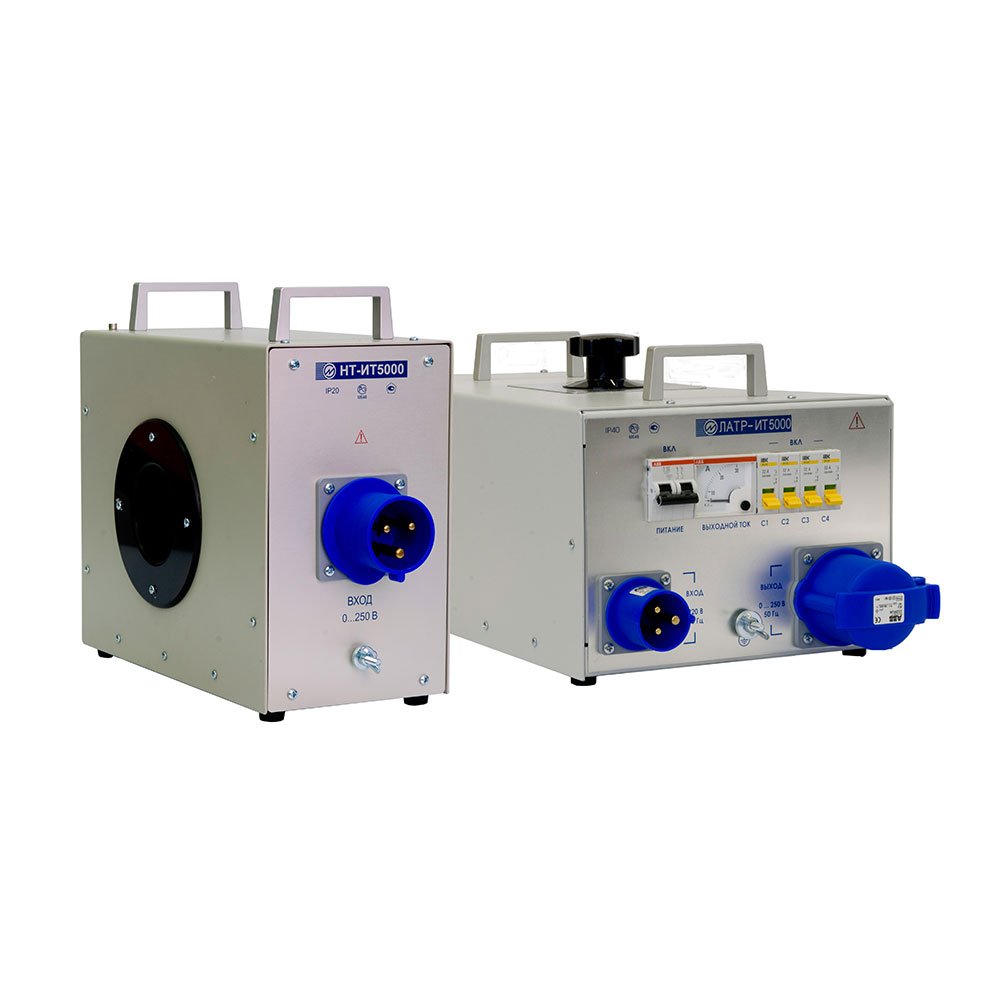
IT3000 Adjustable current source up to 3.6 kA
Marsenergo
Saint Petersburg
Produced in: Saint Petersburg
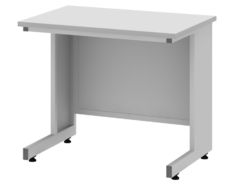
Laboratory table low Mod. -900 SLL n "Laminate"
from
17 660.87 ₽
The table is based on a reinforced O-shaped, collapsible metal frame made of shaped tube, rectangular and square cross-sections. The back wall is covered with a metal shield. The table is mounted on adjustable screw bearings, allowing the table to be installed horizontally, regarding the floor unevenness.
Frame cover, high-quality powder-polymer paint, perfectly protects the base of the table from the effects of any aggressive liquids. The cover of the frame is easily cleaned with disinfectant solutions.
The working surface of the Laminate table is a waterproof chipboard plate covered with chemically resistant and heat-resistant plastic.
PK "Sovremennaya Laboratoriya"
Saint Petersburg
Produced in: Saint Petersburg
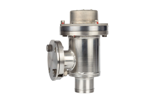
50M URS special manual vacuum angle valve
The body of the 50M URS valve is of welded construction and consists of a shell, a seat, side and lower nozzles. The lower branch pipe of the 50M URS valve is connected to the vacuum system using welding. The smooth part of the stem serves as a visual indicator of the "open" or “closed” valve positions. The casing is designed to protect the valve from accidental openings, and also serves as additional protection against precipitation, sand, dust entering the inner cavity of the valve. The valve opens when the flywheel rotates counterclockwise. The valve closes when the flywheel rotates clockwise.
Vakuummash
Kazan
Produced in: Kazan

Flowmeter-counter ultrasonic Oriole
from
200 000 ₽
The ultrasonic Oriole flow meter is designed to measure the volumetric flow rate and volume of liquid in pressure pipelines.
The measured medium can be any homogeneous isotropic liquid of various densities, including:
clean cold and hot water supply and heating systems (up to +160 °C);
natural water is clean and of a low degree of pollution;
wastewater of low and medium degree of contamination;
chemical solutions of acids, alkalis and other chemically aggressive media;
mineral, synthetic and semi-synthetic machine oils;
food products (vegetable oil, juices, syrups, vodka, ketchups, dairy products, etc.).
Secondary converter
It is available in both stationary (~220 V) and portable versions with autonomous power supply.
Primary converters
Mortise, contactless overhead outside and full-bore primary converters embedded in the process allow you to place the measurement gate on any water pipe made of any material, taking into account design features.
Pipe sizes
Du, mm: 25, 32, 40, 50, 65, 80, 100, 150, 200, 250, 300, 350, 400, 500, 600, 700, 800, 900, 1000, 1200, 1400, 1600, up to 6000 mm
ICF VOLGA
Moscow
Produced in: Moscow
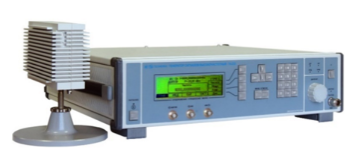
High-frequency signal generator G4-232
A remote frequency converter with coaxial output extends the frequency range up to 37.5 GHz. The included coaxial-waveguide transitions and the ability to connect a small frequency converter directly to the user's device expand the scope of the device.
The generator is capable of operating both independently and as part of automated measuring systems with USB and IEEE-488 (CPC) interfaces.
Technical specifications
The frequency range at the output of the base unit is from 5 to 20 GHz
The frequency range at the output of the frequency converter is from 5 to 37.5 GHz
Frequency tuning discreteness 0.001 Hz
The main error of the frequency setting is ± 3x10⁻⁷ Hz
The range of setting the signal power level at the output of the base unit is from minus 110 to 13 dBm
The range of setting the signal power level at the output of the frequency converter is from 0 to 13 dBm
The basic error of setting the reference power level is ± (1.0 – 2.0) dB
Metrological characteristics of the generator in the FM operation mode:
- frequency range of the modulating signal:
LF from 1 Hz to 20 kHz
RF from 10 Hz to 100 kHz
- frequency deviation setting range (taking into account the carrier frequency value):
LF from 1 Hz to 200 kHz
RF from 10 Hz to 10000 kHz
- the main error of the frequency deviation setting is ± (5 – 18)%
Metrological characteristics of the generator in AM operation mode:
- frequency range of the modulating signal from 0.05 to 5.0 kHz
- the range of setting the amplitude modulation coefficient from 1 to 50 %
- the basic error of setting the amplitude modulation coefficient:
internal ± (0.15 M + 0.2)%
external ± (0.20 M + 0.5)%
Metrological characteristics of the generator in the IM operation mode:
- the duration range of modulating pulses from 100 ns to 20 s
- the range of the modulating pulse repetition period from 140 ns to 30 s
- the difference in the duration of the output RF pulses from the duration of the modulating pulses ± 100 ns
Operating temperature range from minus 10°C to 40 °C
AC power supply 220 V, 50 Hz
Power consumption, no more than 150 VA
Overall dimensions, mm 498x136x487
Weight, not more than 20 kg
TEKHNOYAKS
Moscow
Produced in: Moscow
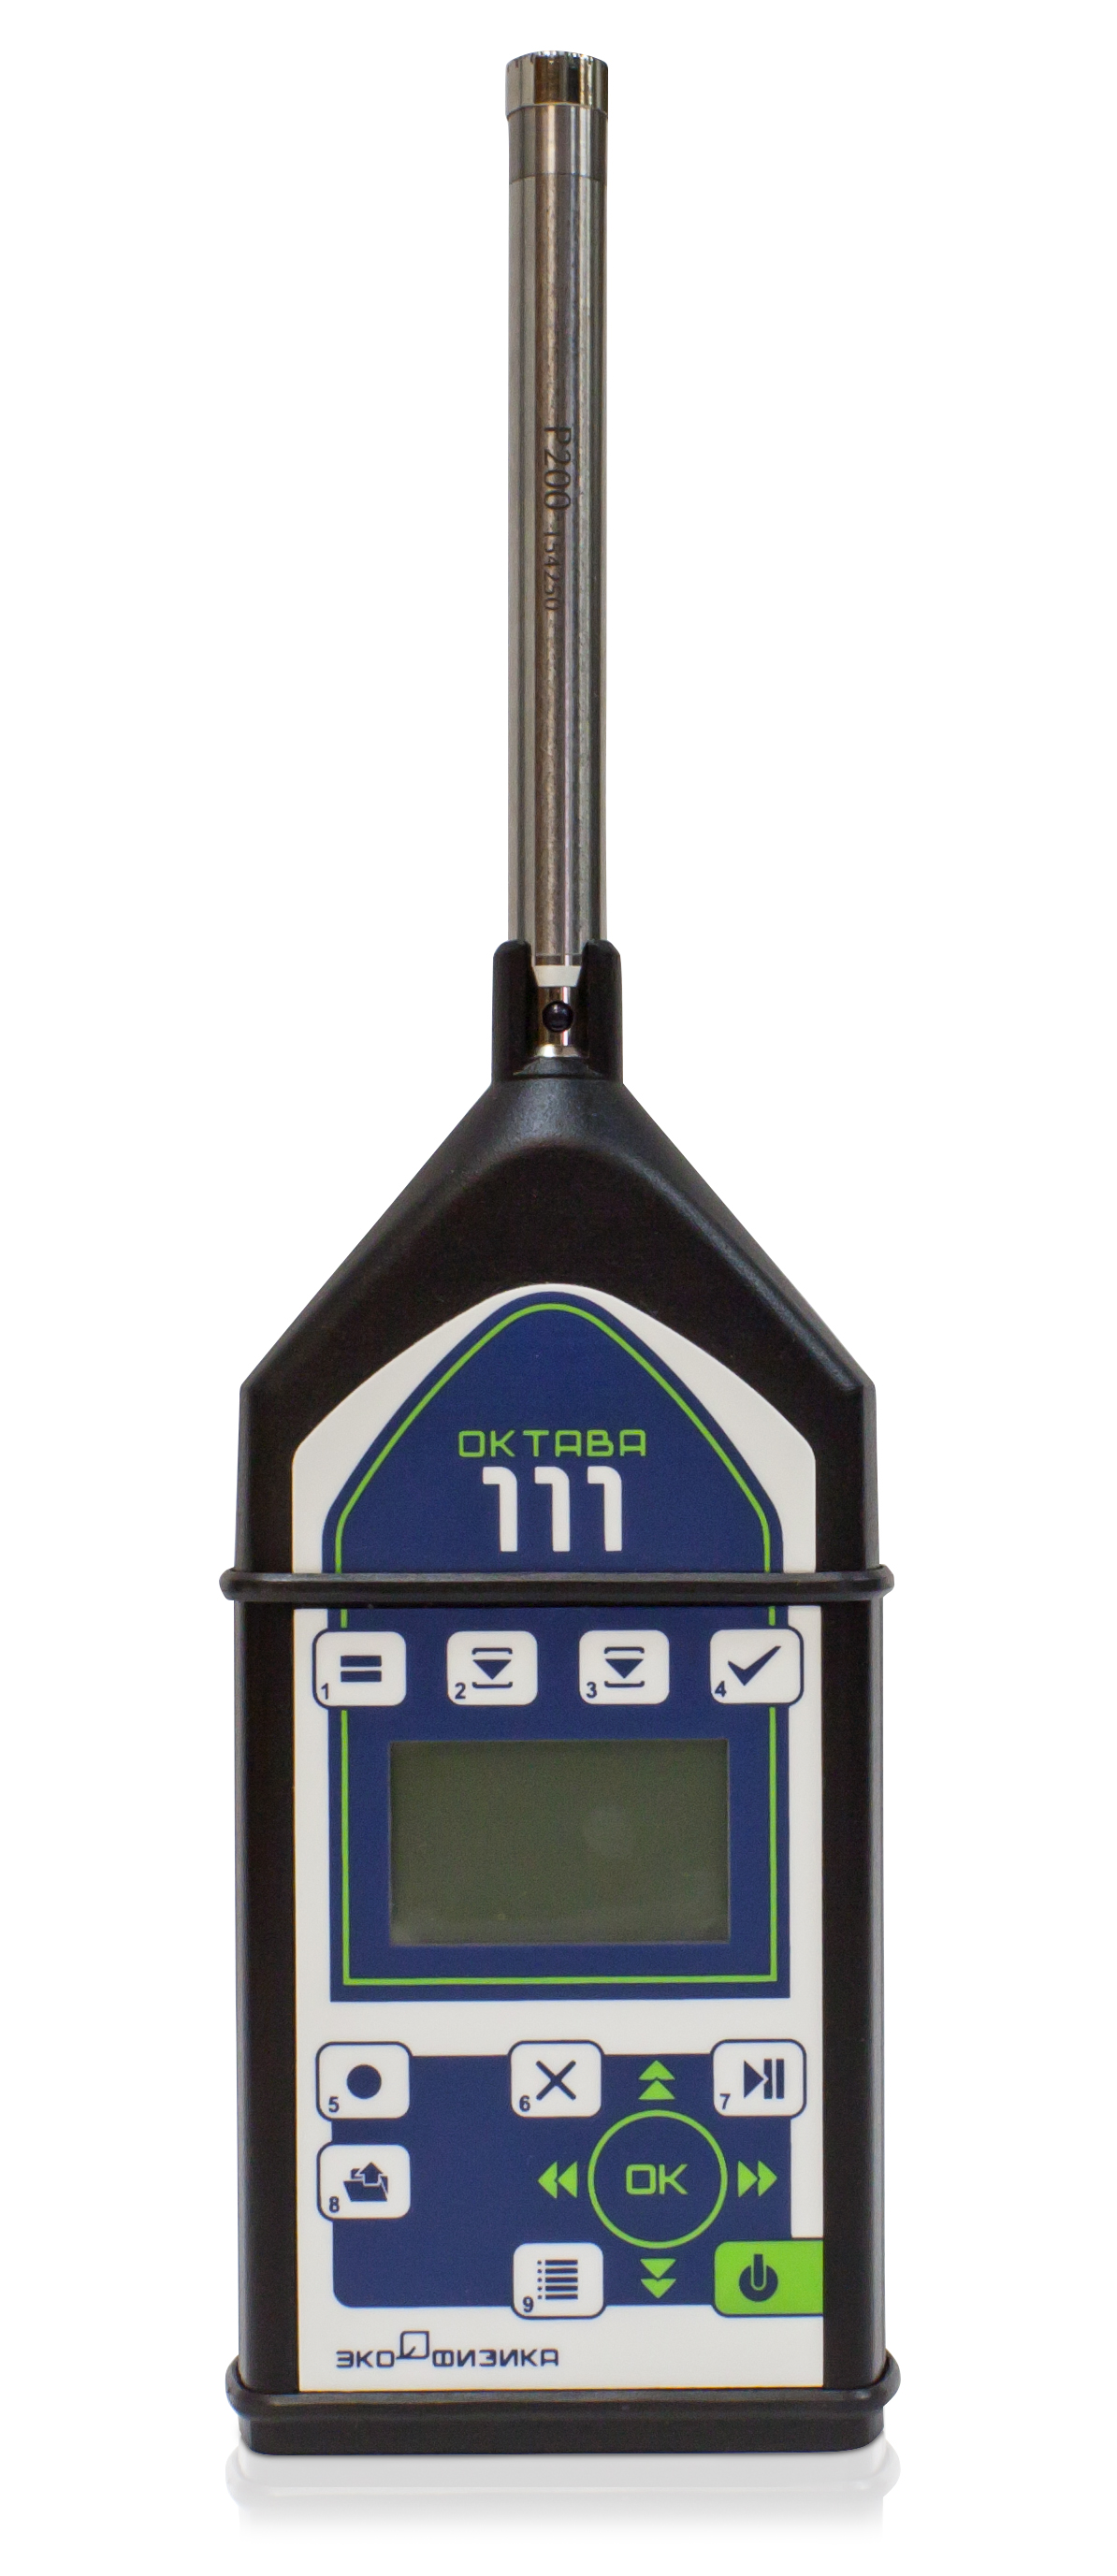
OCTAVE-111 Noise meter, spectrum analyzer
Functionality
■ Sound level measurement: Class 1 according to GOST 17187-2010, IEC 61672-1
■ Measures sound pressure levels in octave and third octave frequency bands
■ Has a metal body, resistant to external influences
■ Automatic recording of measurement results in memory
■ Non-volatile memory
■ Telemetry channel, remote control and operation of the device
Features
■ Easy setup: one measurement mode, all values are measured
simultaneously
■ Easy to manage: all results are grouped in two windows
■ Measurement of sound levels below 20 dBA
■ Affordable solution
Application areas
■ Noise control in residential and public buildings
■ Noise control on the territory of enterprises and residential buildings
■ Production control
■ Vehicle inspection
Complies with standards:
- as a noise meter: GOST 53188.1-2019 (17187-2010, IEC 61672-1), Class 1
- as a spectrum analyzer: GOST R 8.714-2010, IEC 61260 (Class 1)
Noise meter mode
- Measuring range of sound levels, dBA: from 19 to 150*
- Frequency characteristics: A, C, Z, AU, FI, G
- Time characteristics: S, F, I, Peak, Leq
* When equipped with 50 mV/Pa microphones and 12 mV/Pa
Spectrum Analyzer mode with constant relative bandwidth
- Frequency range of digital octave filters, Hz: 31.5 - 16000
- Frequency range of digital third-octave filters, Hz: 25 - 20000
PKF TSIFROVYE PRIBORY
Moscow
Produced in: Moscow
