Language selection
В настоящее время портал работает - ведутся технические работы.
Catalog
Metrology
524 products
View:
- Selected: 0Areas of use
- Selected: 0Item names
- Selected: 0Manufacturer
- Selected: 0Made in
- Selected: 0Additional
View:
524 products
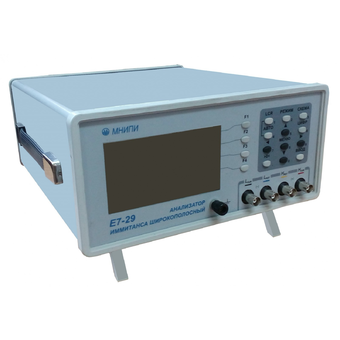
Immitance Broadband Analyzer E7-28
Technical specifications:
Extended frequency range 25 Hz–10 MHz
The basic error is ±0.1 %
The level of the measuring signal is 5 mV – 1 V S.K.z.
Offset voltage (0 – 40) V
The discreteness of the operating frequency setting is 1 Hz
Graphical analysis of measured values in a given frequency range
USB 2.0 interface
MNIPI
Minsk
Produced in: Belarus, Minsk
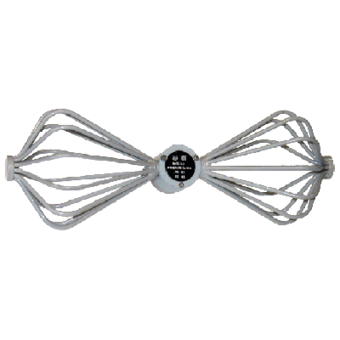
Measuring antenna P6-62
1 supp.
Technical specifications:
Frequency range (300-1000) MHz
SWR < 2
The limit of permissible error of the antenna coefficient, not more than ± 2.0 dB
Orthogonal polarization signal level -20 dB
Ambient air temperature from - 50 to + 60
Relative humidity of 95 % at + 35 ° C
Overall dimensions (HxWxD) 400x145x150 mm
Weight 1 kg
MNIPI
Minsk
Produced in: Belarus, Minsk
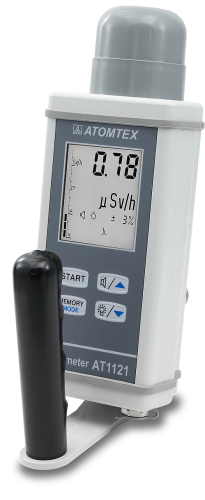
X‑RAY AND GAMMA RADIATION DOSIMETERS DKS‑AT1121, DKS‑AT1123
Measurements in wide ranges of capacities doses and energies
Measurement of dose rate and duration of exposure during short-term radiation from 0.03 s
Measurement of the average dose rate of pulsed radiation with a pulse duration of 10 ns (AT1123)
The possibility of remote measurements using a remote control
The possibility of stationary location with external audible and visual alarms with "dry" contacts for controlling actuators
The possibility to connect to a PC for organizing a continuous monitoring system with a documentation function
Atomtekh
Minsk
Produced in: Belarus, Minsk
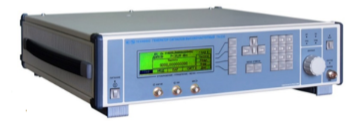
High-frequency signal generator G4-229
The generator is capable of operating both independently and as part of automated measuring systems with USB and IEEE-488 (CPC) interfaces.
Technical specifications
Frequency range (RF output) from 9 kHz to 6 GHz
Frequency range (LF outputs) from 0.001 Hz to 30 MHz
Frequency tuning discreteness (RF output) 1 Hz
Frequency tuning discreteness (LF outputs) 0.001 Hz
The main error of the frequency setting is ± 3x10⁻⁷ Hz
The range of setting the output signal power level at the main RF output is from minus 120 to 13 dBm
The range of setting the signal amplitude at a load of 50 ohms (LF outputs) from 0.01 to 5 V
The basic error of setting the reference power level (RF output) ± (0.5 – 1.0) dB
The basic error of setting the amplitude of sinusoidal signals (LF outputs) ± (3 – 15)%
Instability of the signal power level for any 15-minute time interval (RF output) no more than 0.1 dB
Metrological characteristics of the generator in the FM operation mode:
- frequency range of the modulating signal from 1 to 100 kHz
- frequency deviation setting range (taking into account the carrier frequency value) from 12.5 to 4000 kHz
- the basic error of setting the frequency deviation ± (10 – 20)%
Metrological characteristics of the generator in AM operation mode:
- frequency range of the modulating signal from 0.05 to 5.0 kHz
- the range of setting the amplitude modulation coefficient from 1 to 100 %
- the basic error of setting the amplitude modulation coefficient (when operating from an internal signal source) ± (0.15 M + 0.2)%
Metrological characteristics of the generator in the IM operation mode:
- the duration range of modulating pulses from 100 ns to 20 s
- the range of the modulating pulse repetition period from 140 ns to 30 s
- the difference in the duration of the output RF pulses from the duration of the modulating pulses ± 100 ns
Operating temperature range from minus 10 to 40 °C
AC power supply 220 V, 50 Hz
Power consumption, not more than 100 VA
Overall dimensions, mm 498x136x487
Weight, not more than 15 kg
TEKHNOYAKS
Moscow
Produced in: Moscow
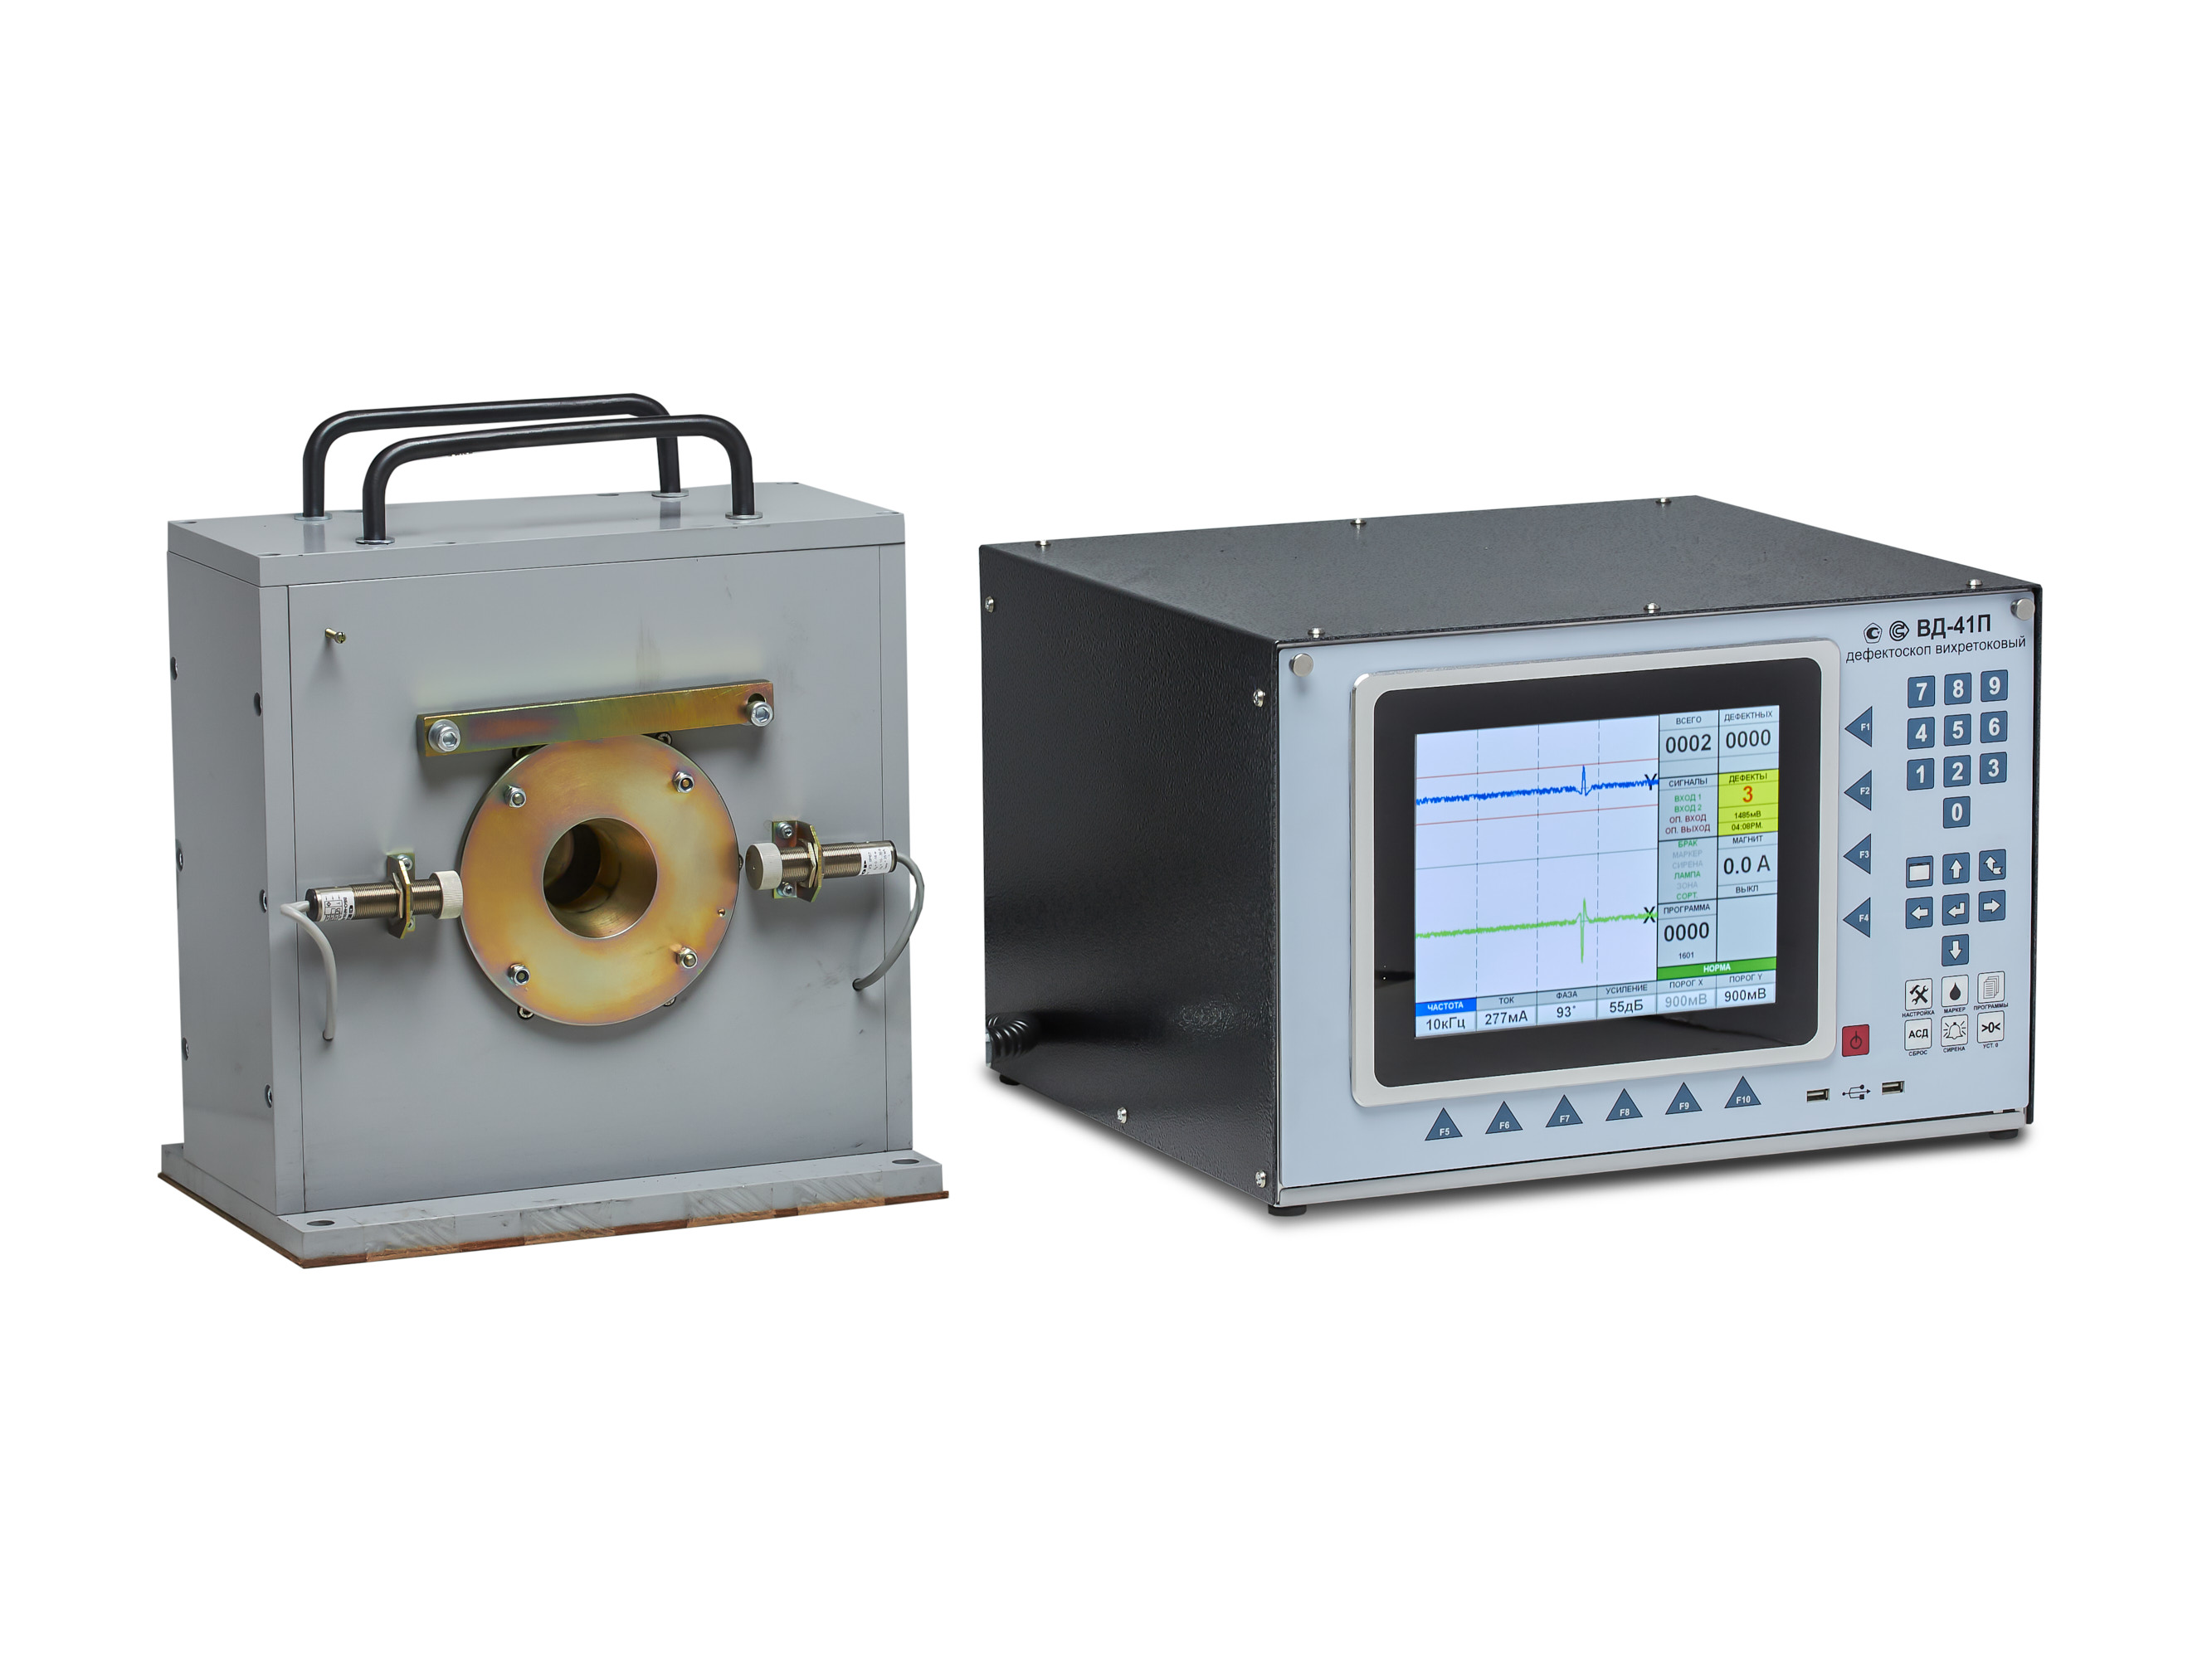
VD-41P Eddy Current Flaw Detector
Scope of application
The VD-41P eddy current flaw detector is designed to work as part of automated quality control lines at pipe-rolling and metal-rolling enterprises with continuous output control of products together with other auxiliary devices: a paint meter, a path sensor, an object presence sensor, an automatic sorter, a demagnetizer.
The device can also be used for input control at machine-building enterprises of the automotive, aviation, oil and gas, and agricultural industries.
Technical specifications:
Control frequencies: 1.0 – 100 kHz.
Control speed (line speed): 0.5 - 5 m/s.
The high-frequency filter is automatically adjustable depending on the speed.
Signal phase adjustment: 0 - 359° .
Converter current adjustment: 50 – 500mA.
Automatic monitoring of the operability of the measuring converter.
Data processing:
- Software adjustable filter.
- Signal evaluation using signal masks:
- circular mask,
- sector masks.
- Sorting by control results.
Display: 10.2” (26 cm) touch LCD (800x600).
Operating system used: WINDOWS® 7.
Dialog language: Russian, other languages (optional).
Applicable eddy current converters: overhead type, through type, sector type.
Interfaces:
- Connector for the converter unit.
- External automation control connector.
- 4 outputs with delay adjustment - "dry contact".
- 2 external information inputs.
- VGA interface for connecting an external monitor.
- USB 2.0.
- Network: Ethernet (TCP/IP).
- Other interfaces on special order.
Power supply: 220 V, 50 Hz.
Operating temperature range: 0 to +40°C.
Type of climatic performance - UHL 4 (i.e. for moderate and cold climate).
Enclosure protection degree: IP 53.
Dimensions, w/h/d: 471 x 285 x 460 mm / can be built in a 19” rack/cabinet.
Weight: approx. 20 kg.
RII MNPO SPEKTR
Moscow
Produced in: Moscow
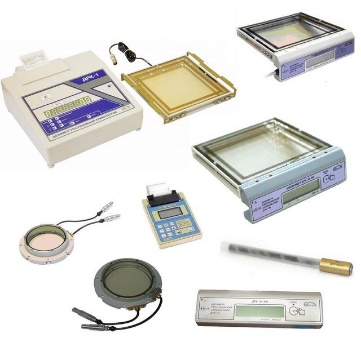
X-ray Radiation Dosimeters Clinical DRC
X–ray radiation dosimeters clinical DRC, depending on the modification, are designed for:
measuring the product of the kerma (absorbed dose) in the air by the cross-sectional area of the X-ray beam (hereinafter referred to as the product of the kerma in the air by the area) when using the DRC-1, DRC-1E, DRC-1M Outline, DRC-1M dosimeters with the DRC measuring console-1M-E03, DRC-1M-E04, DRC-1M-E05, DRC-1M-E06;
measurements of the product of the kerma power (absorbed dose) in the air per area (hereinafter referred to as the product of the kerma power in the air per area) using the DRK–1E and DRK-1M dosimeters equipped with the DRK-1M-E06 measuring console;
measurements of the product of the kerma (absorbed dose) in the air along the length (hereinafter referred to as the product of the kerma in the air along the length) using DRK-1M-CT dosimeters;
measurements of kerma (absorbed dose) in the air;
measurements of the kerma power (absorbed dose) in the air when using DRK-1M dosimeters.
Doza
Zelenograd
Produced in: Moscow
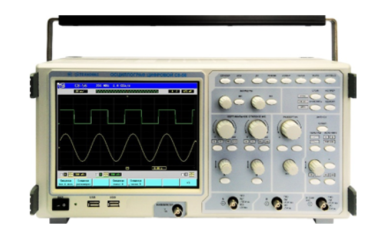
Digital oscilloscope S8-56
The oscilloscope is capable of operating both autonomously and as part of automated measuring systems with interfaces such as USB, RS-232, ETHERNET, IE-488 (CPC).
Technical specifications
Number of channels 2
The input impedance of the channels is 50 ohms and 1 mOhm
Channel bandwidth at an input impedance of 50 ohms from 0 to 350 MHz
Channel bandwidth at an input impedance of 1 mOhm from 0 to 200 MHz
Sampling rate 1600 MHz
The ADC bit rate is 9 BITS
Deviation coefficients from 1 mV/div to 50 V/div
Scan coefficients from 1 ns/div to 10 s/div
Startup modes automatic, standby, single
Synchronization internal and external
The basic error of measuring the amplitude is ± 3%
The basic error of measuring time intervals is ± (0.3 – 20)%
Operating temperature range from 5 to 40 °C
AC power supply 220 V, 50 Hz
Power consumption, no more than 75 VA
Overall dimensions, mm 420x213x181
Weight, not more than 7 kg
TEKHNOYAKS
Moscow
Produced in: Moscow
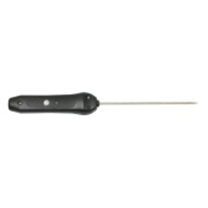
Smart submersible reinforced probe L = 300 mm SZPGU.300P with built-in flash memory
from
12 972 ₽
Smart submersible reinforced probe L = 300 mm SZPGU.The 300P with built-in flash memory is designed to measure the temperature of various materials by directly contacting the probe with the measuring object and transmitting the measured value via Bluetooth to devices with the ThermoMonitor, Android program installed.
Operating conditions of the SZPGU.300P smart probe
Ambient temperature, °C: -20...+55.
Relative humidity, %: not more than 80 at T=35 °C.
Atmospheric pressure, kPa: 86...106.
Functionality of the SZPGU.300P smart probe
Measurement of physical quantities with a resolution of 0.01.
Recording of measured values at intervals from 5 seconds to 23 hours 59 minutes 59 seconds (only smart probes with built-in memory).
Transmitting data about measured physical quantities via Bluetooth to a device with the ThermoMonitor, Android program installed.
Transmitting information about the state of charge of the built-in battery via Bluetooth to a device with the ThermoMonitor, Android program installed.
Automatic transition to sleep mode after 50 seconds.
The ability to connect external power.
Possibility of calibration.
TEKHNO-AS
Kolomna
Produced in: Kolomna, Moscow region
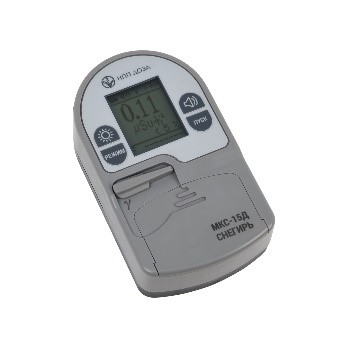
Dosimeter-radiometer ISS-15D "Bullfinch"
Dosimeter is a gamma-beta radiation radiometer for working in "dirty" conditions. Allows you to switch modes and take measurements in conditions of radioactive contamination. Measurement of the beta radiation flux density is carried out with automatic subtraction of the gamma radiation background.
Purpose:
measurement of the ambient dose equivalent of H*(10) gamma radiation;
measurement of ambient dose equivalent of H*(10) gamma radiation;
measurement of beta particle flux density;
estimation of the counting rate with combined measurements of gamma and beta radiation.
Doza
Zelenograd
Produced in: Moscow
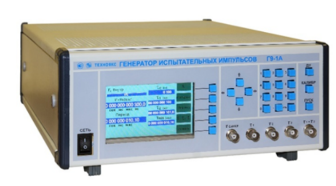
Generator of test pulses G9-1A
The generator is capable of operating both autonomously and as part of automated measuring systems with interfaces such as RS-232 and ITHERNET.
Technical specifications
The range of setting the pulse duration at the outputs:
- τ1 from 100 ns to 10 s
- t2 from 101 ns to 10.1 s
- t3 from 10 ns to 3600 s
The range of setting the time interval between the pulse fronts at outputs t1 and t2 (∆tx) is from 0 to 3600 s
The main error in setting the pulse duration at outputs t1 and t2 ± (δ0 • t1,2 + 1•10-8 c)
The basic error of setting the pulse duration at the output is τ3 ± (δ0 •τ3 + 2 •10-9 s)
The main error in setting the duration of the time interval (∆tx):
∆tx from 0 to 1000 s ± (δ0 •∆tx + 2•10-10 s)
∆tx from 1000 to 3600 s ± (δ0 •∆tx + 2•10-9 s)
Pulse amplitude at outputs τ1 , τ2 and τ3 at a load of 50 ohms, not less than 1.2 V
The nominal frequency value of the reference quartz oscillator is 10 MHz
Relative error in the frequency of the quartz oscillator (δ0 ), no more than ± 2x10⁻⁷ in 24 months
The pulse repetition frequency setting range at outputs τ4 and τ5 is from 0.1 Hz to 300 MHz
The main error in setting the pulse repetition frequency at outputs τ4 and τ5 ± δ0 •F = τ4.5
Pulse amplitude setting range at outputs τ4 and τ5 from 0.05 to 1 V
The main error in setting the pulse amplitude at outputs τ4 and τ5 ± 20%
Fixed values of pulse durations at the output of τ6 1 and 5 microseconds
The basic error of setting the pulse duration at the output is τ6 ± (0.2•τ6 + 3 •10-7 s)
The nominal value of the pulse repetition frequency at the output is τ6 100 kHz
The main error in setting the pulse repetition frequency at the output is τ6 ± δ0 •F = τ6
Fixed values of the pulse amplitude at the output of τ6 minus 10 V; minus 2.5 V; 2.5 V; 10 V
The main error in setting the pulse amplitude at the output is τ6 ± 20%
Operating temperature range from 5°C to 40 °C
AC power supply 220 V, 50 Hz
Power consumption, not more than 100 VA
Overall dimensions, mm 442x160x452
Weight, not more than 10 kg
TEKHNOYAKS
Moscow
Produced in: Moscow

Low-frequency signal generator G3-132
Technical specifications:
The waveform is sinusoidal, rectangular (TTL)
Frequency range from 0.1 Hz to 10 MHz
Frequency setting error ±0.02%
Frequency instability ±0.01% in 15 min
Signal amplitude ± 2.5 V at 50 ohm load
±5 V without load
Limits of adjustment of the output signal level from 2 mV to 1.85 V (skz) at a load of 50 ohms
from 4 mV to 3.75 V (scz) without load
Signal level unevenness ± 5% at frequencies from 0.1 to 10 Hz
relative to 1 kHz ± 2% at frequencies from 10 Hz to 1 MHz
±10% at frequencies from 1 to 10 MHz
Harmonic coefficient ± 0.2% at frequencies from 10 to 100 Hz
±0.07% at frequencies from 100 Hz to 20 kHz
± 0.2% at frequencies from 20 to 120 kHz
±1% at frequencies from 120 kHz to 1 MHz
±4% at frequencies from 1 to 10 MHz
Parameters of the rectangular (TTL) signal form log. "1" 3 2.4 V; log. "0" ≤ 0.4 V
In the frequency range from 0.1 Hz to 2 MHz, the duration of the front, the cutoff is not more than 100 ns
Operating temperature range from minus 10 °C to + 40 °C
Power supply ~230 V, 50 Hz; 10 V×A
Dimensions; weight 210×71×255 mm; 2 kg
MNIPI
Minsk
Produced in: Belarus, Minsk
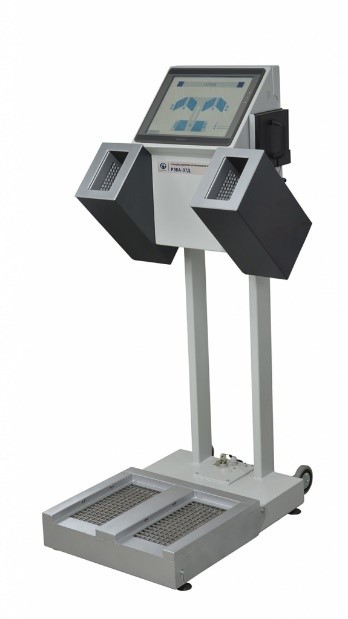
Installation of pollution control of personnel RZBA-07D
Purpose:
measuring the level of contamination of hands, feet (shoes) and clothing of personnel with beta-active substances and signaling when exceeding permissible levels
monitoring the level of contamination with alpha-emitting radionuclides
monitoring the contamination of personnel at nuclear power plants, nuclear fuel cycle enterprises (NFC), radiological laboratories, other enterprises and institutions using radioactive substances.
Doza
Zelenograd
Produced in: Moscow
