Catalog
Equipment
2221 products
View:
- Selected: 0Areas of use
- Selected: 0Item names
- Selected: 0Manufacturer
- Selected: 0Made in
- Selected: 0Additional
View:
2221 products
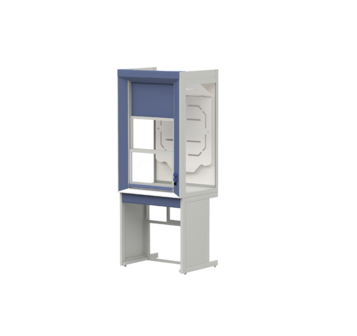
General purpose exhaust cabinet LAB-PRO SHV 90.84.230 SS
BASIC EQUIPMENT
Working box
guide racks – aluminum profile painted with powder paint (RAL 7035/RAL 5023)in the right rack there are a light switch and 2 splash-proof sockets with a 3.2kW cover (IP54)
the front anti–spill side is acid-resistant polished stainless steel AISI 304
side panels – tempered glass
2 dependent lifting screens – tempered glass in aluminum frames, lifting 0-780mm, do not change the dimensions of the cabinet when lifting
the upper fixed screen – metal painted with powder paint (RAL 5023) with the texture of shagreen leather
on the top panel:
LED lamp dust- and moisture-proof (10W IP65)
switching box with automatic emergency power off 16A
flange d=250mm (the distance from the back panel to the center of the flange is 170mm)
easily removable exhaust canopies
3 levels of exhaust (lower, side and front)
counterweights are placed in the front pillars-pylons and are easily serviced
by the rear and upper panels – polypropylene
The frame base
is a collapsible frame made of a rectangular metal profile painted with powder paint (RAL 7035) with the texture of shagreen leather
service panel is a metal box painted with powder paint (RAL 5023) with the texture of shagreen leather:
adjustable supports.
LOIP
Saint Petersburg
Produced in: Saint Petersburg
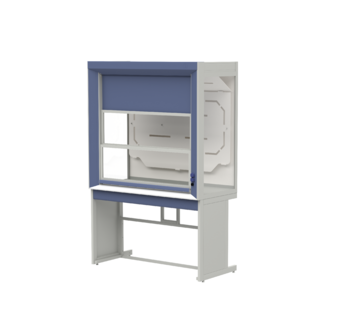
General purpose exhaust cabinet LAB-PRO SHV 150.84.230 TR
BASIC EQUIPMENT
Working box
guide racks – aluminum profile painted with powder paint (RAL 7035/RAL 5023)in the right rack there are a light switch and 2 splash–proof sockets with a 3.2kW cover (IP54)
the front anti-spill side is acid-resistant polished stainless steel AISI 304
side panels – tempered glass
2 dependent lifting screens – tempered glass in aluminum frames, lifting 0-780mm, do not change the dimensions of the cabinet when lifting
the upper fixed screen – metal painted with powder paint (RAL 5023) with the texture of shagreen leather
back and top panels –
polypropylene LED lamp dust- and moisture-proof (22W IP65)
switching box with automatic emergency power off 16A
flange d=250mm (the distance from the back panel to the center of the flange is 170mm)
easily removable exhaust visors
3 exhaust levels (lower, side and front)
counterweights are placed in the front pylon racks and are easily serviced
Frame base
collapsible frame made of rectangular metal profile painted with powder paint (RAL 7035) with the texture of shagreen leather
service panel – metal box painted with powder paint (RAL 5023) with the texture of shagreen leather:
adjustable supports.
LOIP
Saint Petersburg
Produced in: Saint Petersburg

General purpose exhaust cabinet LAB-PRO SHV 90.84.230 TR
BASIC EQUIPMENT
Working box
guide racks – aluminum profile painted with powder paint (RAL 7035/RAL 5023)in the right rack there are a light switch and 2 splash-proof sockets with a 3.2kW cover (IP54)
the front anti–spill side is acid-resistant polished stainless steel AISI 304
side panels – tempered glass
2 dependent lifting screens – tempered glass in aluminum frames, lifting 0-780mm, do not change the dimensions of the cabinet when lifting
the upper fixed screen – metal painted with powder paint (RAL 5023) with the texture of shagreen leather
back and top panels –
polypropylene LED lamp dust- and moisture-proof (22W IP65)
switching box with automatic emergency power off 16A
flange d=250mm (the distance from the rear panel to the center of the flange is 170mm)
easily removable exhaust visors
3 exhaust levels (lower, side and front)
counterweights are placed in the front pylon racks and are easily serviced
The frame base
is a collapsible frame made of a rectangular metal profile painted with powder paint (RAL 7035) with the texture of shagreen leather
service panel is a metal box painted with powder paint (RAL 5023) with the texture of shagreen leather:
adjustable supports.
LOIP
Saint Petersburg
Produced in: Saint Petersburg
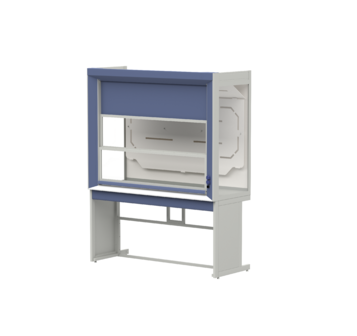
General purpose exhaust cabinet LAB-PRO SHV 180.74.230 SS
BASIC EQUIPMENT
Working box
guide racks – aluminum profile painted with powder paint (RAL 7035/RAL 5023)in the right rack there are a light switch and 2 splash-proof sockets with a 3.2kW cover (IP54)
the front anti–spill side is acid-resistant polished stainless steel AISI 304
side panels – tempered glass
2 dependent lifting screens – tempered glass in aluminum frames, lifting 0-780mm, do not change the dimensions of the cabinet when lifting
the upper fixed screen – metal painted with powder paint (RAL 5023) with the texture of shagreen leather
on the top panel:
LED lamp dust- and moisture-proof (22W IP65)
switching box with automatic emergency power off 16A
flange d=250mm (the distance from the back panel to the center of the flange is 170mm)
easily removable exhaust canopies
3 levels of exhaust (lower, side and front)
counterweights are placed in the front pillars-pylons and are easily serviced
by the rear and upper panels – polypropylene
The frame base
is a collapsible frame made of a rectangular metal profile painted with powder paint (RAL 7035) with the texture of shagreen leather
service panel is a metal box painted with powder paint (RAL 5023) with the texture of shagreen leather:
adjustable supports.
LOIP
Saint Petersburg
Produced in: Saint Petersburg

General purpose exhaust cabinet LAB-PRO SHV 90.74.230 KG
BASIC EQUIPMENT
Working box
guide racks – aluminum profile painted with powder paint (RAL 7035/RAL 5023)in the right rack there are a light switch and 2 splash-proof sockets with a 3.2kW cover (IP54)
the front anti–spill side is acid-resistant polished stainless steel AISI 304
side panels – tempered glass
2 dependent lifting screens – tempered glass in aluminum frames, lifting 0-780mm, do not change the dimensions of the cabinet when lifting
the upper fixed screen – metal painted with powder paint (RAL 5023) with the texture of shagreen leather
back and top panels –
polypropylene LED lamp dust- and moisture-proof (10W IP65)
switching box with automatic emergency power off 16A
flange d=250mm (the distance from the back panel to the center of the flange is 170mm)
easily removable exhaust visors
3 exhaust levels (lower, side and front)
counterweights are placed in the front pylon racks and are easily serviced
The frame base
is a collapsible frame made of a rectangular metal profile painted with powder paint (RAL 7035) with the texture of shagreen leather
service panel is a metal box painted with powder paint (RAL 5023) with the texture of shagreen leather:
adjustable supports.
LOIP
Saint Petersburg
Produced in: Saint Petersburg
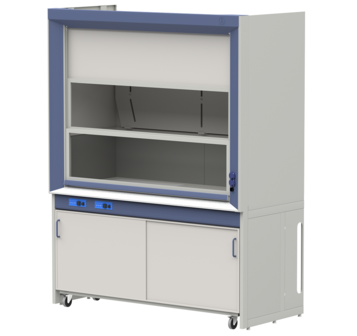
Exhaust cabinet with integrated glass-ceramic hob LAB-PRO SHVVP 180.84.230 VI
BASIC EQUIPMENT
Working box
front guide posts – aluminum profile painted with powder paint (RAL 7035/RAL 5023), in the right rack there are a light switch and 2 splash–proof sockets with a 3.2kW cover (IP54)
the front anti-spill side is acid-resistant polished stainless steel. steel (AISI 316)
rear, upper, side panels – metal painted with powder paint (RAL 7035) with the texture of shagreen leather
inner capsule made of polypropylene lined with ceramic plates of the rear and side panels to a height of 380mm
2 dependent lifting screens – tempered glass in aluminum frames, lifting 0-780mm, do not change the dimensions of the cabinet when lifting
the upper fixed screen – polypropylene
on the upper panel:
LED dust– and moisture-proof lamp 2x22 W (IP65) is separated from the workspace by tempered glass with a thickness of 4mm
flange d=250mm (distance from the back panel to the center of the flange - 170mm)
switching box with automatic emergency power off 16A
3 exhaust levels
easily removable exhaust canopies
the glass ceramic heating platform is located on the left side of the countertop
size 640*500mm (working area 580*430mm, 2 independent heating zones)
power up to 5.7kW
heating up
to 400 ° C counterweights are placed in the front pylon racks and are easily serviced
Frame base
collapsible frame made of rectangular metal profile painted with powder paint (RAL 7035) with the texture of shagreen leather
service panel - aluminum profile painted with powder paint (RAL 5023) with the texture of shagreen leather
adjustable supports
LOIP
Saint Petersburg
Produced in: Saint Petersburg
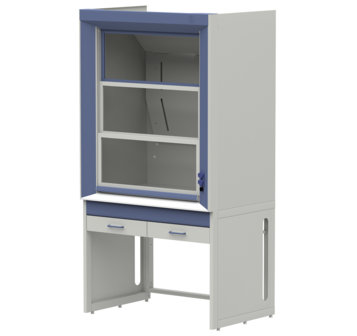
Exhaust cabinet for working with LVZH LAB-PRO SHVLVZH-D 120.84.230 KG
BASIC EQUIPMENT
Working box
front guide posts – aluminum profile painted with powder paint (RAL 7035/RAL 5023), in the right rack there are a light switch and 2 splash–proof sockets with a 3.2kW cover (IP54)
the front anti-spill side is acid-resistant polished stainless steel. AISI 304 steel
back, top, side panels – metal painted with powder paint (RAL 7035)
with the texture of shagreen leather
2 dependent lifting screens – tempered glass in aluminum frames, lifting 0-780mm, do not change the dimensions of the cabinet when lifting
the upper fixed screen – tempered glass in an aluminum frame
on the upper panel:
4 anti-explosion valves
LED lamp dust- and moisture-proof 2x10 W (IP65) is separated from the workspace by tempered glass thickness of 4mm
flange d=250mm (distance from the back panel to the center of the flange – 170mm)
3 exhaust levels
on the rear panel:
4 holes d =22mm with plugs made of stainless steel for the installation of additional pipes or taps
technological hole d=50mm with a plastic plug
counterweights are placed in the front pillars-pylons and are easily serviced
Frame base
collapsible frame made of rectangular metal profile painted with powder paint (RAL 7035) with the texture of shagreen leather
service panel - aluminum profile painted with powder paint (RAL 5023) with the texture of shagreen leather
module with two drawers
LOIP
Saint Petersburg
Produced in: Saint Petersburg

General purpose exhaust cabinet LAB-PRO SHV 150.74.230 TR
BASIC EQUIPMENT
Working box
guide racks – aluminum profile painted with powder paint (RAL 7035/RAL 5023)in the right rack there are a light switch and 2 splash–proof sockets with a 3.2kW cover (IP54)
the front anti-spill side is acid-resistant polished stainless steel AISI 304
side panels – tempered glass
2 dependent lifting screens – tempered glass in aluminum frames, lifting 0-780mm, do not change the dimensions of the cabinet when lifting
the upper fixed screen – metal painted with powder paint (RAL 5023) with the texture of shagreen leather
back and top panels –
polypropylene LED lamp dust- and moisture-proof (22W IP65)
switching box with automatic emergency power off 16A
flange d=250mm (the distance from the rear panel to the center of the flange is 170mm)
easily removable exhaust visors
3 exhaust levels (lower, side and front)
counterweights are placed in the front pylon racks and are easily serviced
Frame base
collapsible frame made of rectangular metal profile painted with powder paint (RAL 7035) with the texture of shagreen leather
service panel – metal box painted with powder paint (RAL 5023) with the texture of shagreen leather:
adjustable supports
LOIP
Saint Petersburg
Produced in: Saint Petersburg
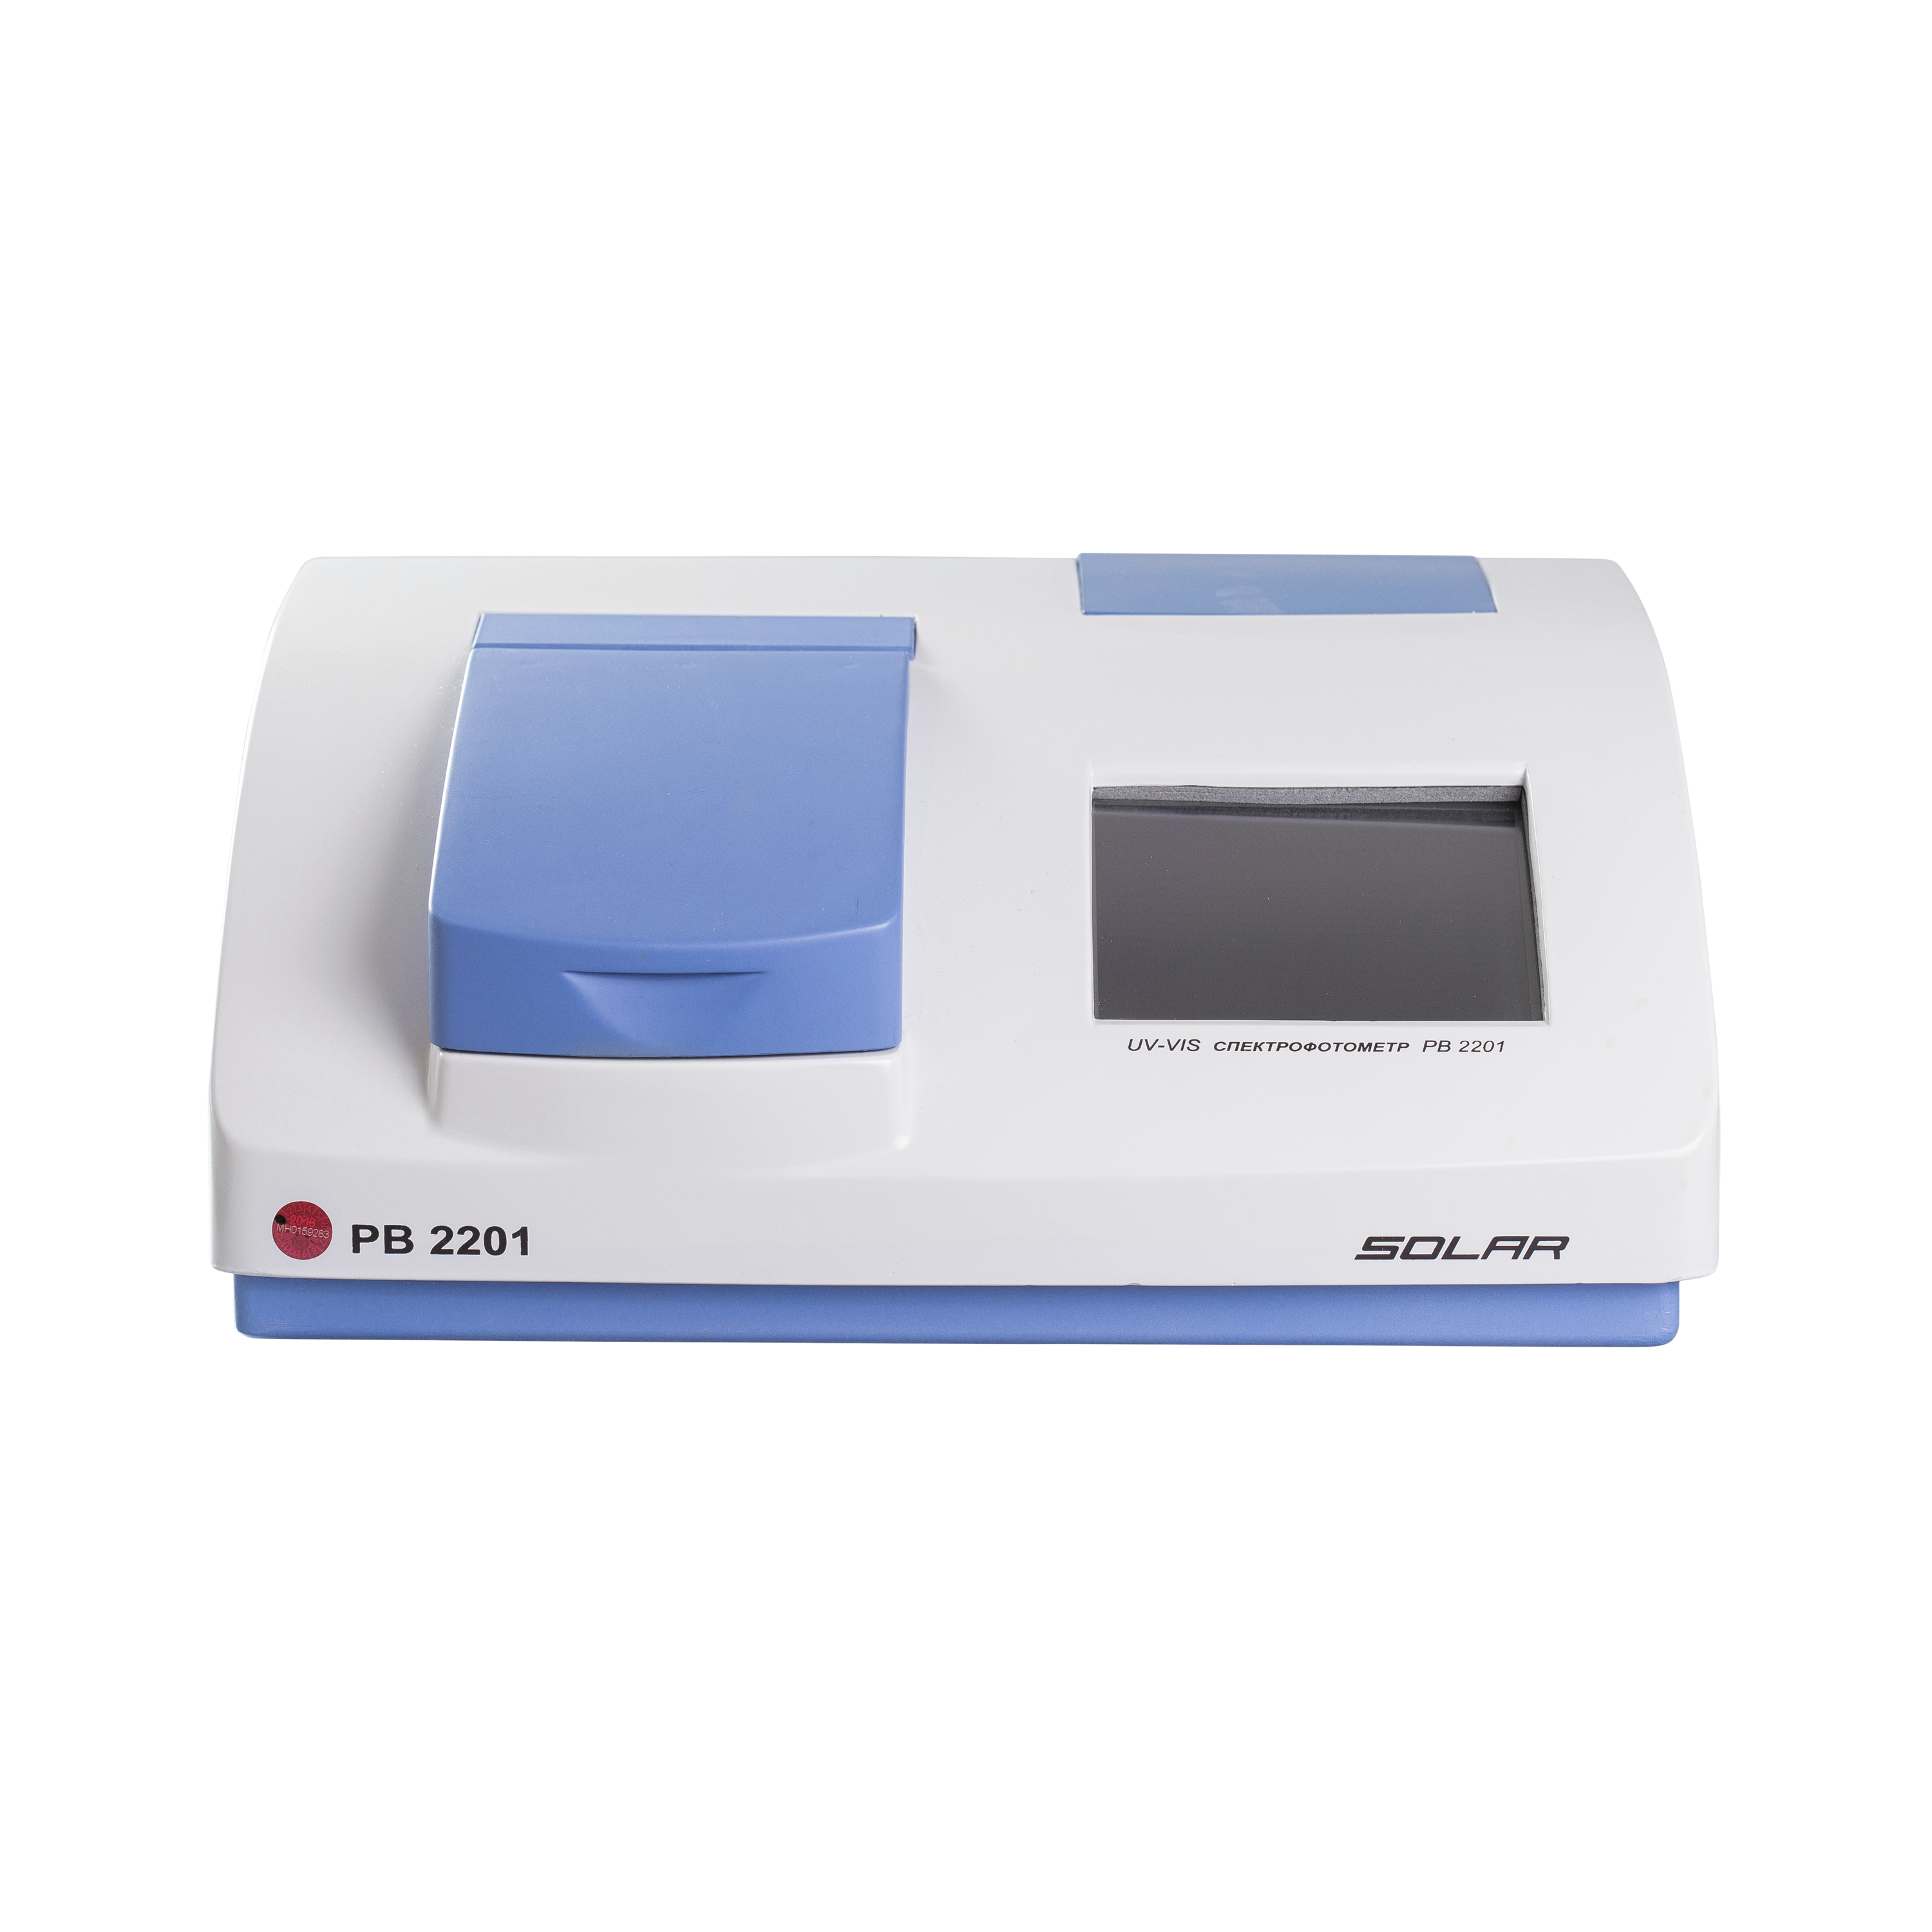
Spectrophotometer UV-VIS PB2201
1 supp.
Measuring functions
Measurement of absorption, transmission, and reflection spectra
Measurement of optical density, transmission coefficient and reflection coefficient at fixed wavelengths
Determination of concentration at one, two, three wavelengths by factor, standard, schedule
Multi-wave kinetic measurements
Determination of concentration by programmed methods
Calculation of color and chromaticity coordinates
UVI spectrophotometers "SOLAR" operate in the ultraviolet, visible and near infrared regions of the spectrum. They are used in scientific laboratories, healthcare institutions, veterinary medicine, pharmaceuticals, ecology, biology, etc., in laboratories for quality control of products and raw materials in various sectors of the economy (industrial enterprises, agriculture, food industry, etc.)
Removable cuvette holders and set-top boxes
Accurate measurements
Cost-effectiveness
Touch screen
Built-in printer
Software support
SOLAR
Minsk
Produced in: Belarus, Minsk

General purpose exhaust cabinet LAB-PRO SHV 180.84.230 SS
BASIC EQUIPMENT
Working box
guide racks – aluminum profile painted with powder paint (RAL 7035/RAL 5023)in the right rack there are a light switch and 2 splash-proof sockets with a 3.2kW cover (IP54)
the front anti–spill side is acid-resistant polished stainless steel AISI 304
side panels – tempered glass
2 dependent lifting screens – tempered glass in aluminum frames, lifting 0-780mm, do not change the dimensions of the cabinet when lifting
the upper fixed screen – metal painted with powder paint (RAL 5023) with the texture of shagreen leather
on the top panel:
LED lamp dust- and moisture-proof (22W IP65)
switching box with automatic emergency power off 16A
flange d=250mm (the distance from the back panel to the center of the flange is 170mm)
easily removable exhaust canopies
3 levels of exhaust (lower, side and front)
counterweights are placed in the front pillars-pylons and are easily serviced
by the rear and upper panels – polypropylene
Frame base
is a collapsible frame made of a rectangular metal profile painted with powder paint (RAL 7035) with the texture of shagreen leather
service panel is a metal box painted with powder paint (RAL 5023) with the texture of shagreen leather:
adjustable supports.
LOIP
Saint Petersburg
Produced in: Saint Petersburg
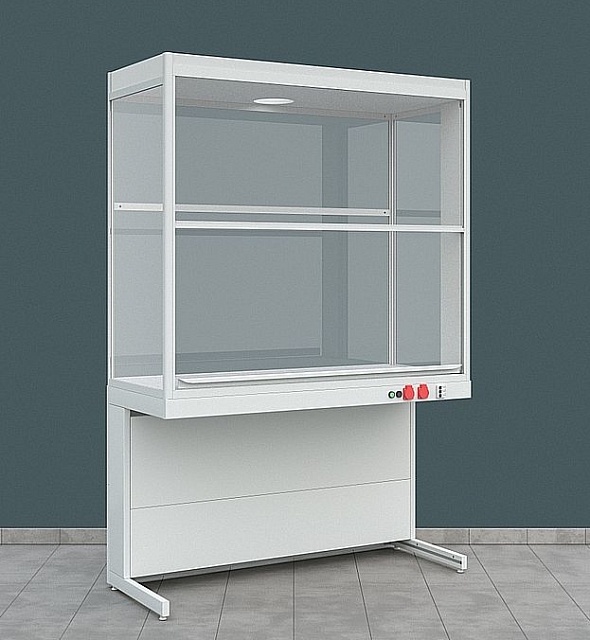
UNIVERSAL EXHAUST HOOD DEMONSTRATION MODELS: LK-900, LK-1200, LK-1500
from
114 060 ₽
1. LK-1500 SMS-D (case - chipboard)
Width - 1500
Ceramics - 91 230 ₽
GRANTEC- 99 320 ₽
2. LK-1500 SMS-D (case - polypropylene)
Width - 1500
Ceramics - 102 100 ₽
GRANTEC- 115 980 ₽
3. LK-1500 SMS-D (case - steel)
Width - 1500
Ceramics - 113 920 ₽
GRANTEC- 131 500 ₽
SpetsBaltMebel
г. Санкт- Петербург
Produced in: Saint Petersburg
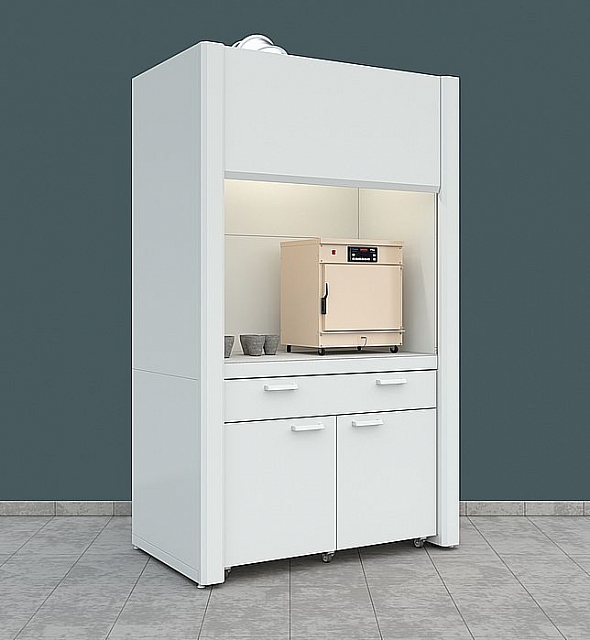
FUME HOOD FOR MUFFLE FURNACES
from
92 910 ₽
The SHVM fume hood is designed for the installation of muffle furnaces and drying cabinets. It can be equipped with cabinets made of steel.
1. LC-900 SHVM
Width - 960
GRANTEC - 72 550 ₽
2. LC-900 SHVM with protective screen
Width - 960
GRANTEC - 88 910 ₽
3. LC-1200 SHVM
Width - 1260
GRANTEC - 83 860 ₽
4. LC-1200 SHVM with protective screen
Width - 1260
GRANTEC - 100 390 ₽
5. LC-1500 SHVM
Width - 1560
GRANTEC - 95 270 ₽
6. LC-1500 SHVM with protective screen
Width - 1560
GRANTEC - 107 690 ₽
SpetsBaltMebel
г. Санкт- Петербург
Produced in: Saint Petersburg
