Catalog
Search
846 products
View:
- Selected: 1Applying
- Selected: 0Names
- Selected: 0Manufacturer
- Selected: 0Made in
- Selected: 0Additional
View:
846 products

Measuring air-thermal installation ASESH-8-1
1 supp.
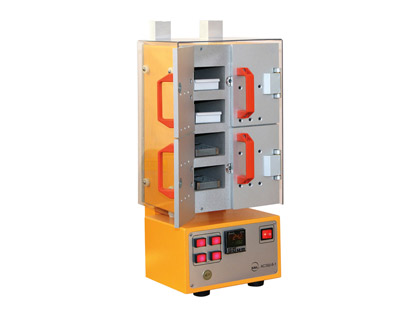
A thermogravimetric (air-thermal) method for determining the mass fraction of moisture is implemented, based on measuring the mass of the sample of the analyzed substance before and after drying, followed by calculating the values of the mass fraction of moisture.
Air-thermal measuring installations ASESH-8 are registered in the State Register of Measuring Instruments under No.58526-14, have a certificate of approval of the type of measuring instruments RU.C.31.005 And No. 56847. The installations undergo initial verification and have the appropriate certificate.
GENERAL CHARACTERISTICS
1. Convenient access to the cells of the drying chamber
On the front side of the cabinet there are four doors for access to the cells.
2. The possibility of simultaneous determination of the humidity of 8 samples
The drying chamber of the air-heat installation consists of 8 independent cells with a total capacity of 16 bucs.
3. Built-in timer
The ASESH-8-1 installation has 4 timers, by means of which the end of the drying process is monitored in each section with the output of an audible signal and a light indication.
4. Natural ventilation
The absence of rotating elements ensures absolute noiselessness of operation and a long service life.
SCOPE OF APPLICATION:
1. Crop production, agriculture and forestry.
2. Products of meat, dairy, fish, flour-milling, feed and microbiological industries.
3. Food industry products.
4. Cellulose, paper, cardboard and products made from them.
5. Medicines, chemical and pharmaceutical products and medical products.
6. Building materials.
7. Products of the logging and sawmilling and woodworking industry.
8. Soils, пground, mineral fertilizers.
GK EKAN
Saint Petersburg
Produced in: Saint Petersburg
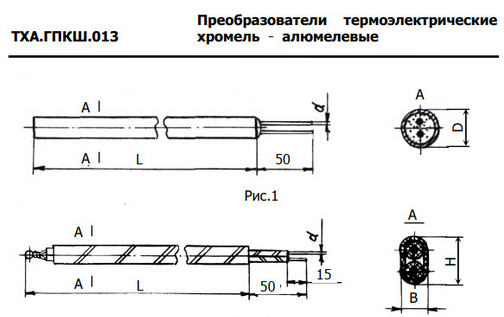
Thermoelectric converter THA.GPKSH.013
The thermoelectric converter THA.GPKSH.013 is designed for measuring the temperature of gaseous and liquid chemical environments that do not destroy the protective shell. It measures the temperature in the clean air atmosphere, gaseous chemically non-aggressive environments with humidity up to 95 %
Termokon
Korolev
Produced in: Moscow region, Korolev
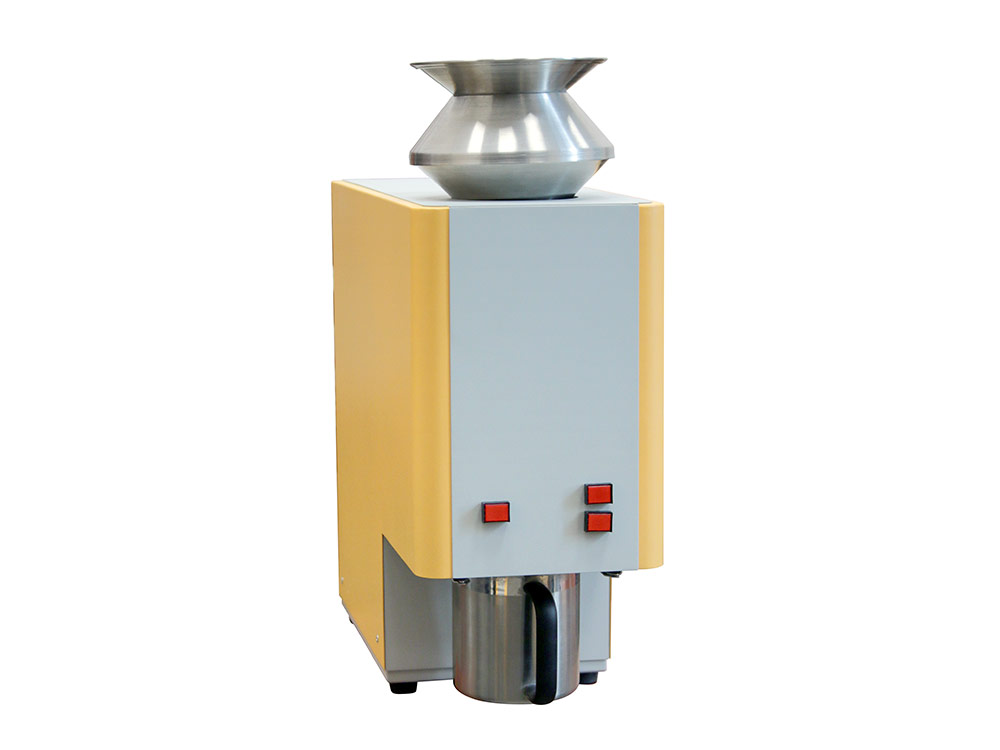
Purka liter MEASURE
1 supp.
The principle of operation is based on measurement by filling the container for the measured product with 1 liter of grain and measuring the mass of this grain. PECULIARITIES:
1. Drop weight design no assembly required
Thanks to a fundamentally new design of the purka, the determination of nature is carried out quickly. Significantly reduced analysis time. No special training of personnel is required to work on the MERA purka.
2. Stability and reproducibility of results. The stable and repeatable movement of the knives ensures the stability of the work of the purka and an accurate, stable, reproducible determination of the nature (± 1g at 10 measurements).
3. Quick and easy cleaning
The convenient design of the device permits to clean it quickly and easily. Excess grain is removed into an empty container for the measured product by pressing the "RESET" button. After discarding the remaining grain, the purka is ready for the next measurement. The fundamentally new design of the MERA purka body and the automation of the analysis process allow you to quickly and easily get the result.
WORK ALGORITHM:
1.Fill the hopper with grain.
2.Install the empty container for the measured product into the device.
3. Press the "START" button on the control panel.
4. Weigh a container filled with 1 liter of grain and calculate the result.
5. Reset the remaining grain by pressing the "RESET" button. METROLOGICAL CHARACTERISTICS:
Indication error, g, no more than ±4.0
Variation of six dimensions, g, no more than 2.1
SPECIFICATIONS:
Overall dimensions (L×W×H), mm, no more than 600×230×620
Weight, kg, no more than 48
Power consumption, V×A, no more than 100
Supply voltage with a frequency of 50±1 Hz, V 220 (+15...-20)%
GK EKAN
Saint Petersburg
Produced in: Saint Petersburg
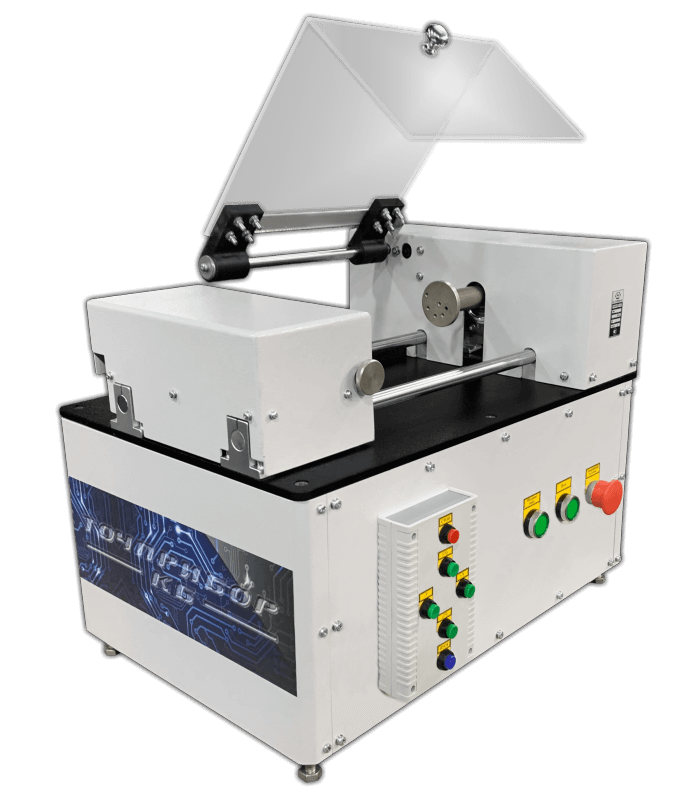
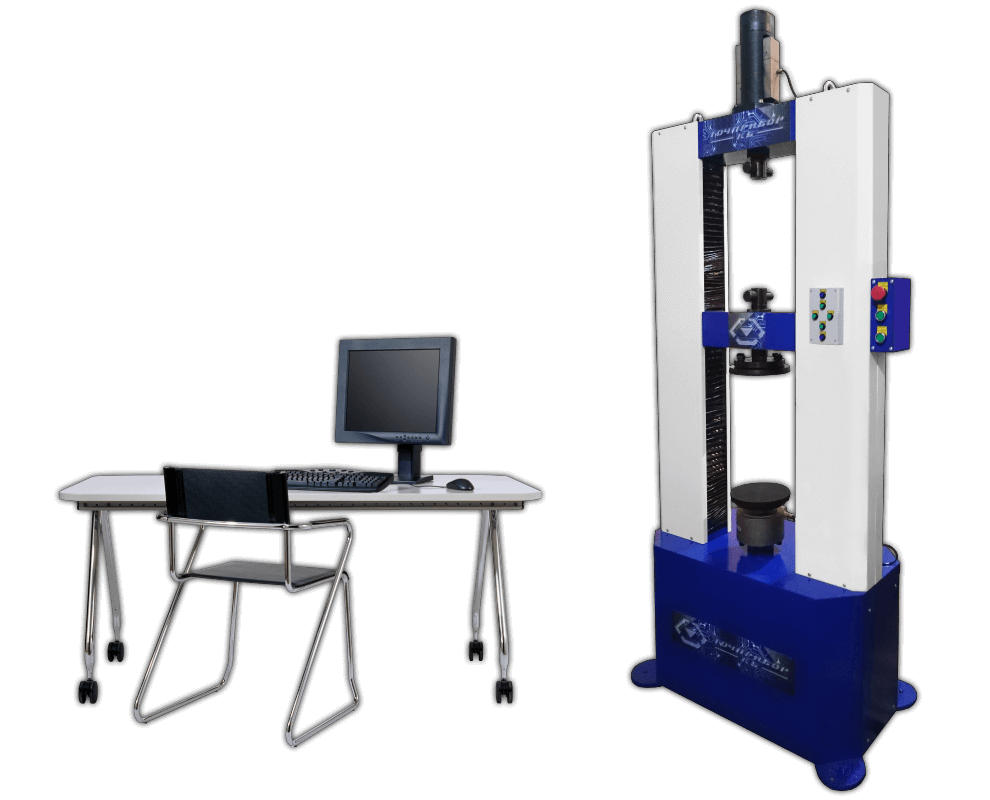
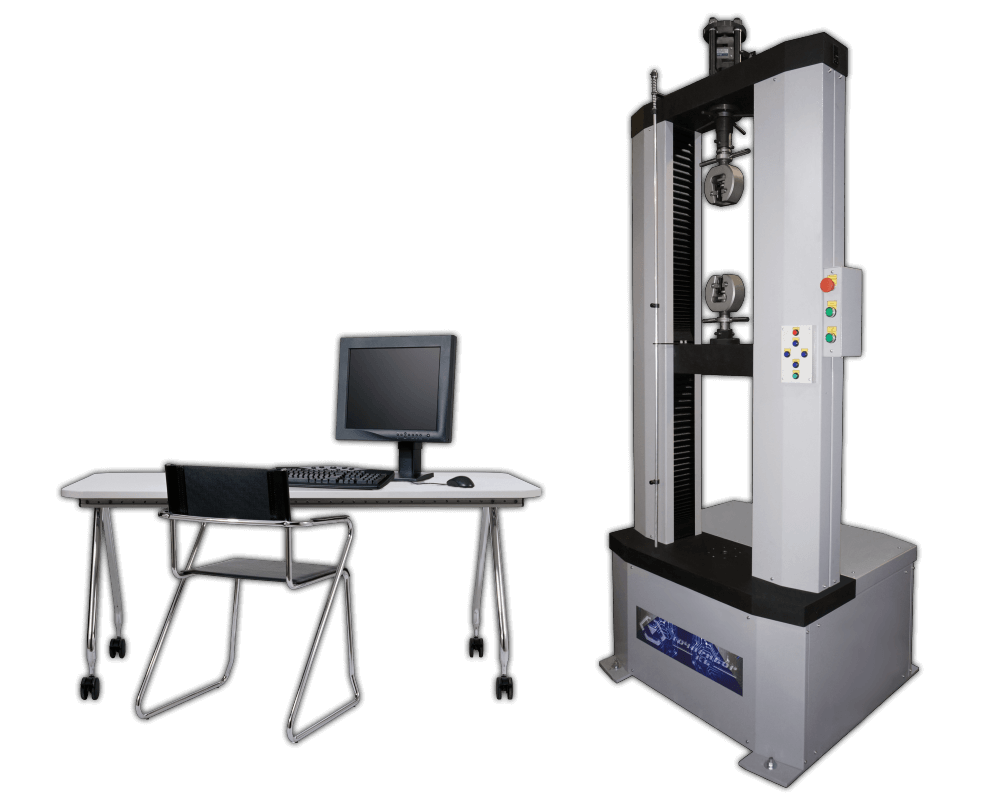
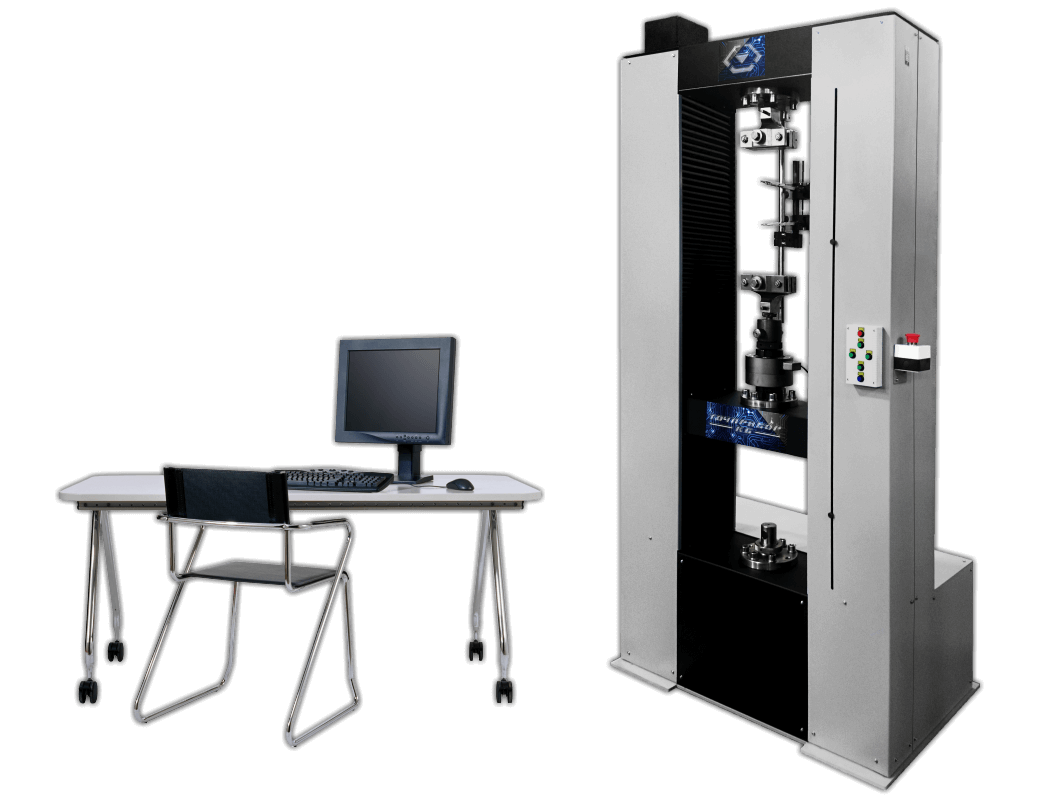
IMK-30 Torsion testing machine
Technical specifications:
Maximum load (torque): 30 N·m
Maximum twisting angle: 50000°
The discreteness of the twisting angle: 0.01°
Twisting angle error: ±0.1°
Torque discreteness: 0.001 N·m
Relative error of torque measurement: no more than 1% in the measurement range from 0.6 to 30 Nm
Torque measurement error: no more than 0.01 N·m in the measurement range from 0 to 0.6 N · m
Maximum rotation speed: 10 rpm
Weight: 150 kg
Overall dimensions (length x width x height): 1000 x 500 x 500 mm
Diameter of the universal testing device: 80 mm
Maximum spring length: 300 mm or more
Tochpribor-KB
Ivanovo
Produced in: Ivanovo
UShS "Tapirus" with cover and supports
from
18 000 ₽
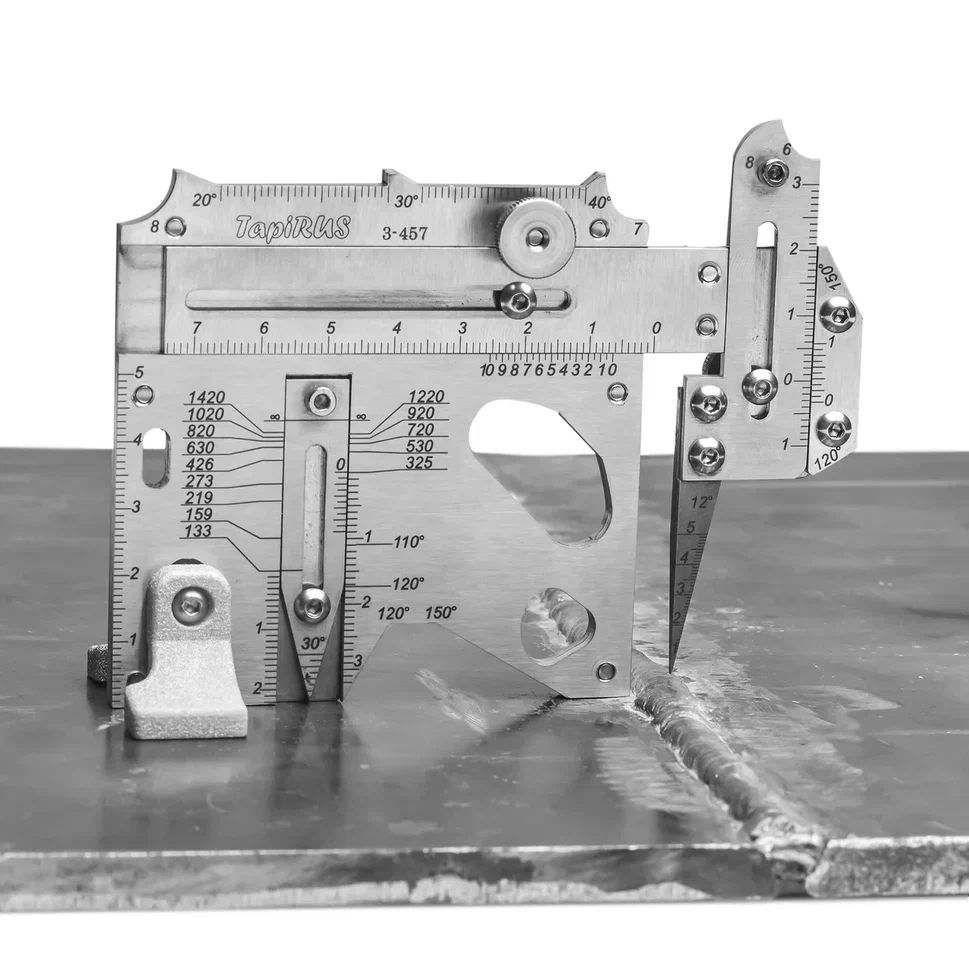
The UShS TapiRus is designed to replace numerous templates and devices used in visual and measuring quality control of welded joints. It is approved as a means of measuring the geometric parameters of welded joints and surface defects during visual and measuring control (VIC) and supplied with verification. It allows you to determine most of the geometric parameters of welded joints and surface defects: the width and convexity of the seam, the depth of the cut, the amount of edge displacement, the angle of the angular seam, the angle of the bevel and the gap, etc. Equipped with supports that allow you to uniquely position the template on a curved surface. To carry out measurements with an error of 0.1 mm, scales with a vernier are applied to the TapiRUS surface. It contains a number of gauges for assessing the smooth transition from the deposited to the base metal, the size of the cathets, radii and angles of cutting edges. Equipped with a probe with a replaceable measuring needle to determine the size of gaps and heights / depressions.
The development, preparation for production and manufacture of TapiRus were carried out exclusively in digital format.
The latest laser and additive technologies are used in the production of TapiRUS:
high-precision laser cutting machines in inert gas;
five-axis CNC machining centers;
ultra-precise color laser engraving of the entire product assembled;
laser stereolithography (SLA) is a technology of layer–by-layer synthesis of a material from a liquid photopolymer.
Advantages
Easy to install. Accurate positioning along the normal to the surface of the object of control and stability of the position when performing measurements.
Functionality. Measurement of most geometric parameters of welded joints and surface defects.
Measurement accuracy. The measurement error on the template scales does not exceed 0.1 mm.
Modernity. Online calculator ergonomic accessories smart version.
More detailed information can be found on the website tapirus.info
MEASURED PARAMETERS AND DEFECTS
VIC at the stage of input control
wall thickness
depth of corrosion ulcers on the base metal
the depth of corrosion ulcers on the weld
the depth of scratches (risks), a bully on the base metal
edge bevel angle
the amount of blunting
geometric parameters of the dent
VIC during assembly (preparation for assembly)
edge offset
withdrawal (angularity) of edges
the gap in the cutting
the height of the potholders
angular displacement
VIC in the welding process (surfacing)
edge offset
height of the root (filling) layer
withdrawal (angularity) of edges
angular displacement
VIC of finished welded joints (structures)
edge offset
angular displacement
the height of the reinforcement of the seam
the height of the bulge (when welding elements of different thickness)
the width of the reinforcement of the seam
withdrawal (angularity) of edges
the depth of the sinking between the rollers
incomplete filling of the cutting edges
scaliness of the seam surface
smooth transition
undercut depth
seam crater depth
technical specifications
Measured parameter Scale Range,mm Error, mm
Depth, mm H 0...20 ±0.1 (in the range 0...10 on), ± 0.5 (in the range over 10...20)
Height, mm H 0...6 ±0.1
Width, mm W 0...55 ±0.1 (in the range 0...10 on), ± 0.5 (in the range over 10...20)
Clearance, mm N 0...5 ±0.1
Dullness, mm F, G 0...25 ±0.5
Specifications
Overall dimensions, mm, no more
(without supports) 115x85x15 ± 0.5
(with supports) 115x85x42 ±0.5
Average time to failure, cycles,
at least 55,000
Weight, kg, not more than 0.22
Average service life, at least 1 year
RII MNPO SPEKTR
Moscow
Produced in: Moscow
“KELTRUN” unit for the determination of nitrogen and protein mass fraction by Kjeldahl method by Sibagropribor
from
437 000 ₽
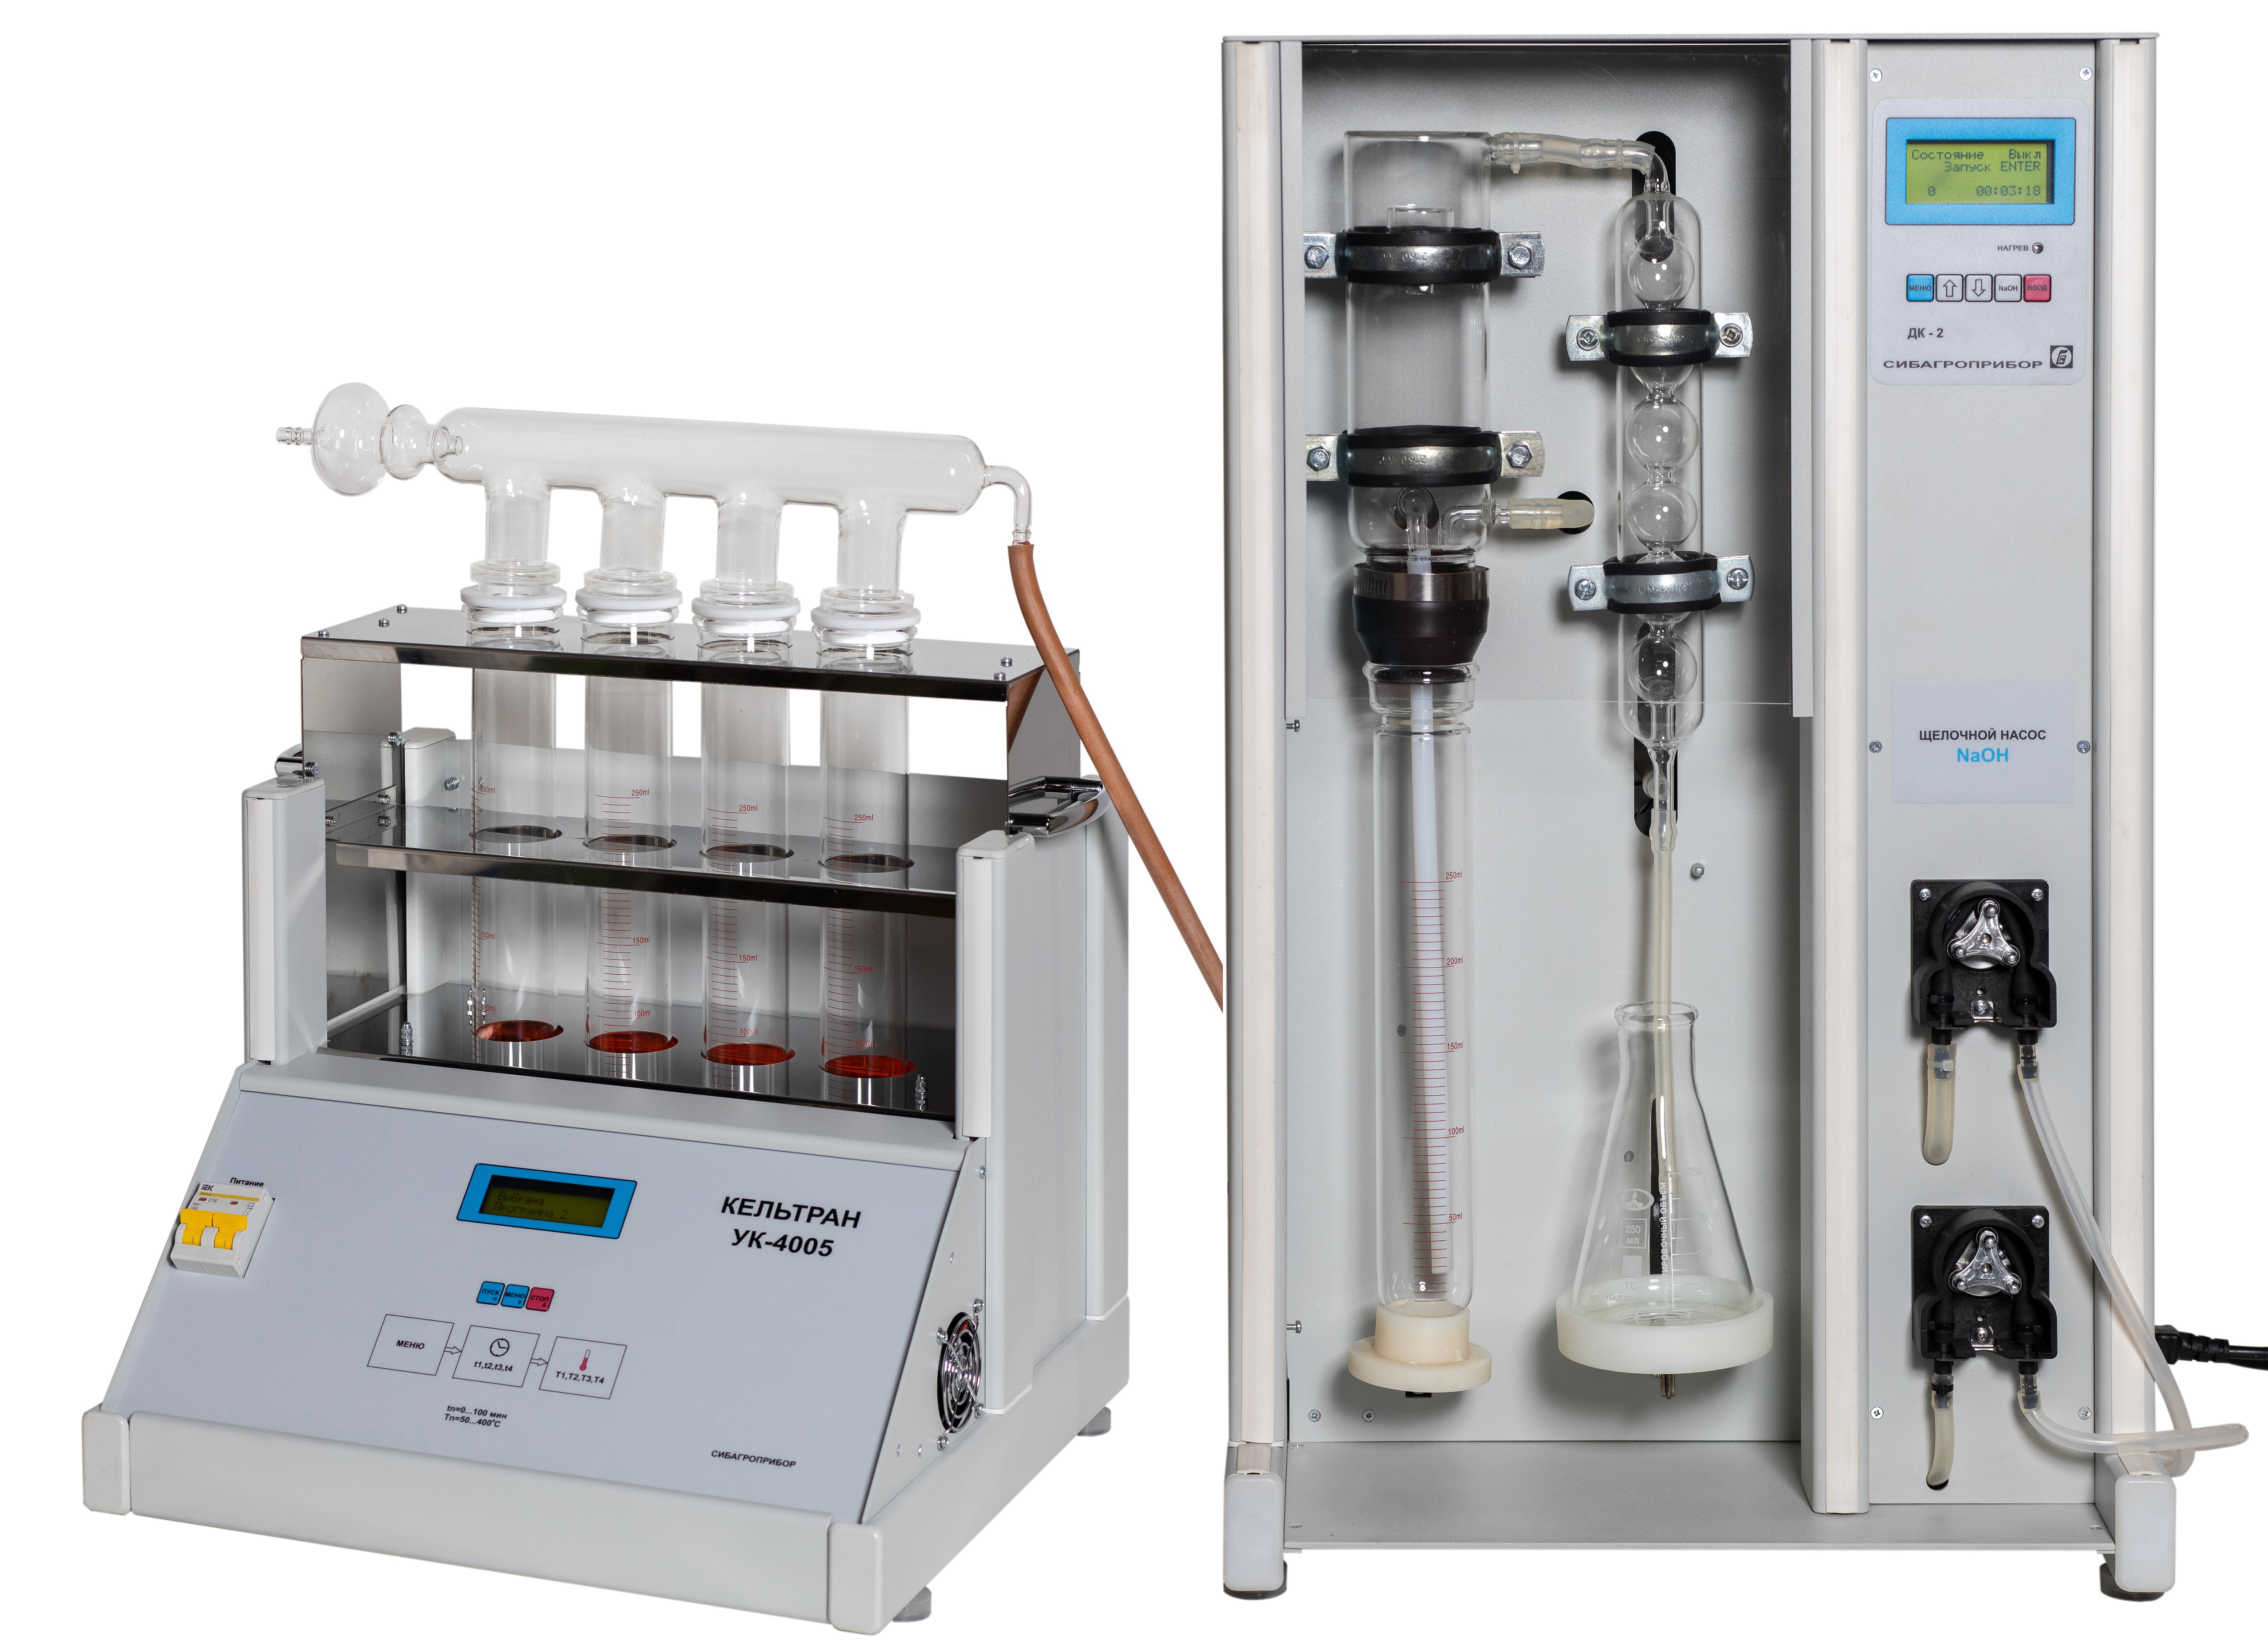
The Kjeldahl method is one of the most accurate methods for determining nitrogen and protein in a wide group of products, but, unfortunately, it has a number of significant drawbacks - these are low speed, a large number of possible losses during the analysis, bulky equipment, and the use of aggressive reagents. Sibagropribor Holding presents KELTRUN (KELTRUN) - a set of equipment for carrying out a complete analytical cycle according to the Kjeldahl method, which will allow: • to increase the speed of analyzes (high speed of distillation and ashing, simultaneous processing of several samples); • ensure the safety of personnel (high quality of reaction vessels, effective absorption of acid vapors by the exhaust system, additional protection of personnel in emergency situations); • reduce possible losses in the analysis process; • improve the reproducibility of results. «KELTRAN» (KELTRUN) will allow you to determine nitrogen / protein in the widest list of substances: • food products: dairy, cereals, meat, cereals, etc.; • feed and compound feed; • fertilizers; • water, drinks, beer; • soil, bottom sediments, sediment samples, activated sludge; • crude oil, lubricants; • various chemicals; • alcohol content in wines, musts and spirits; • etc. The set of equipment «KELTRAN» (KELTRUN) allows you to analyze according to GOST and determine the nitrogen content in the range of 0.02 - 99.00%. Composition of the complex «KELTRAN» (KELTRUN): - Digestor; - Distiller; - Scrubber (*not included in the price of the complex); - Titration unit: manual, semi-automatic or automatic (*not included in the price of the complex); Warranty - 1 year. Important feature! In many distillers (made in China and others), when used, alkali passes through a valve-type pump, with a low production resource (sometimes the resource is enough for only 3 months). In the distiller of our production, the alkali passes through a RELIABLE PERISTALTIC PUMP, this ensures a long service life of the distiller! Package options Cost (including VAT): Digestor, Distiller, Water jet pump 379,400 rubles; Digestor, Distiller, Water jet pump, Scrubber 434,700 rubles; Digestor, Distiller, Water jet pump, Manual titration unit 396,900 rubles; Digestor, Distiller, Water jet pump, Scrubber, Manual titration unit 452,200 rubles; Digestor, Distiller, Water jet pump, Kit «Titrion-pH» (c2) 605,400 rubles; Digestor, Distiller, Water jet pump, Scrubber, «Titrion-pH» kit (c2) 660,700 rubles.
SIBAGROPRIBOR
Krasnoobsk
Produced in: Novosibirsk region, Krasnoobsk
