Catalog
Search
137 products
View:
- Selected: 0Areas of use
- Selected: 0Item names
- Selected: 0Manufacturer
- Selected: 0Made in
- Selected: 1Additional
View:
137 products
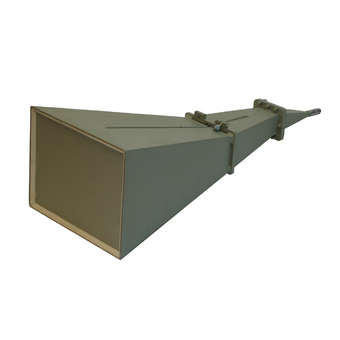
Measuring antenna P6-23M
Technical specifications:
Frequency range (0.85 - 17.44 GHz)
Standing Wave Coefficient (SWR) < 1.7
Effective area at least in the frequency range - from 0.85 to 15 GHz > 150 cm2 - from 15 to 17.44 GHz > 110 cm2
The margin of error of the effective area in the frequency range, no more - from 0.85 to 8.5 GHz ± 20% - from 8.5 to 17.44 GHz ± 15%
Orthogonal polarization signal level -25 dB
The level of the side lobes, no more than -10 dB
Ambient temperature -50°C - 50°C
Gabbar dimensions (HxWxD) 887x351x265 mm
Weight 6,8 kg
MNIPI
Minsk
Produced in: Belarus, Minsk
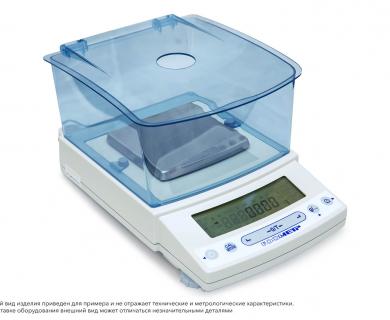
Laboratory scales VLE-223S
from
147 490 ₽
Technical characteristics: NIP, G220
Discreteness, g0,001
Calibration,self-calibration
The size of the scale bowl / platform, mm108x105
The smallest weighing limit, g0.02
The price of the calibration division, mg10
The limits of the permissible error during the initial verification, mgot 0.02g to 50 g incl. ±5; sv. 50g to 200g incl. ±10; sv. 200g to 220g incl. ±15 in accordance with GOST OIML R 76-1-2011
Accuracy class according to GOST OIML R 76-1-2011II is high
The actual typical error limits of the scales, mg * ± 3 in the entire range
The adjustment weight is built-in
The time of setting the readings, s, no more than ~ 1.5
7 years warranty
Gosmetr
Saint Petersburg
Produced in: Saint Petersburg
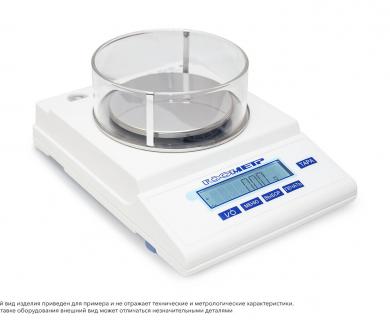
Laboratory scales VLTE-410
from
64 990 ₽
Technical characteristics:
NIP, G410
Discreteness, g0,001
External calibration
The size of the scale bowl / platform, mm116
The smallest weighing limit, g0.02
The price of the verification scale division, mg10
The limits of the permissible error during the initial verification, mgot 0.02 g to 50 g inclusive. ± 5; sv. 50 g to 200 g included. ±10; sv. 200 g to 410 g incl. ±15 in accordance with GOST OIML R 76-1-2011
Accuracy class according to GOST OIML R 76-1-2011II is high
The time of setting the readings, s, no more than ~3
Weight adjustment 200gF2*
7 years warranty
Gosmetr
Saint Petersburg
Produced in: Saint Petersburg
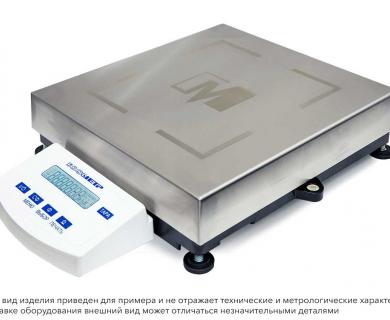
VAC-32 platform scales
from
69 990 ₽
Technical specifications:
NIP, kg32
Discreteness, g1,0
External calibration Size of the weighing platform, mm350x320
The smallest weighing limit, g50
Accuracy class according to GOST OIML R 76-1-2011II is high
Limits of error allowed during initial verification, goth 50g to 5 kg incl. ±0.5; sv.5kg to 20kg incl. ±1.0; sv.20kg to 32kg incl.± 1.5
Dust and moisture protection (IP)54/65 (on request)
The setting time, s, no more than ~ 1 - 1.5 Weight adjustmen 10kgF2*
7 years warranty
Gosmetr
Saint Petersburg
Produced in: Saint Petersburg

Flame Photometric(FD)
Selective detector for phosphorus and organosulphide compounds. It is used mainly for the analysis of sulfur-containing substances (hydrogen sulfide, mercaptans, thiophenes, etc.). The sensitivity for sulfur reaches 0.1. ppm. In addition, PFD has sufficient sensitivity and selectivity to compounds containing nitrogen, boron, tin, chromium, selenium, germanium, as well as CO, POPS, MgOx, $02, Ma, NOT C52. The selectivity of 5-containing compounds to hydrocarbons is 105.
Technical characteristic:
8,0*10-13 g5/s by sulfur
1.0*10`13 g/s for phosphorus
NPF "META-KHROM"
Yoshkar-Ola
Produced in: Yoshkar-Ola, Mari El

Electronic Gripper (E3D)
Selective detector for organochlorine compounds and other halogens. It is also
sensitive to compounds containing oxygen, phosphorus or aromatic rings, but to a lesser extent. Paraffins and simple hydrocarbons almost do not capture electrons and are not registered. The selectivity to hydrocarbons is 108. It is available in two versions — conventional EDD and micro-EDD,
mainly for capillary columns (the second version is characterized by increased
sensitivity). The level of fluctuation noise is up to 300 MV, the maximum signal is up to 5 V, the design of the ECD allows the use of argon, helium, and hydrogen as a carrier gas, in addition to nitrogen.
Technical characteristic:
4.0*10-15 g/s for lindane
NPF "META-KHROM"
Yoshkar-Ola
Produced in: Yoshkar-Ola, Mari El

Thermionic (TID)
Selective detector for organophosphorus and nitrogen compounds. It is also sensitive to compounds containing C, Az, but to a lesser extent. The sensitivity depends on the number of heteroatoms in the molecule. Selectivity to hydrocarbons is 104 for nitrogen, and 105 for phosphorus
Technical characteristic:
2.0*10-13 m/s nitrogen
1.5*10`14 g/s for phosphorus
NPF "META-KHROM"
Yoshkar-Ola
Produced in: Yoshkar-Ola, Mari El
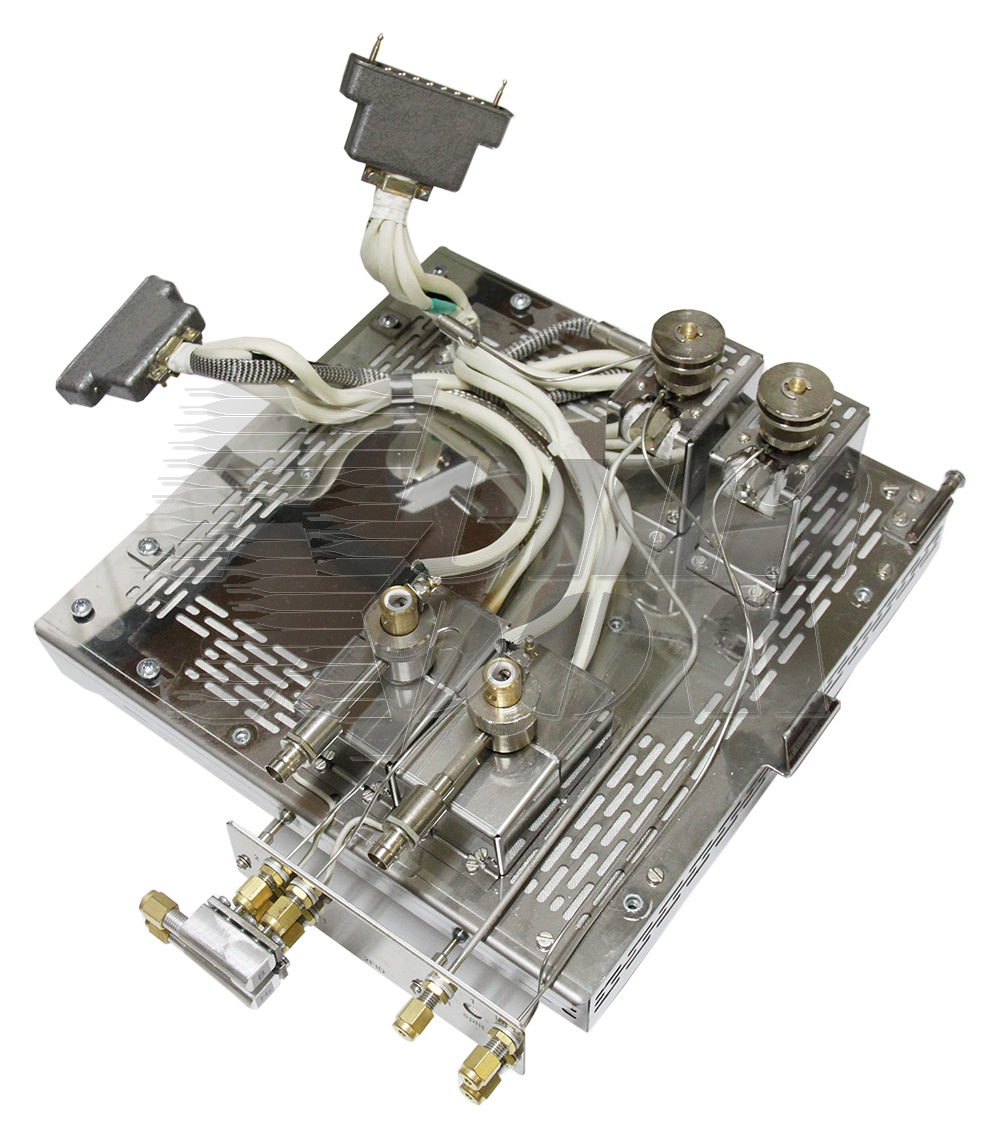
Pulsating Discharge Detector(PRD)
It operates in the mode of a helium ionization detector (GID) and is considered the most sensitive device for determining permanent gases. In addition, it is able to work in the EDD mode.
Technical characteristic:
2.0*10`13 g/s by. methane or hydrogen
NPF "META-KHROM"
Yoshkar-Ola
Produced in: Yoshkar-Ola, Mari El
Flame Ionization (PID) for chromatograph
The most common, universal detector that is suitable for the analysis of a wide range of organic compounds. The sensitivity depends mainly on the number of carbon atoms. In combination with a methanator, it allows the analysis of carbon oxides at the level of 0.1 Rt. The level of fluctuation noise is up to 50 MV, the maximum signal is up to 2500 V.
Technical characteristic:
1.2*10712 gs/s for hydrocarbons
NPF "META-KHROM"
Yoshkar-Ola
Produced in: Yoshkar-Ola, Mari El

Photoionization (PID)
Partially universal detector. It is used for the analysis of most
organic compounds, including aromatic and aliphatic (except methane) hydrocarbons, heterocyclic compounds, phenols, phthalates, pesticides, amines, ketones, aldehydes, esters, mercaptans. It does not register compounds whose ionization threshold is higher than 10.2 eV (for example, acetonitrile, methanol).
Technical characteristic:
5.0*10`13 g/s for benzene
NPF "META-KHROM"
Yoshkar-Ola
Produced in: Yoshkar-Ola, Mari El
Two-channel portable gas chromatograph FGH-1-2
from
1 030 000 ₽
The FGH-1-2 chromatographs have retained the main advantages of the FGH-1 model – mobility and ease of operation and maintenance. At the same time, FGH-1-2 has all the advantages of a modern multichannel chromatograph – the ability to reliably identify and accurately determine the concentrations of various pollutants of environmental objects. The additional use of automatic identification in the processing of chromatograms simultaneously through both channels makes FGH-1-2, in fact, a universal selective gas analyzer of organic substances using the chromatographic separation method.
In FGH-1-2, as well as in FGH-1, all methodological problems have been solved:
all measurement methods (MI) used are certified,
the devices are equipped with sampling devices prescribed in MI,
the devices are graded according to the required substances,
independent control of the stability of calibration characteristics and measurement errors is provided.
EKAN
Moscow
Produced in: Moscow
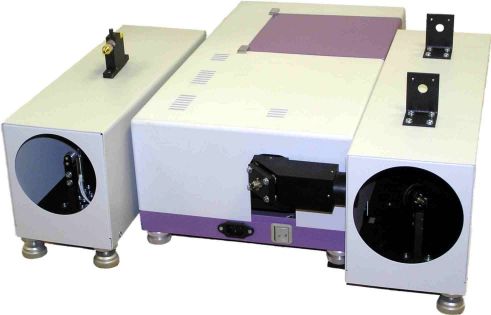
System for remote monitoring of the atmosphere
• Consists of a mirror telescope coupled with a Fourier spectrometer and a searchlight with an IR emitter
• Used to register the spectra of gas and aerosol-gas mixtures on routes up to 100 meters long
• The diameter of the main mirror of the telescope is 170 mm
• Angular field of view +/- 3 degrees.
• An additional reflector can be included in the kit
SIMEKS
Novosibirsk
Produced in: Novosibirsk
