Catalog
Search
4 products
View:
- Selected: 0Applying
- Selected: 1Names
- Selected: 0Manufacturer
- Selected: 0Made in
- Selected: 0Additional
View:
4 products

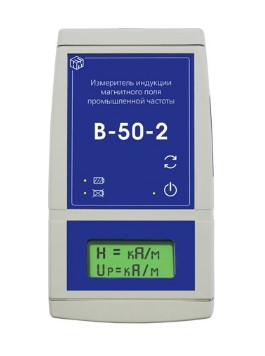
V-50-2 Industrial Frequency Magnetic Field Meter
from
77 500 ₽
It is designed to determine the induction module of the industrial frequency magnetic field created by magnetic systems and electrical devices for various purposes, power lines, power supply systems, transport and other sources.
NMT-ZASHCHITA
Moscow
Produced in: Moscow

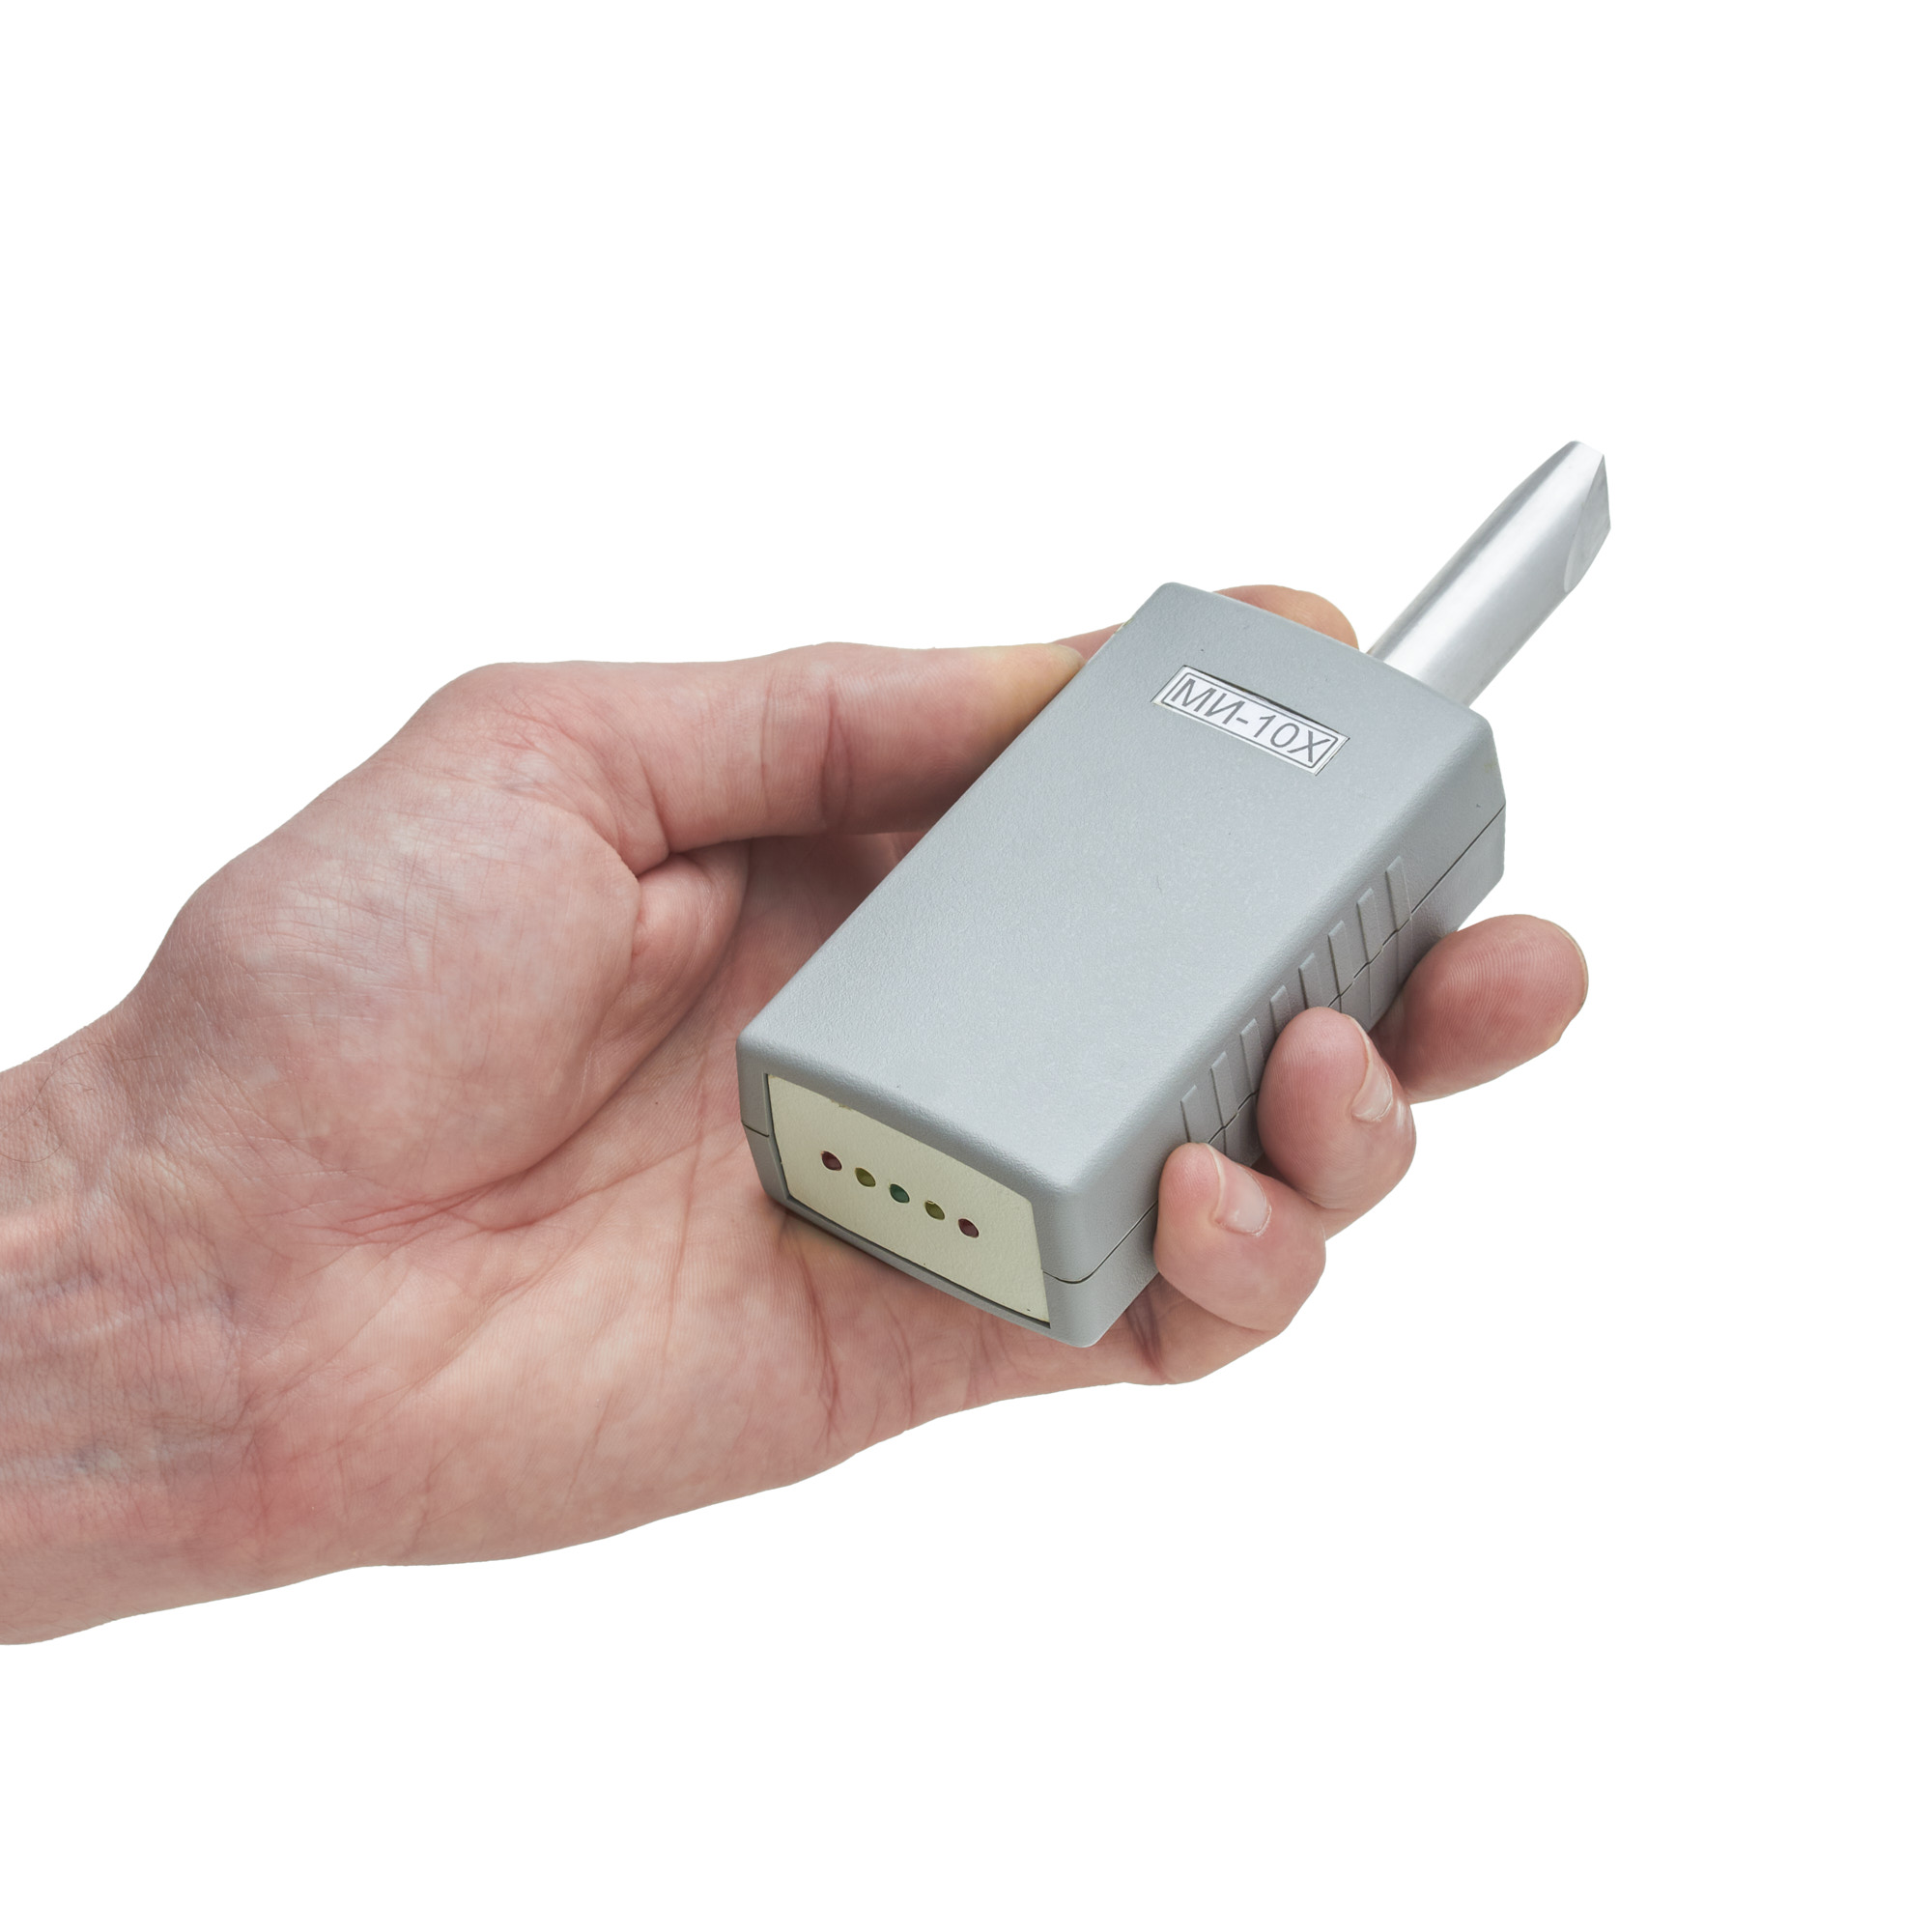
MI-10X Magnetic Indicator
from
17 000 ₽
Distinctive features.
Compactness
Autonomy
Maximum ease of handling
Energy saving mode
Technical specifications
Indication of induction levels, MT,:
weak magnetization 0...2
average magnetization 2...10
strong magnetization more than 10
Power supply 1 accumulator unit or PP3 battery
Current consumption, mA, no more than 8
Operating temperature range, °C -30...+50
Dimensions of the electronic unit, mm 90x50x32
Dimensions of the converter, mm 14x50
RII MNPO SPEKTR
Moscow
Produced in: Moscow

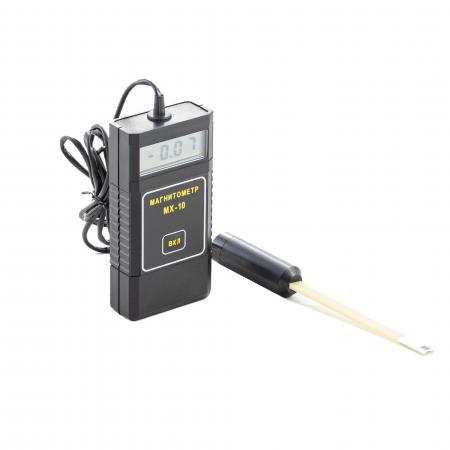
MX-10 Magnetometer
from
67 000 ₽
The MX-10 magnetometer is an auxiliary tool for conducting magnetic powder control using permanent magnets, rectified current electromagnets by the applied field method, as well as for monitoring by the residual magnetization method according to the requirements of the current regulatory documentation.
The MX-10 magnetometer meets the requirements in the field of non-destructive testing for the main industries: nuclear, energy, oil and gas complex, general and special engineering, railway transport, aerospace industry, elevator and crane facilities, etc.
Magnetometer MX-10 is an electronic measuring unit with a remote measuring converter, which is based on the Hall effect. The design of the device allows measuring both the normal and tangential component of the magnetic induction vector directly on the surface of the part. The measured value of the magnetic field induction value is displayed on the digital indicator of the electronic unit.
Features and Benefits
The updated version of the MX-10 magnetometer has a modern element base, which has significantly improved its performance, reduced error and expanded the measurement range (see the Table of Technical characteristics).
The device is capable of operating in two modes:
Constant measurement mode. This is convenient when carrying out a large number of measurements over a short period of time.
Automatic shutdown mode 1 minute after measurement. It allows you to save the charge of the device, which is especially important in the field.
A thermal compensation circuit ensures stable measurement readings at any temperature change.
Other features include:
The small dimensions of the Hall measuring transducer for the MX-10 magnetometer make it possible to measure the induction of the magnetic field in grooves, grooves, angular transitions, i.e. in those areas of the controlled product that are stress concentrators and are most dangerous from the point of view of cracking;
A wide range of measurements of the magnitude of the magnetic field induction;
The smallest measurement error among analogues in the entire operating temperature range;
Convenience of measurement by a remote measuring transducer in various planes;
Low power consumption and, as a result, long working time;
Low cost compared to similar models on the market;
Compact dimensions;
Manufacturer's warranty – 12 months;
The device is included in the state register of measuring instrument RU.C.27.004.A No. 36079 dated 01.09.2009 and has undergone a verification procedure. Magnetometer MX-10 (milliteslameter) it is also included in the register of measuring instruments, test equipment and measurement methods used in JSC "Russian Railways".
Scope of application
1. Verification of the magnetization modes of controlled parts using permanent magnets, rectified current electromagnets by the applied field method, as well as during the control by the residual magnetization method, by measuring the tangential and normal components of the magnetic field strength vector at one or more points on the surface of these parts. The number of points at which the magnetic field strength is measured and their location on the controlled surface depend on the shape of the part, as well as on the type and design of the magnetizing device used.
2. Control of the magnetization of parts before welding. During electric arc welding of non-magnetized parts, the effect of "magnetic blowing" is observed, i.e. the deviation of the electric arc from the axis of the electrode, the wandering of the arc end along the product, which leads to metal splashing during welding, deterioration of the seam quality. Therefore, before welding, it is necessary to measure the level and direction of magnetization of the parts and demagnetize them if necessary.
3. Verification of the residual magnetization after magnetic powder inspection. Demagnetization and verification of the residual magnetization of responsible, rubbing parts, as well as parts in contact with them after assembly, is prescribed in the requirements of the IPC and is a technological stage of control.
4. Magnetization control before assembling various structures. Magnetized parts can affect the operation of automation devices, cause errors in the readings of instruments, equipment. Magnetization can cause the accumulation of wear products in the movable joints, cause a negative effect on subsequent technological operations. Due to possible undesirable consequences, the parts are demagnetized and the quality of their demagnetization is checked.
5. Control of gas and water meters. Housing and utilities enterprises may also be interested in the device. It is known that existing gas or water flow meters can be easily "deceived" with the help of strong permanent magnets that reduce the rotation speed of the flow sensors. There are different ways to detect such theft. One of them is the control of the residual magnetization of the counters using magnetometers. The measured value should not significantly exceed the Earth's magnetic field, otherwise it can be concluded that there was unauthorized interference with the operation of the device.
Main technical characteristics
Measuring range, MT from 0.1 to 100
The limits of the permissible basic absolute measurement error, MT D = 0.02 VI + 0.05,
where VI is the magnetometer readings in MT
Power supply battery type: PP3 (nine-volt battery)
Consumption current, mA, no more than 15
Duration of continuous operation
(from fully charged batteries), h, at least 20
Overall dimensions, mm:
– electronic unit (LxWxH) 120x60x25
– Measuring transducer (Diameter x Length) 18x173
Weight, g, not more than 160
Ambient operating temperature, °C -10...+40
RII MNPO SPEKTR
Moscow
Produced in: Moscow

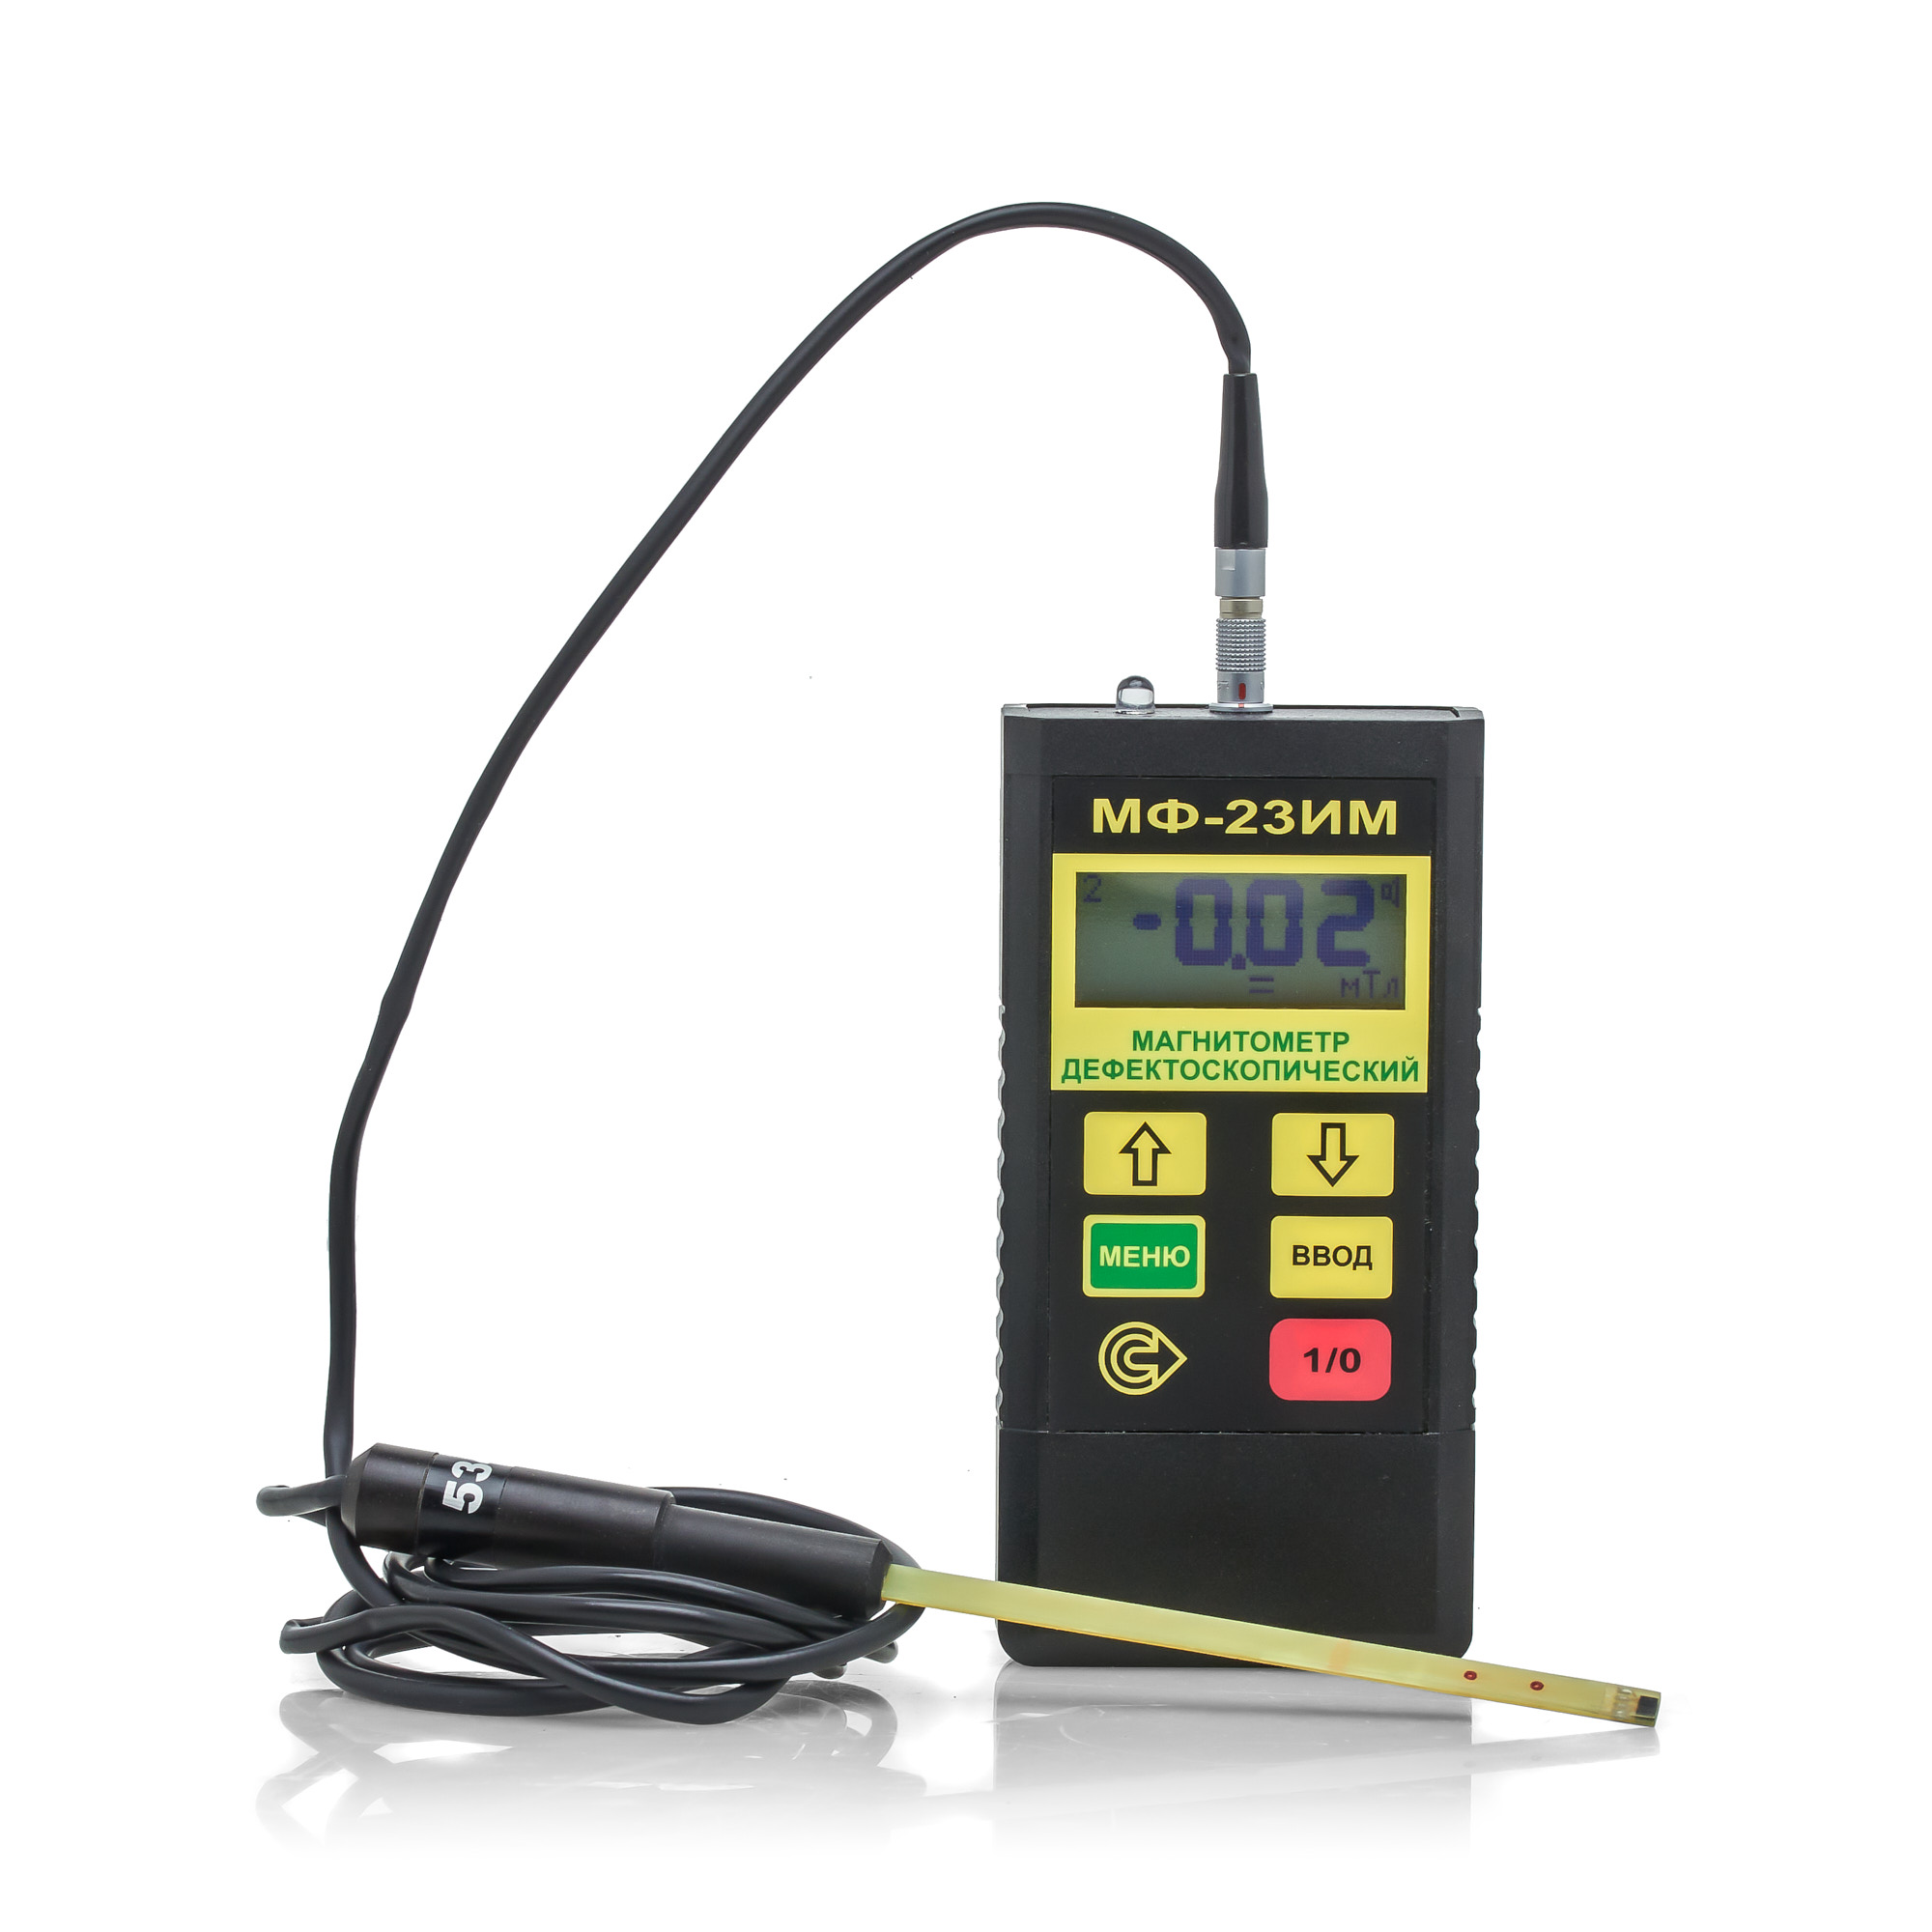
MF-23IM Flaw detection magnetometer
from
168 000 ₽
The MF-23IM flaw detection magnetometer allows you to determine the compliance of the ratio of the tangential and normal components of the magnetic field strength during magnetic particle testing using both the applied field method (AFM) and the remanent magnetization method (RMM) in accordance with the requirements of current regulatory documentation.
The MF-23IM flaw detection magnetometer meets the requirements in the field of non-destructive testing for the main industries: nuclear, energy, oil and gas complex, general and special engineering, railway transport, aerospace industry, elevator and crane facilities.
The flaw detection magnetometer is included in the State Register of Measuring Instruments (GRSI) under No. 20106-00. The magnetometer (milliteslameter) is also included in the register of measuring instruments, testing equipment and measurement methods used at JSC Russian Railways. The flaw detection magnetometer MF-23IM from the manufacturer is used to measure the parameters of constant, variable (industrial frequency) and pulsed magnetic fields when testing ferromagnetic products using the magnetic particle method, as well as to control the level of industrial interference. Specifications.
Magnetic field induction (strength) measurement range: - constant and variable (amplitude and average values) 0.5…1000 mT (4…8000 A/cm) - pulsed (amplitude value) 2…1000 mT (18…8000 A/cm) Indication of measurement results digital or digital + graphic Indicator liquid crystal display Power supply from 1 PP3 battery Current consumption, mA, no more than 15 Memory capacity for storing results 4080 Communication with a computer via infrared channel Dimensions of the electronic unit, mm, no more than 120x60x25 Weight of the electronic unit with battery, g 150
The minimum dimensions of the Hall transducer for the MF-23IM magnetometer make it possible to measure the induction and magnetic field strength in grooves, grooves, corner transitions, i.e. in those areas of the controlled product that are stress concentrators and the most dangerous from the point of view of crack formation; · Measurement of pulsed magnetizing field with pulse duration from 0.5 ms; · Small measurement error (see technical specifications table) · Compact size and low power consumption;
· The magnetometer has 2 modes for displaying measurement results – digital and graphic). The MF-23IM magnetometer in graphical display mode allows you to detect a demagnetizing pulse by displaying its shape and amplitude on a graphic display, as a result of which changes can be made to the magnetization circuit in a timely manner. · The software of the MF-23IM magnetometer allows you to flexibly configure not only the response thresholds, but also the time base, which allows you to tune out false indications caused by reverse emissions of the magnetic field or electromagnetic interference from operating power equipment (magnetizing devices or magnetic particle flaw detectors).
· Determination of the effective magnetization region, within which the tangential component of the magnetic field strength is sufficient for magnetic particle testing, and the ratio of the normal and tangential components of the magnetic field strength is less than or equal to 3. · Checking the mode of magnetization/demagnetization of test objects for compliance with the methodology/technological instructions for magnetic particle testing for a given object.
BASIC SET: Electronic unit Converter 1 Converter 2 Caliber PP3 battery CD with program Case Flaw detection magnetometer MF-23IM. Passport
RII MNPO SPEKTR
Moscow
Produced in: Moscow
