Catalog
Search
184 products
View:
- Selected: 1Areas of use
- Selected: 0Item names
- Selected: 0Manufacturer
- Selected: 0Made in
- Selected: 0Additional
View:
184 products
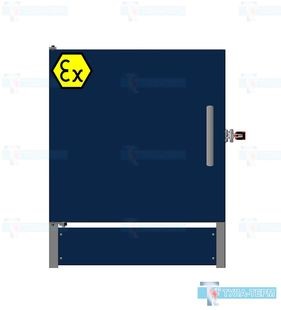
Explosion-proof vacuum electric furnace START-215
Vacuum resistance furnaces are necessary for heating products before pressure treatment, for sintering, degassing, quenching, annealing, soldering and chemical-technological processes. Such furnaces among all the variety of thermal equipment are considered the most environmentally friendly – heat treatment is carried out at t up to +2500 ° C in a purified vacuum. Under certain conditions, vacuum furnaces are used to work with neutral gases.
The outer part of the furnace is made of stainless steel and is cooled by liquid. The inner part of the working chamber, where the heat treatment of materials is carried out, is made of an alloy of molybdenum and tungsten. The components are characterized by a low inertia force, reduced gas separation. The settings are available on the control panel, where the instruments, automatic and manual control switches are located.
At every enterprise of the electronic industry, nuclear power, an explosion-proof vacuum resistance furnace is needed. The same applies to areas where various products undergo heat treatment at the stage of production and preparation for use
Tula-Term
Tula
Produced in: Tula
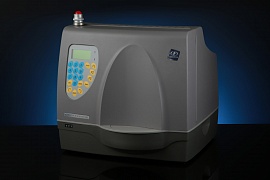
Spectrometer SPECTROSCAN MAX-G
The spectrometer is designed to determine the contents of elements in the range from Ca to U in substances in solid, powdery, dissolved states, as well as deposited on the surface or deposited on filters.
The principle of operation of the spectrometer is based on irradiation of the sample with primary radiation from an X-ray tube, measurement of the intensity of secondary fluorescent radiation from the sample at wavelengths corresponding to the elements being determined, and subsequent calculation of the mass fraction of these elements according to a pre-constructed calibration characteristic, which is the dependence of the content of the element being determined on the measured intensity.
Secondary fluorescent radiation is decomposed into a spectrum using a crystal analyzer. Due to this, the spectrometer has a high resolution, and therefore the ability to accurately analyze complex multicomponent substances.
NPO Spektron
Saint Petersburg
Produced in: Saint Petersburg
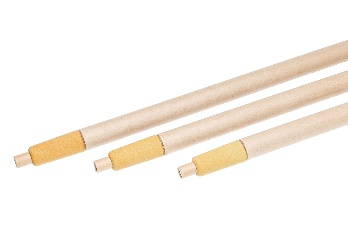
EVRAZOXY For high oxidation
Purpose: Measurement of oxygen activity in molten steel
Scope of application: Oxygen converters, electric arc furnaces, induction furnaces, blast furnaces, casting buckets
Measurement range:
from 50 to 2000 ppm O2 - metal oxidation
from 1000 to 1800 °C - metal temperature
from 0.010 to 0.200% - carbon content
Accuracy: 0 + 3°C at 1554°C;
(from 5 to 10) mV (depending on the level of oxygen activity)
Measurement time: 8 sec
Tube Length: from 100 to 1500 mm (other lengths are available on request)
Slag Cap: Steel, cardboard
Type of NSH: B, S, R
EVRAZPRIBOR
Lipetsk
Produced in: Lipetsk
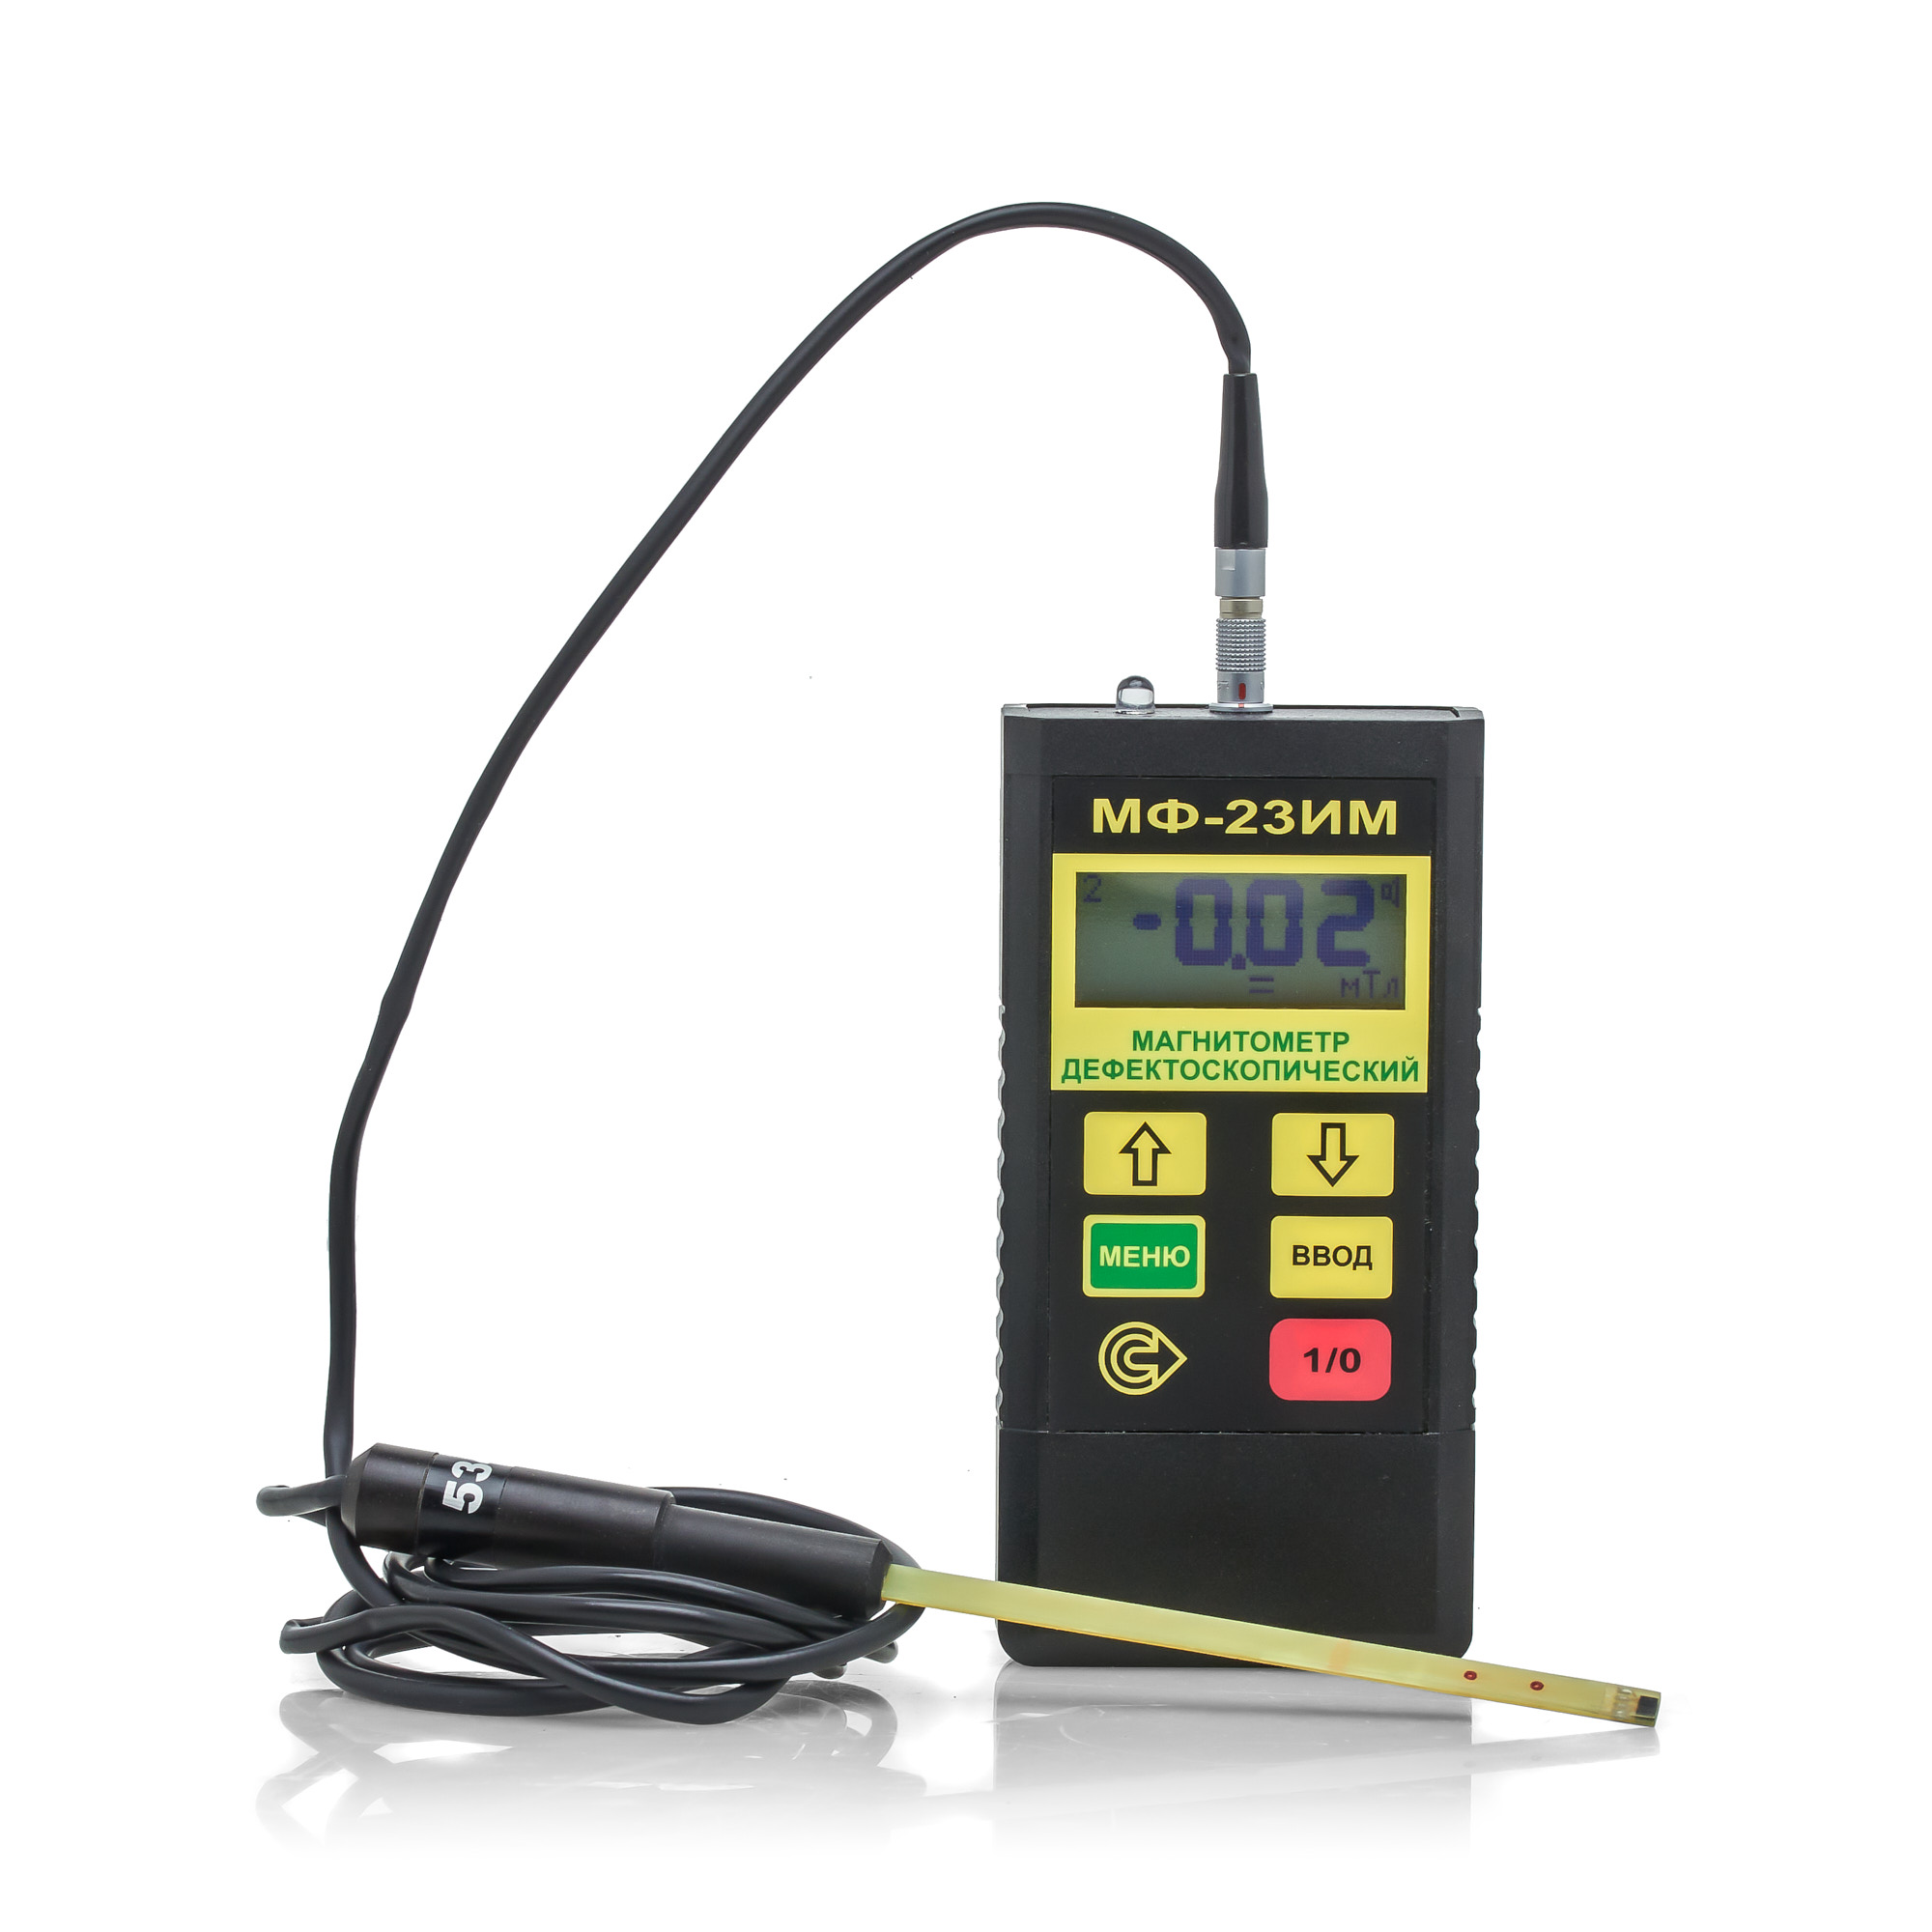
MF-23IM Flaw detection magnetometer
from
193 200 ₽
The MF-23IM flaw detection magnetometer allows you to determine the compliance of the ratio of the tangential and normal components of the magnetic field strength during magnetic particle testing using both the applied field method (AFM) and the remanent magnetization method (RMM) in accordance with the requirements of current regulatory documentation.
The MF-23IM flaw detection magnetometer meets the requirements in the field of non-destructive testing for the main industries: nuclear, energy, oil and gas complex, general and special engineering, railway transport, aerospace industry, elevator and crane facilities.
The flaw detection magnetometer is included in the State Register of Measuring Instruments (GRSI) under No. 20106-00. The magnetometer (milliteslameter) is also included in the register of measuring instruments, testing equipment and measurement methods used at JSC Russian Railways. The flaw detection magnetometer MF-23IM from the manufacturer is used to measure the parameters of constant, variable (industrial frequency) and pulsed magnetic fields when testing ferromagnetic products using the magnetic particle method, as well as to control the level of industrial interference. Specifications.
Magnetic field induction (strength) measurement range: - constant and variable (amplitude and average values) 0.5…1000 mT (4…8000 A/cm) - pulsed (amplitude value) 2…1000 mT (18…8000 A/cm) Indication of measurement results digital or digital + graphic Indicator liquid crystal display Power supply from 1 PP3 battery Current consumption, mA, no more than 15 Memory capacity for storing results 4080 Communication with a computer via infrared channel Dimensions of the electronic unit, mm, no more than 120x60x25 Weight of the electronic unit with battery, g 150
The minimum dimensions of the Hall transducer for the MF-23IM magnetometer make it possible to measure the induction and magnetic field strength in grooves, grooves, corner transitions, i.e. in those areas of the controlled product that are stress concentrators and the most dangerous from the point of view of crack formation; · Measurement of pulsed magnetizing field with pulse duration from 0.5 ms; · Small measurement error (see technical specifications table) · Compact size and low power consumption;
· The magnetometer has 2 modes for displaying measurement results – digital and graphic). The MF-23IM magnetometer in graphical display mode allows you to detect a demagnetizing pulse by displaying its shape and amplitude on a graphic display, as a result of which changes can be made to the magnetization circuit in a timely manner. · The software of the MF-23IM magnetometer allows you to flexibly configure not only the response thresholds, but also the time base, which allows you to tune out false indications caused by reverse emissions of the magnetic field or electromagnetic interference from operating power equipment (magnetizing devices or magnetic particle flaw detectors).
· Determination of the effective magnetization region, within which the tangential component of the magnetic field strength is sufficient for magnetic particle testing, and the ratio of the normal and tangential components of the magnetic field strength is less than or equal to 3. · Checking the mode of magnetization/demagnetization of test objects for compliance with the methodology/technological instructions for magnetic particle testing for a given object.
BASIC SET: Electronic unit Converter 1 Converter 2 Caliber PP3 battery CD with program Case Flaw detection magnetometer MF-23IM. Passport
RII MNPO SPEKTR
Moscow
Produced in: Moscow
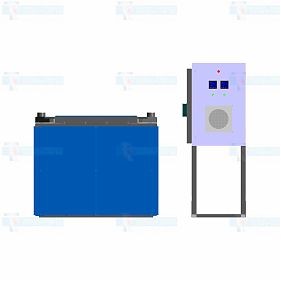
Salt low-temperature bath SHS-6.5.6,2/5,5
from
2 561 724 ₽
Salt baths (furnaces) are used for low tempering of steels, annealing and heating for hardening of aluminum alloys, for tempering aluminum alloys, for tempering high-speed steel and for the first stage of heating high-speed steel.
The low-temperature saltpeter bath SHS-6.5.6.2/5.5 is designed for heat treatment of parts in a saltpeter melt at temperatures up to 550 ° C in stationary conditions.
Tula-Term
Tula
Produced in: Tula
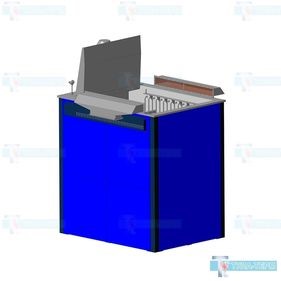
Quenching water tank BZV – 10.12.15/0.8
Heating chamber power, kW
40
Supply voltage, V
380 ±15%
Frequency, Hz
50
Number of phases
3
Maximum operating temperature, oS
80
The range of automatic temperature control, oS
From 20 to 80
Stability of automatic temperature maintenance, oS
±6
Environment in the workspace
Water, oil, polymer liquid.
Warm-up time to maximum temperature, h
1,5
Heating control
Digital controller
Workspace dimensions:
width,mm
1000
depth, mm
1200
height, mm
1500
Overall dimensions of the product:
width (without control cabinet), mm
1800
depth, mm
2100
height, mm
2750
Weight, kg
700
Working hours, hours per day/days per week
24/5
Tula-Term
Tula
Produced in: Tula
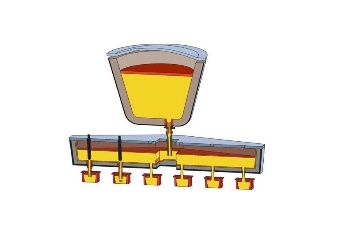
Continuous measurement of temperature in the industrial area
Appointment: the continuous measurement system allows for continuous measurement of the heating temperature of the industrial bucket, to improve the stability and reliability of measuring the temperature of liquid metal. Due to the fixed measurement position, the system eliminates errors due to the human factor. This method of measuring temperature was researched and invented on the theory of an absolutely black body. The principle of the temperature measurement system is the immersion of a temperature probe into molten steel to determine the temperature. The temperature probe made of an absolutely black body is designed in a special way to receive an infrared radiation signal corresponding to the temperature of molten steel.
Scope of application: Intermediate bucket
Measuring range:
Warming up the promkovsh: from 800°C to 1400°C; Molten steel: from 1400°C to 1600°C
Accuracy: Preheating of the promkovsh 7 ° C; Molten steel: 3 ° C
Response time: Hot response time 75 sec;
Cold response time 4 min
Measuring probe length: 964mm, 1100mm
Durability of measuring probes: 12 hours, 24 hours, 48 hours
Number of thermal shocks: up to 5 times
EVRAZPRIBOR
Lipetsk
Produced in: Lipetsk
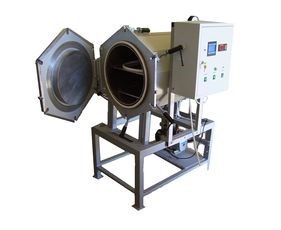
Vacuum compression furnace SNVS-4,5.5,5/3-I2PD
Vacuum compression furnace SNVS-4,5.5,5/3-I2PD is designed for drying, degassing in vacuum and under pressure at temperatures up to 300 0C.
Tula-Term
Tula
Produced in: Tula
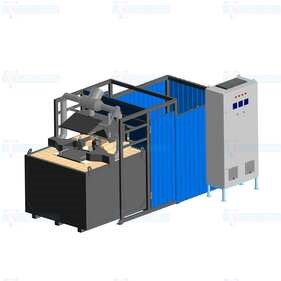
Salt electrode bath SHS 3.3.6/13
from
7 454 100 ₽
The product is designed for heating in liquid media of salts of parts for quenching, tempering, and normalization without oxidation in the temperature range from 700 OC to 1200 oC in stationary conditions. The environment of the workspace is a molten salt.
Salt electroplants are most often used in the heat treatment of tool steels for rapid heating for quenching and other types of processing with minimization of the decarbonized layer.
The electrode salt bath functions on the basis of the conductive properties of molten salts. From the power grid, the current flows through the transformer to the electrodes dipped in molten salt, and under this influence it heats up to the desired temperature.
Tula-Term
Tula
Produced in: Tula
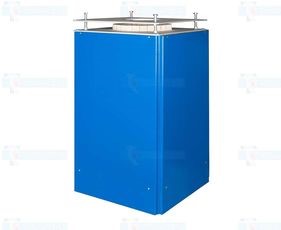
Muffle shaft furnace with digital control SSHOL-70/11
from
599 430 ₽
The muffle shaft furnace with digital control SSHOL-70/11 (hereinafter referred to as the "furnace") is designed for firing products, melting and heat treatment of metals. It can be used as a universal laboratory muffle furnace in metallurgical, ceramic, jewelry production, dental, chemical and food laboratories.
Tula-Term
Tula
Produced in: Tula
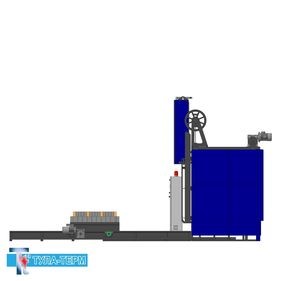
Chamber low-temperature electric furnace with a retractable hearth-8.16.5/5,0- I2-In
Designation
SNOT-8.16.5/5,0- I2-In
Tula-Term
Tula
Produced in: Tula

Explosion-proof vacuum electric furnace START-50
Vacuum resistance furnaces are necessary for heating products before pressure treatment, for sintering, degassing, quenching, annealing, soldering and chemical-technological processes. Such furnaces among all the variety of thermal equipment are considered the most environmentally friendly – heat treatment is carried out at t up to +2500 ° C in a purified vacuum. Under certain conditions, vacuum furnaces are used to work with neutral gases.
The outer part of the furnace is made of stainless steel and is cooled by liquid. The inner part of the working chamber, where the heat treatment of materials is carried out, is made of an alloy of molybdenum and tungsten. The components are characterized by a low inertia force, reduced gas separation. The settings are available on the control panel, where the instruments, automatic and manual control switches are located.
At every enterprise of the electronic industry, nuclear power, an explosion-proof vacuum resistance furnace is needed. The same applies to areas where various products undergo heat treatment at the stage of production and preparation for use.
Tula-Term
Tula
Produced in: Tula
