Catalog
Search
696 products
View:
- Selected: 1Applying
- Selected: 0Names
- Selected: 0Manufacturer
- Selected: 0Made in
- Selected: 0Additional
View:
696 products
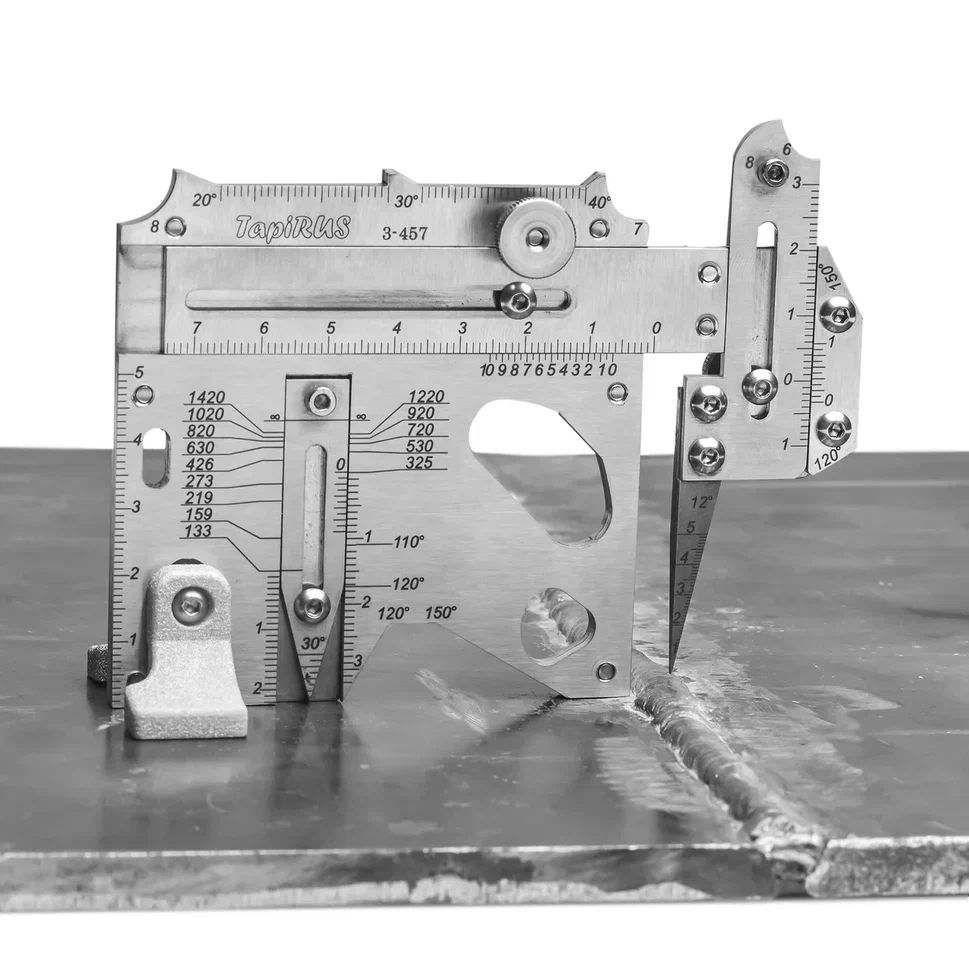
UShS "Tapirus" with cover and supports
from
18 000 ₽
The UShS TapiRus is designed to replace numerous templates and devices used in visual and measuring quality control of welded joints. It is approved as a means of measuring the geometric parameters of welded joints and surface defects during visual and measuring control (VIC) and supplied with verification. It allows you to determine most of the geometric parameters of welded joints and surface defects: the width and convexity of the seam, the depth of the cut, the amount of edge displacement, the angle of the angular seam, the angle of the bevel and the gap, etc. Equipped with supports that allow you to uniquely position the template on a curved surface. To carry out measurements with an error of 0.1 mm, scales with a vernier are applied to the TapiRUS surface. It contains a number of gauges for assessing the smooth transition from the deposited to the base metal, the size of the cathets, radii and angles of cutting edges. Equipped with a probe with a replaceable measuring needle to determine the size of gaps and heights / depressions.
The development, preparation for production and manufacture of TapiRus were carried out exclusively in digital format.
The latest laser and additive technologies are used in the production of TapiRUS:
high-precision laser cutting machines in inert gas;
five-axis CNC machining centers;
ultra-precise color laser engraving of the entire product assembled;
laser stereolithography (SLA) is a technology of layer–by-layer synthesis of a material from a liquid photopolymer.
Advantages
Easy to install. Accurate positioning along the normal to the surface of the object of control and stability of the position when performing measurements.
Functionality. Measurement of most geometric parameters of welded joints and surface defects.
Measurement accuracy. The measurement error on the template scales does not exceed 0.1 mm.
Modernity. Online calculator ergonomic accessories smart version.
More detailed information can be found on the website tapirus.info
MEASURED PARAMETERS AND DEFECTS
VIC at the stage of input control
wall thickness
depth of corrosion ulcers on the base metal
the depth of corrosion ulcers on the weld
the depth of scratches (risks), a bully on the base metal
edge bevel angle
the amount of blunting
geometric parameters of the dent
VIC during assembly (preparation for assembly)
edge offset
withdrawal (angularity) of edges
the gap in the cutting
the height of the potholders
angular displacement
VIC in the welding process (surfacing)
edge offset
height of the root (filling) layer
withdrawal (angularity) of edges
angular displacement
VIC of finished welded joints (structures)
edge offset
angular displacement
the height of the reinforcement of the seam
the height of the bulge (when welding elements of different thickness)
the width of the reinforcement of the seam
withdrawal (angularity) of edges
the depth of the sinking between the rollers
incomplete filling of the cutting edges
scaliness of the seam surface
smooth transition
undercut depth
seam crater depth
technical specifications
Measured parameter Scale Range,mm Error, mm
Depth, mm H 0...20 ±0.1 (in the range 0...10 on), ± 0.5 (in the range over 10...20)
Height, mm H 0...6 ±0.1
Width, mm W 0...55 ±0.1 (in the range 0...10 on), ± 0.5 (in the range over 10...20)
Clearance, mm N 0...5 ±0.1
Dullness, mm F, G 0...25 ±0.5
Specifications
Overall dimensions, mm, no more
(without supports) 115x85x15 ± 0.5
(with supports) 115x85x42 ±0.5
Average time to failure, cycles,
at least 55,000
Weight, kg, not more than 0.22
Average service life, at least 1 year
RII MNPO SPEKTR
Moscow
Produced in: Moscow
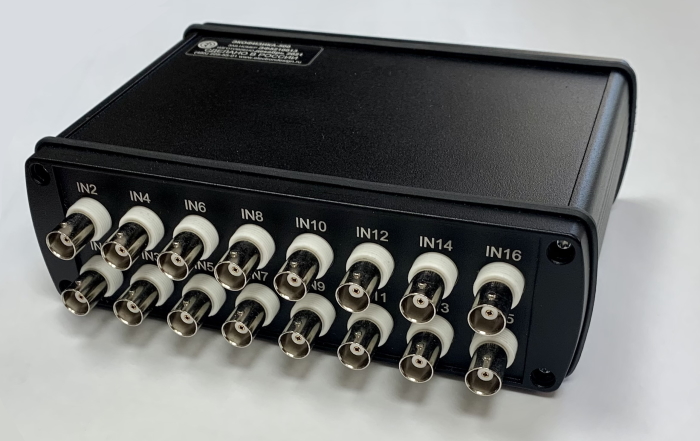
Multichannel digital measuring converter - recorder Ecofizika-500
Ecofizika-500 is a multifunctional modern platform for building complex measuring systems.
The developed software makes it possible to fully use the powerful hardware potential of the system in tasks requiring the use of complex computational algorithms.
Ecofizika-500 is not just another multi-channel frontend designed to transfer unprocessed data to a computer; it is an independent measuring device capable of calculating a huge number of quantities in real time, storing them in its own memory and (or) issuing them to a telemetry channel.
The device can be used, including in offline mode, as a data logger, which is very important when testing complex equipment that limits the presence of the operator.
Ecofizika-500 has an approved type of measuring instrument and methodological support for measuring acoustic and vibrational quantities.
Ekofizika
Moscow
Produced in: Moscow
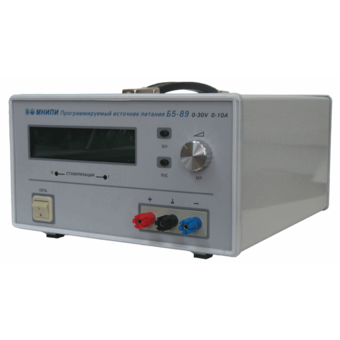
Power supply B5-89, B5-89/1
Technical specifications:
Indicator name, unit of measurement, Indicator value,
B5-89, B5-89/1
The range of the output voltage setting, the limits of the absolute error of the output voltage setting:- basic error, In; - in operating conditions, In, from 0 to 30.0 ± 0.2± 0.3, from 0 to 100.0 ± 0.3± 0.45
The range of the output current setting, the limits of the absolute error of the output current setting:- basic error, A; - in operating conditions, A, from 0 to 10.0 ± 0.2± 0.3, from 0 to 3.0 ± 0.1± 0.15
Instability of the output voltage when the supply voltage changes by ± 10% of the nominal value in the voltage stabilization mode, %, ± 0.05, no more,
Instability of the output current when the supply voltage changes by ± 10% of the nominal value in the current stabilization mode, %, ± 0.2, no more,
Instability of the output voltage when the load current changes at the output terminals of power supplies in voltage stabilization mode, %, ± 1, no more,
Instability of the output current when the load voltage changes in the current stabilization mode at minimum load currents, %, ± 5, no more,
Instability of the output current when the load voltage changes in the current stabilization mode at maximum load currents, %, ± 0.5, no more,
Output voltage ripple in voltage stabilization mode, mV, 1.0, no more,
Output current ripple in current stabilization mode, %, 1, no more,
Instability of the output voltage from time, V, ± 0.5, ± 1.0
Instability of the output current from time, A, ± 0.3, ± 0.2
AC power supply: - voltage, V; - frequency, Hz, 230 ± 2350 ± 0.5,
Weight, kg, 13.0, no more,
Overall dimensions, mm, 384x301x169
MNIPI
Minsk
Produced in: Belarus, Minsk
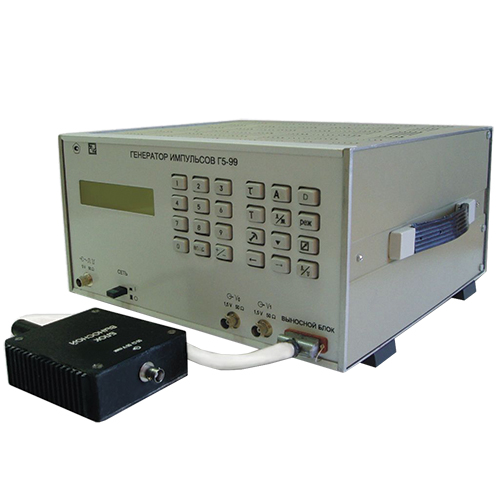
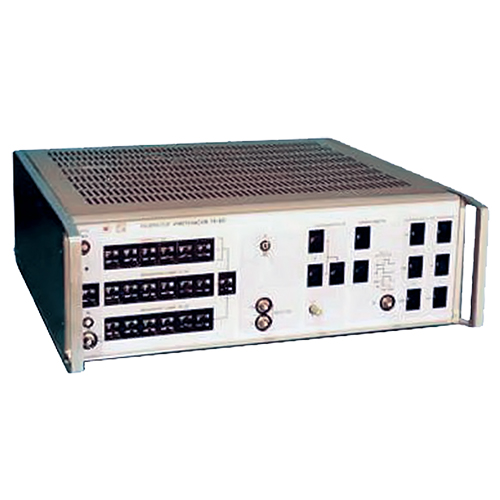
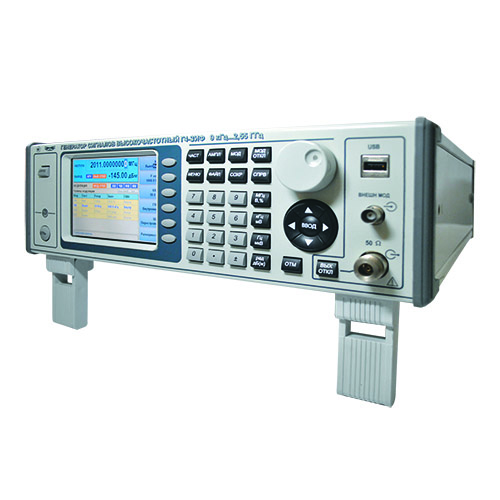
High-frequency signal generator G4-233
NNPO im. M.V.Frunze
Nizhny Novgorod
Produced in: Nizhny Novgorod
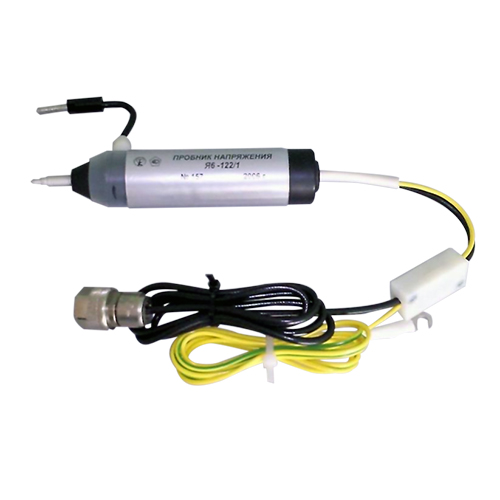
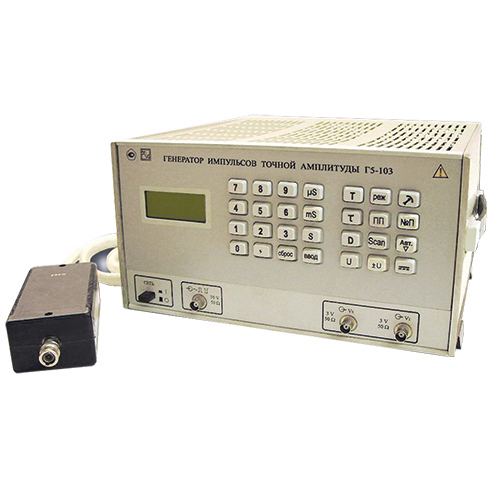
Precise amplitude pulse generator G5-103
NNPO im. M.V.Frunze
Nizhny Novgorod
Produced in: Nizhny Novgorod
