Catalog
Search
211 products
View:
- Selected: 1Areas of use
- Selected: 0Item names
- Selected: 0Manufacturer
- Selected: 0Made in
- Selected: 0Additional
View:
211 products
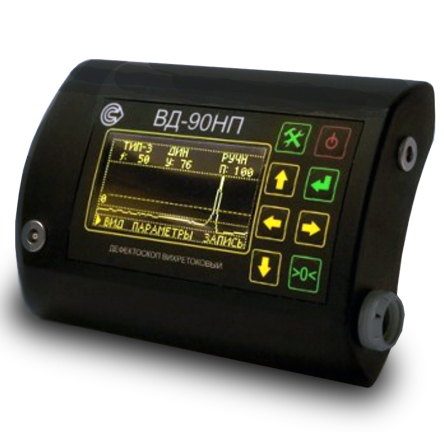
VD-90NP Eddy current flaw detector in the basic configuration
from
398 250 ₽
The principle of operation of the device:
The principle of operation of the flaw detector is based on the excitation of eddy currents in the controlled product and the subsequent release of a signal at the output of the converter, the amplitude and phase of which are determined by the secondary field of eddy currents.
Design features and advantages of the VD-90NP flaw detector.
The device has a small-sized case, which ensures its lightness, ergonomics and allows you to mount it on your belt or on your arm. The measurement is performed using a remote converter connected by a flexible cable. There are several types of converters for eddy current flaw detection of products made of different materials and different geometries. The large and bright display displays the selected operating modes and measurement results in text and graphic form. The VD-90NP is also characterized by:
high sensitivity (it detects cracks starting from 0.1 mm in size);
dust–and-moisture-proof housing, which makes it applicable for work in the field;
large operating frequency range;
maximum working clearance up to 10mm;
Bluetooth connection;
the ability to control products with high surface roughness, up to Rz320 class;
light and sound indication of defect detection;
wide operating temperature range from –30°C to +50°C;
autonomous low-voltage power supply;
long continuous operation time from one set of batteries;
compliance with the standard GOST R ISO 15549-2009 (ISO 15549:2008).
The use of a microprocessor-based hardware and software platform provide it with the following operational characteristics:
automatic adjustment when measuring conditions change, including compensating the influence of the gap;
built-in calibration modes;
saving the measurement results in the internal memory of the device;
a large number of stored programs: sets of parameters and measurement modes, both preset and saved by the user so as to repeatedly monitor the same type of products;
The Bluetooth 2.0 wireless communication module allows the device to be used in conjunction with an external laptop or mobile device for remote control, transmission of measurement results for further storage, printing, documentation and analysis.
Scope of application:
The eddy current method is suitable for non-destructive testing and detection of microcracks in products and parts made of any metals and alloys of complex shape, with high surface roughness, through non-conductive coatings, as well as for checking welded joints. The flaw detector can be used to control parts and assemblies of aviation equipment.
The VD-90NP eddy current flaw detector is used for quality control and preventive examination of:
- components and parts of rolling stock at railway transport enterprises: wheel sets, auto coupler housings, side frames, spring beams, labyrinth rings, pulleys;
- pipes, profiles, rods at rolling mills at the output control, and at the input control of consumers of products;
- products made of aluminum and titanium alloys with multilayer coatings at enterprises of the aviation and aerospace industry;
- cables, beams, critical components of equipment (cranes, lifts) in construction;
- main pipelines in order to detect stress corrosion.
A wide range of operating temperatures, dust and moisture protection (IP54 degree of protection), autonomous low-voltage power supply, a long time of continuous operation of the device allows it to be used in the field at low temperatures and under precipitation (rain, snow).
Basic kit:
• 1 electronic unit for the VD-90NP eddy current flaw detector;
• 1 Ia5.125.052 (Type-2) eddy current converter;
• 1 converter cable;
• 1 charger with batteries;
• 1 hand strap;
• 1 Ia8.896.104 sample with artificial defects;
• 1 Ia8.896.035 coating sample;
• 1 storage and carrying case;
• 1 documentation set.
RII MNPO SPEKTR
Moscow
Produced in: Moscow
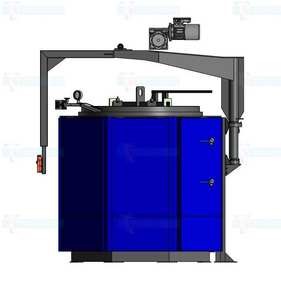
Shaft furnace industrial SSHO-16.14/11
Designation
SSO-16.14/11
Power, kW
150
Diameter, mm
1600
Height, mm
1400
Tula-Term
Tula
Produced in: Tula
Shaft furnace industrial SSHO-10.5.22/10
Designation
SSO-10.5.22/10
Temperature
1000 oC
Power, kW
160
Amount of workspace
1900 l
Diameter, mm
1030
Height, mm
2240
Tula-Term
Tula
Produced in: Tula
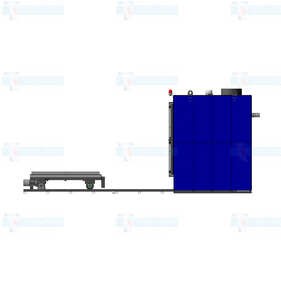
Chamber low-temperature electric furnace with a retractable hearth-12.16.16/1,2- I2-In
Designation: SNOT-12.16.16/1,2- I2-In
Temperature 0C: 120
Door opening: manual
Hearth drive: electromechanical
Camera Size (WSHG): 1600x1200x1600
Fan: Yes
Tula-Term
Tula
Produced in: Tula
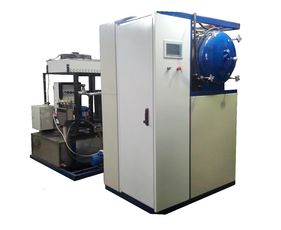
Vacuum compression furnace SNVS-8,5/16- I3
The electric furnace is designed for various thermal processes of annealing, degassing, sintering and other processes in vacuum at temperatures up to 1600 ° C and small gas emissions, in which there is no interaction of the residual gas medium with heater materials, screen insulation and other structural elements.
Tula-Term
Tula
Produced in: Tula
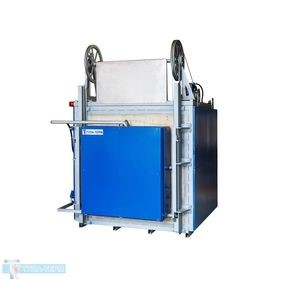
Chamber electric resistance furnace CHO-8.16.8
from
550 000 ₽
Designation: SNO-8.16.8
Temperature: 1200
Open.doors: electromechanical
Camera size (w.G.V.):600x1200x400
Regulation zones: 1
Tula-Term
Tula
Produced in: Tula
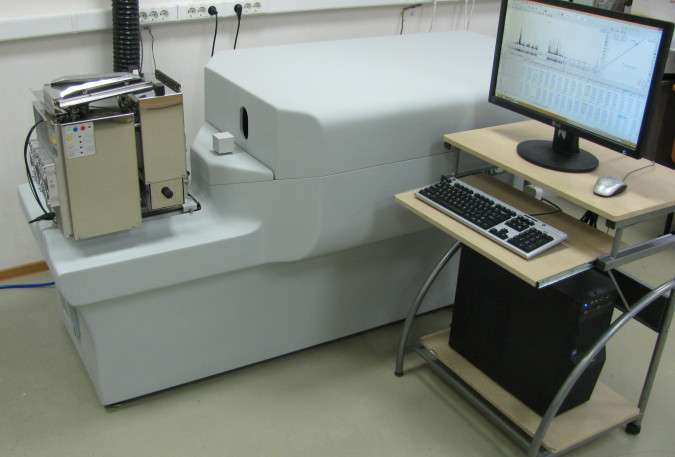
Atomic Emission Complex "Grand Stream"
Atomic Emission Complex "Grand Stream" is designed for rapid determination of the composition of powder samples of natural and industrial origin, includes a "Grand" spectrometer, a "Stream" installation and auxiliary equipment for sample preparation.
VMK OPTOELEKTRONIKA
Novosibirsk
Produced in: Novosibirsk
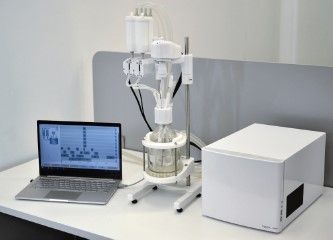
CR-1B Reactor by Tetraquant
1 supp.
The CR-1B reactor is an automated chemical reactor with thermostat, stirrer and reagent management system. To control the reactor, specialized software is used (supplied with the reactor). This reactor may be of most interest for laboratory research for routine synthesis of nano/microparticles (e.g. vaterite), as well as experimental scaling tests with a view to further transferring it to production facilities.
TetraKvant
Moscow
Produced in: Moscow
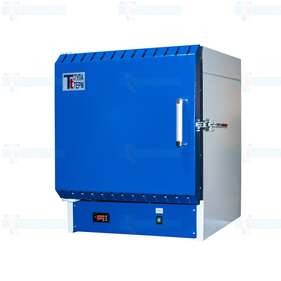
Laboratory electric furnace CHO-34
from
276 396 ₽
Designation
SNO-34
Volume, l
34
Material of the working chamber
ceramics
Heating
4 sides
Power consumption, W, max
10000
Minimum operating temperature, 0C
100
Tula-Term
Tula
Produced in: Tula
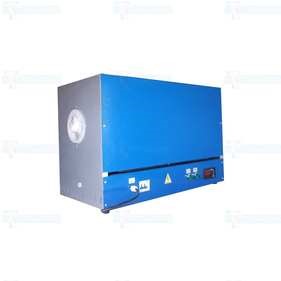
Electric resistance furnace tubular laboratory SUOL-0,9.7/15
Electric resistance furnace tubular laboratory SUOL-0,9.7/15 is designed for heat treatment of various materials and other work at a temperature of 1500oC.
Tula-Term
Tula
Produced in: Tula
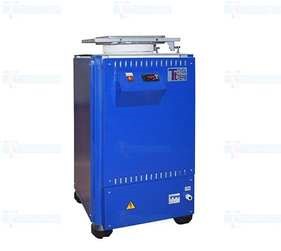
Laboratory shaft furnace SSHOL-8/11
from
197 354 ₽
Designation
SSHOL-8/11
Supply voltage,
220 ± 10%
Network frequency, Hz
50
Power consumption, W, max
4000
Tula-Term
Tula
Produced in: Tula
