Catalog
Search
2 products
View:
2 products

Software "Atom"
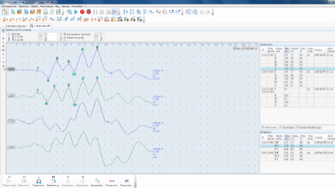
Software "Atom" works within MSWindowsXP environment/7/8/10 and provides the analyst with a wide range of possibilities for conducting atomic emission spectral analysis, performs all the necessary processing of atomic emission spectra and calculation of concentrations, and also allows routine and non-standard analyses to be carried out with maximum efficiency.
VMK OPTOELEKTRONIKA
Novosibirsk
Produced in: Novosibirsk

Hardware and software complex "Chameleon" for a comprehensive assessment of the quality of KSS
1 supp.
The use of the Chameleon complex will allow during a one-time installation of the object:
• to carry out visual and measuring control of the welded joint
to determine the required number of exposures at the specified values of the distance "radiation source-object of control", the size of the focal spot, the control class according to the standard GOST ISO 17636-2-2017
to measure intensity (gray level)/optical density at any point of the image
to display a histogram (distribution) of image intensities
to display a histogram of the intensity/optical densities of an arbitrarily selected segment or area in the image
to use digital filters to restore some of the useful information in the digital image
calibrate the "electronic ruler" according to the known dimensions of objects in the image (for example, the sensitivity standard)
to measure after calibration the linear dimensions of defects, the distance between defects, the distance between any points in the image
after calibration, to measure the linear dimensions of defects, the distance between defects, the distance between any points in the image calculate the area of defects measure the signal-to-noise ratio along the rectangle 22 by 50 at the point under the cursor determine the value of the basic spatial resolution SRb from the image of the double wire type standard
• to obtain an X-ray image of the welded joint in accordance with GOST ISO 17636-2-2017
• to perform measurements of the irregularities of the welded joint detected by the results of decoding
• to generate a conclusion based on the results of the control without an intermediate stage of fixing the results
Flat panel detector "Prodis.Mark"
technology: CMOS
scintillator: CsI
operating modes: static, dynamic (without the use of intermediate processes of "fixing" the radiation image)
the maximum energy of the radiation source is 300 keV
pixel size: 50 microns
the size of the active area: 12x15, 15x24 or 24x30 cm
Software – DICONDE Engineering solutions and technologies used in the manufacture of the detector allow: to ensure high data reading speed and low noise level; to meet the requirements for the quality of the resulting image according to GOST ISO 17636-2 for thicknesses in the range of 1.5-12 mm; to reduce by an order of magnitude the control time during exposure in real time (analog of the X-ray method)
Device for non-contact measurement of geometric parameters of a welded joint
It is intended for obtaining a digital model of the profile of a welded joint in real time and subsequent measurement of such parameters as: linear and angular displacement of edges, height and width of reinforcement, smooth transition from the main to the deposited metal, depth of undercuts.
The achieved measurement accuracy is 0.1 mm
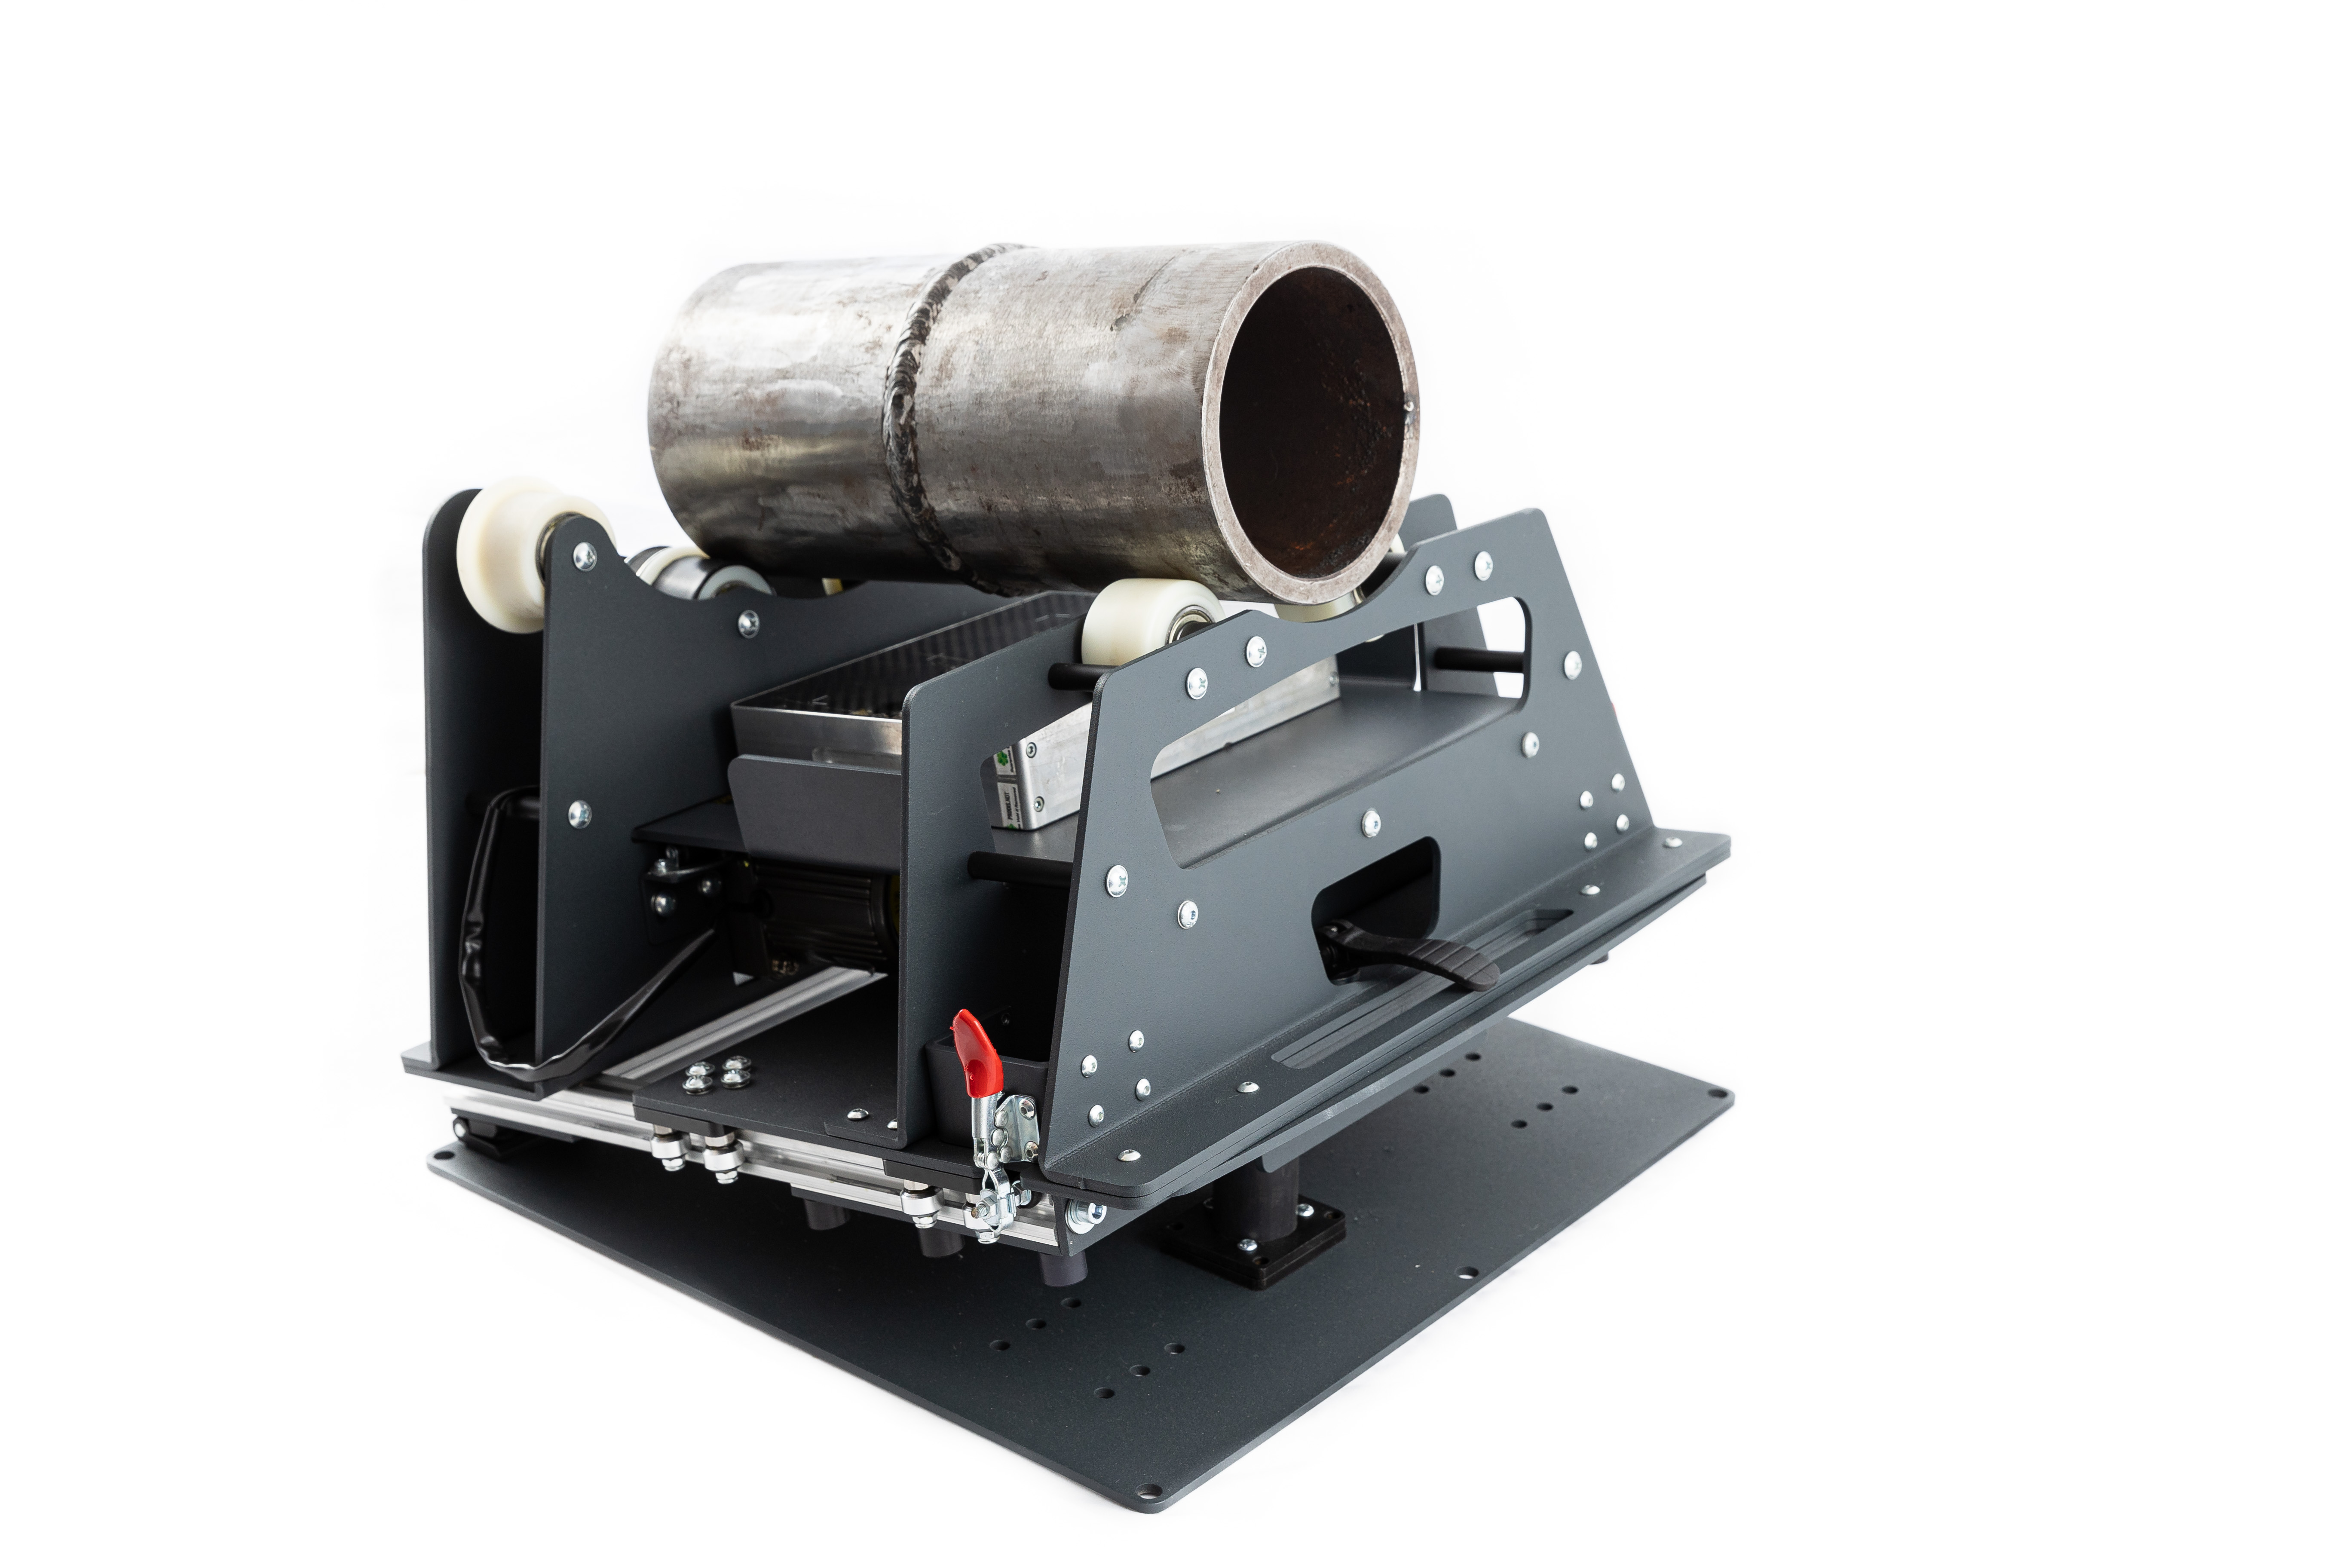
Control welded joint rotator
Provides circular movement of the object under control in accordance with the specified modes:
the speed of rotation, the number of stops, the pause time required for the exposure.
RII MNPO SPEKTR
Moscow
Produced in: Moscow
