Language selection
В настоящее время портал работает - ведутся технические работы.
Catalog
Search
23 products
View:
23 products
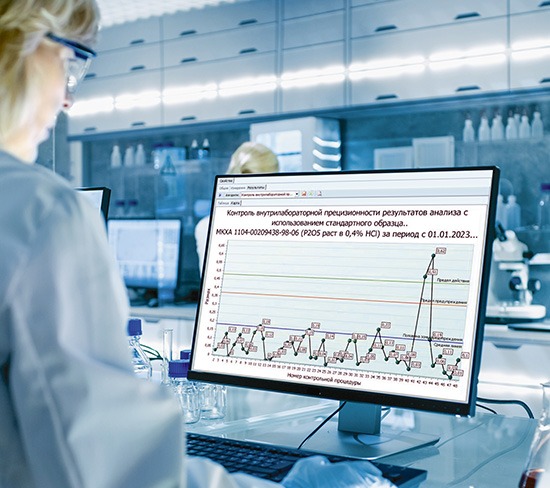
Laboratory Information System (LIMS/LIMS/LIS) I-LDS
LIMS I-LDS significantly increases the efficiency of laboratories, allowing consumers of laboratory data, including production units, to be confident in meeting the quality requirements imposed both on the laboratories themselves and on the entire production chain.
Being a source of data on qualitative and quantitative test results and characteristics of control objects, the laboratory information management system I-LDS provides an opportunity to integrate data in real time into dispatching systems and resource planning systems of the enterprise and the company.
The introduction of LIMS I-LDS is aimed at a qualitatively new level of laboratory service, increasing confidence in the results of work and significantly optimizing key business processes.
LIMS I-LDS is the information core of quality control of manufacturing enterprises:
It allows to improve quality control, ensuring uniformity in the performance of functions by laboratory staff;
reduces test execution time by automating calculation of measurement methods, reporting and preparation of quality documents;
guarantees timely provision of correct information to the management about the quality of the laboratory, receipt of integrated data by the information services of the enterprise in real time;
optimizes laboratory business processes by planning activities and rational use of resources (personnel, equipment, reference materials, reagents and auxiliary materials).
IndaSoft
Москва
Produced in: Moscow
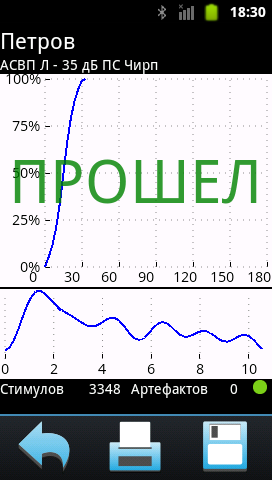
Software module for recording automatic auditory evoked potentials of AUDIO-SMART/ASWP
Automatic registration of auditory evoked potentials (ASVP) is recommended for screening in risk groups in order to identify patients with auditory neuropathy/desynchronization. The high frequency of stimulus presentation and Chirp stimulus ensure a high response rate. An improved algorithm for analyzing the response in the frequency range makes it possible to register the response in difficult conditions with a significant level of electromagnetic interference.
NEUROSOFT
Иваново
Produced in: Ivanovo
Hardware and software complex "Chameleon" for a comprehensive assessment of the quality of KSS
1 supp.
The use of the Chameleon complex will allow during a one-time installation of the object:
• to carry out visual and measuring control of the welded joint
to determine the required number of exposures at the specified values of the distance "radiation source-object of control", the size of the focal spot, the control class according to the standard GOST ISO 17636-2-2017
to measure intensity (gray level)/optical density at any point of the image
to display a histogram (distribution) of image intensities
to display a histogram of the intensity/optical densities of an arbitrarily selected segment or area in the image
to use digital filters to restore some of the useful information in the digital image
calibrate the "electronic ruler" according to the known dimensions of objects in the image (for example, the sensitivity standard)
to measure after calibration the linear dimensions of defects, the distance between defects, the distance between any points in the image
after calibration, to measure the linear dimensions of defects, the distance between defects, the distance between any points in the image calculate the area of defects measure the signal-to-noise ratio along the rectangle 22 by 50 at the point under the cursor determine the value of the basic spatial resolution SRb from the image of the double wire type standard
• to obtain an X-ray image of the welded joint in accordance with GOST ISO 17636-2-2017
• to perform measurements of the irregularities of the welded joint detected by the results of decoding
• to generate a conclusion based on the results of the control without an intermediate stage of fixing the results
Flat panel detector "Prodis.Mark"
technology: CMOS
scintillator: CsI
operating modes: static, dynamic (without the use of intermediate processes of "fixing" the radiation image)
the maximum energy of the radiation source is 300 keV
pixel size: 50 microns
the size of the active area: 12x15, 15x24 or 24x30 cm
Software – DICONDE Engineering solutions and technologies used in the manufacture of the detector allow: to ensure high data reading speed and low noise level; to meet the requirements for the quality of the resulting image according to GOST ISO 17636-2 for thicknesses in the range of 1.5-12 mm; to reduce by an order of magnitude the control time during exposure in real time (analog of the X-ray method)
Device for non-contact measurement of geometric parameters of a welded joint
It is intended for obtaining a digital model of the profile of a welded joint in real time and subsequent measurement of such parameters as: linear and angular displacement of edges, height and width of reinforcement, smooth transition from the main to the deposited metal, depth of undercuts.
The achieved measurement accuracy is 0.1 mm
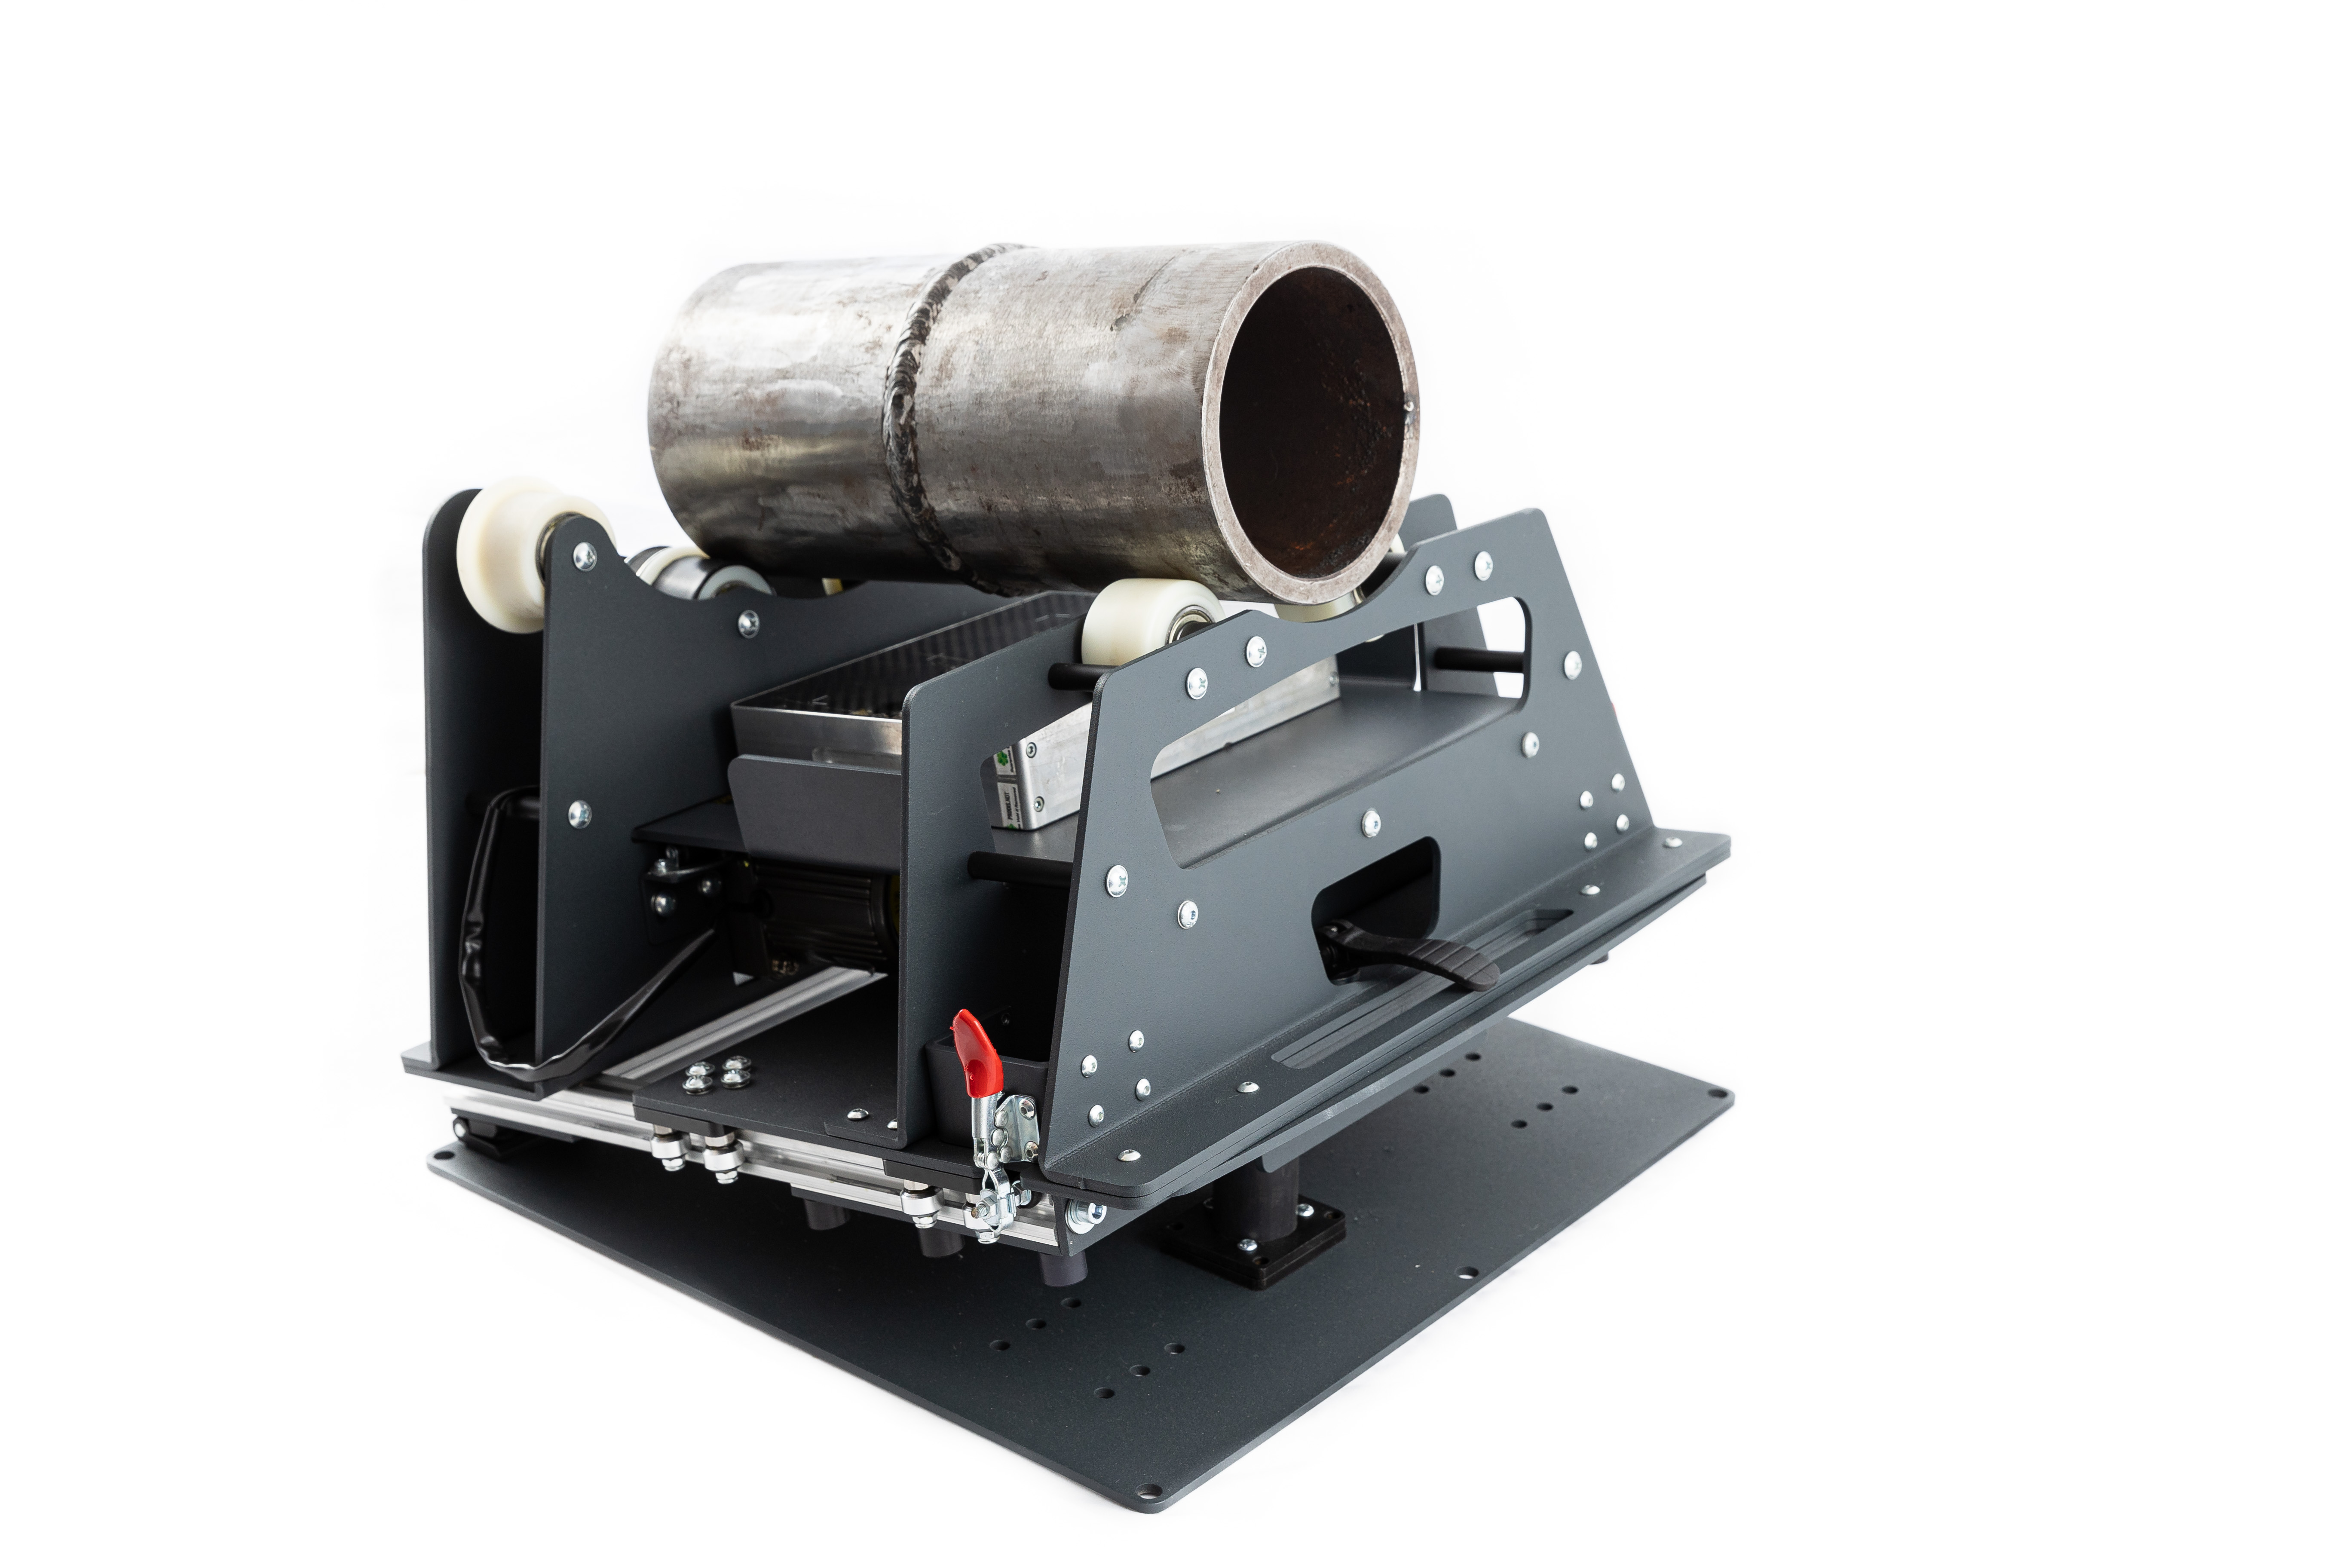
Control welded joint rotator
Provides circular movement of the object under control in accordance with the specified modes:
the speed of rotation, the number of stops, the pause time required for the exposure.
RII MNPO SPEKTR
Moscow
Produced in: Moscow
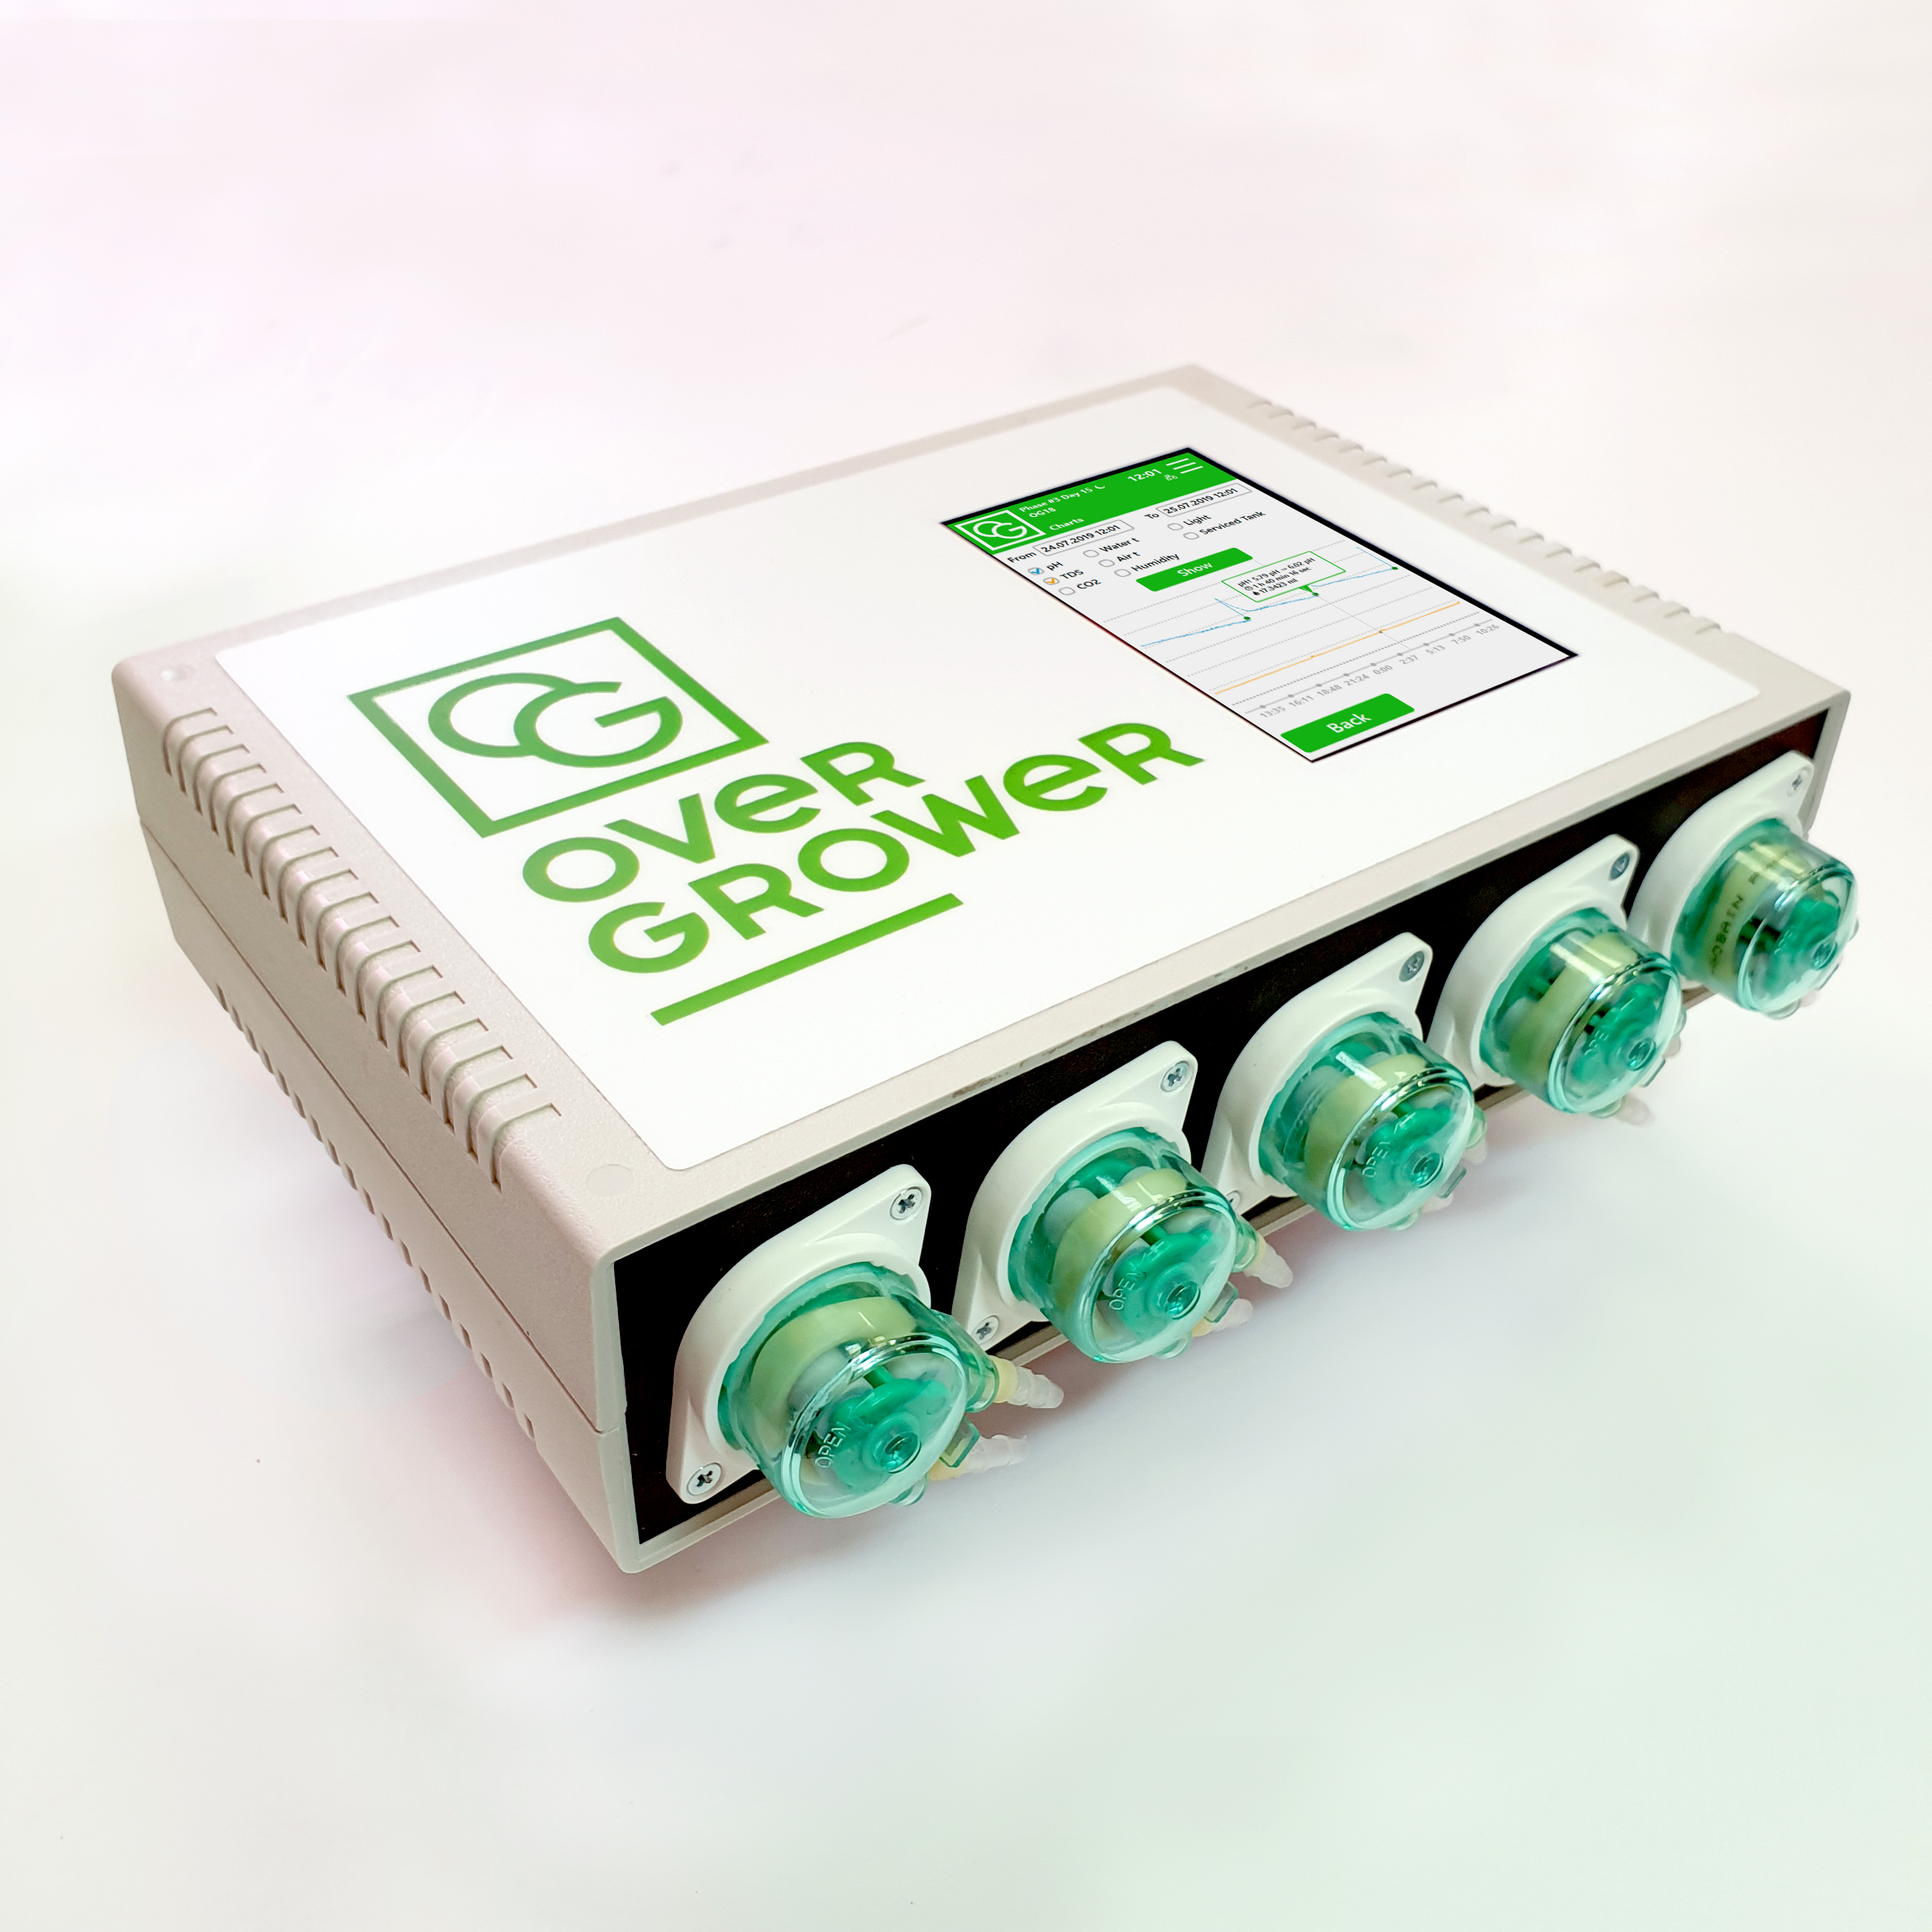
Automation Complex OVERGROWER
from
345 000 ₽
The new generation of OverGrower® solves 100% of the problems of multi-zone monitoring and control of hydroponic and aeroponic installation parameters.
Suitable for upgrading existing and new phytotrons, climate chambers, grow boxes, laboratories, greenhouses and greenhouse complexes - from an amateur farm to industrial production of crop products.
The OVERGROWER complex is a system for automating the cultivation of plants using aero- and hydroponics. The installation takes on all the tasks of multi-zone control and manages the corresponding system parameters itself.
Key Features: • Thanks to the automation of system parameters, the equipment allows minimizing the labor costs of the grower. This ensures production efficiency and optimization of management processes. • The best solution for environmentally isolated laboratories and city farming. • The computer agricultural system provides the agronomist with all the necessary functionality for simple, intuitive programming of all growing processes, and comfortable control from anywhere in the world!
Control of all necessary parameters, such as: - Acidity pH - mineralization TDS / electrical conductivity EC - Solution temperature - Volume of water in the tank, in liters and percentage - Air temperature of the plant habitat - Air humidity of the plant habitat - Illumination - CO2 concentration in the air - Connecting any devices via modules - Integration with any software (customization available)
Modularity: ❖ Expand the basic set by simply connecting additional Expansion Modules if you need more capabilities ❖ Unlimited number of connected expansion modules (sensors, dispensers, smart sockets, etc.) ❖ Up to 5 growing zones simultaneously - control of several habitats: solution tanks, microclimate, watering and lighting ❖ From 1 to 10,000 sq.m. in each growing zone - the control and management capabilities of the device ❖ Connection of expansion modules via cable up to 300 m ❖ Connection of expansion modules using AirGrow® technology up to 5 km
❖ Hydroponic and aeroponic cultivation in all variations is controlled by a universal device ❖ Built-in software with WEB application is provided free of charge ❖ Recommendations for growing ❖ Free growing profiles
Sovremennye Sistemy Vyrashchivaniya (SSV)
Novosibirsk
Produced in: Novosibirsk
HLA Fusion software for the integration and analysis of HLA typing data and the determination of antibodies to HLA
The HLA Fusion program allows you to analyze the data obtained using One Lambda kits for HLA typing and antibody detection. Fusion can be used in laboratory computer networks. The program works with data from LabScan 100 and Bio-Tek ELX800-NB devices. The user can adjust the "cut-off" values to refine the results and create their own work reports. A convenient database includes: complete patient information, antibody screening history (LABScreen, FlowPRA, LAT, LCT), genotyping (rSSO, SSP, SBT), serological typing (LMT, Terasaki Tissue Typing trays), KIR and MICA typing.
The program includes modules for analyzing the results obtained using the One Lambda kits: FlowPRA, Micro SSP, LABScreen, LABType, LAT, LCT, and Quantiplex microspheres. The One Lambda software is designed to facilitate the analysis of results and the determination of HLA. However, it should be remembered that the program is just an assistant and the results should be carefully checked by a specialist with HLA typing experience to confirm the correctness of the result.
Лабораторная Диагностика
Москва
Produced in: Moscow

Laboratory information system "Across-Clinical Laboratory" (LIS ACL)
With the help of LIS ACL, you can:
- register orders by means of barcoding;
- maintain databases of patients and samples;
- sort and distribute samples to workplaces;
- connect analyzers for automatic transmission of tasks to automate manual techniques;
- quickly generate worksheets of the required format for manual techniques;
- conduct quality control in accordance with Russian and international standards;
- to introduce rules for the appointment of additional studies, depending on the results obtained;
- customize the format for providing results in text or numeric form;
- quickly generate statistical reports on the following parameters/formats;
- add expert comments to the results of completed tests, select various forms of data printing;
- send research results by e-mail;
- view patient histories, including the dates of their visits and the results of the studies;
- to integrate with medical information systems and regional health information services;
- receive prompt technical support for the product around the clock.
Акросс-Инжиниринг
Москва
Produced in: Moscow

Software SIAMS AIM
Cross-platform software for creating models of the structure of materials by searching and recognizing objects using neural network algorithms.
The principle of the program: the user marks the objects of interest in the image, creates a training sample and sends the model for training. The models obtained in SIAMS AIM can be used in image analysis techniques, including in the SIAMS 800 program.
The client-server architecture of the program provides the possibility of teamwork by configuring access rights and roles for simultaneous work with the project. Remote work in the program of specialists from any geographical point is possible. They will only need a device with a web browser to work.
SIAMS AIM software is addressed to a wide range of users and does not require programming skills and special knowledge. The intuitive interface and the recommendations of the developers allow you to master the skill of self-learning a neural network for recognizing objects in microscopic images.
SIAMS
Екатеринбург
Produced in: Ekaterinburg
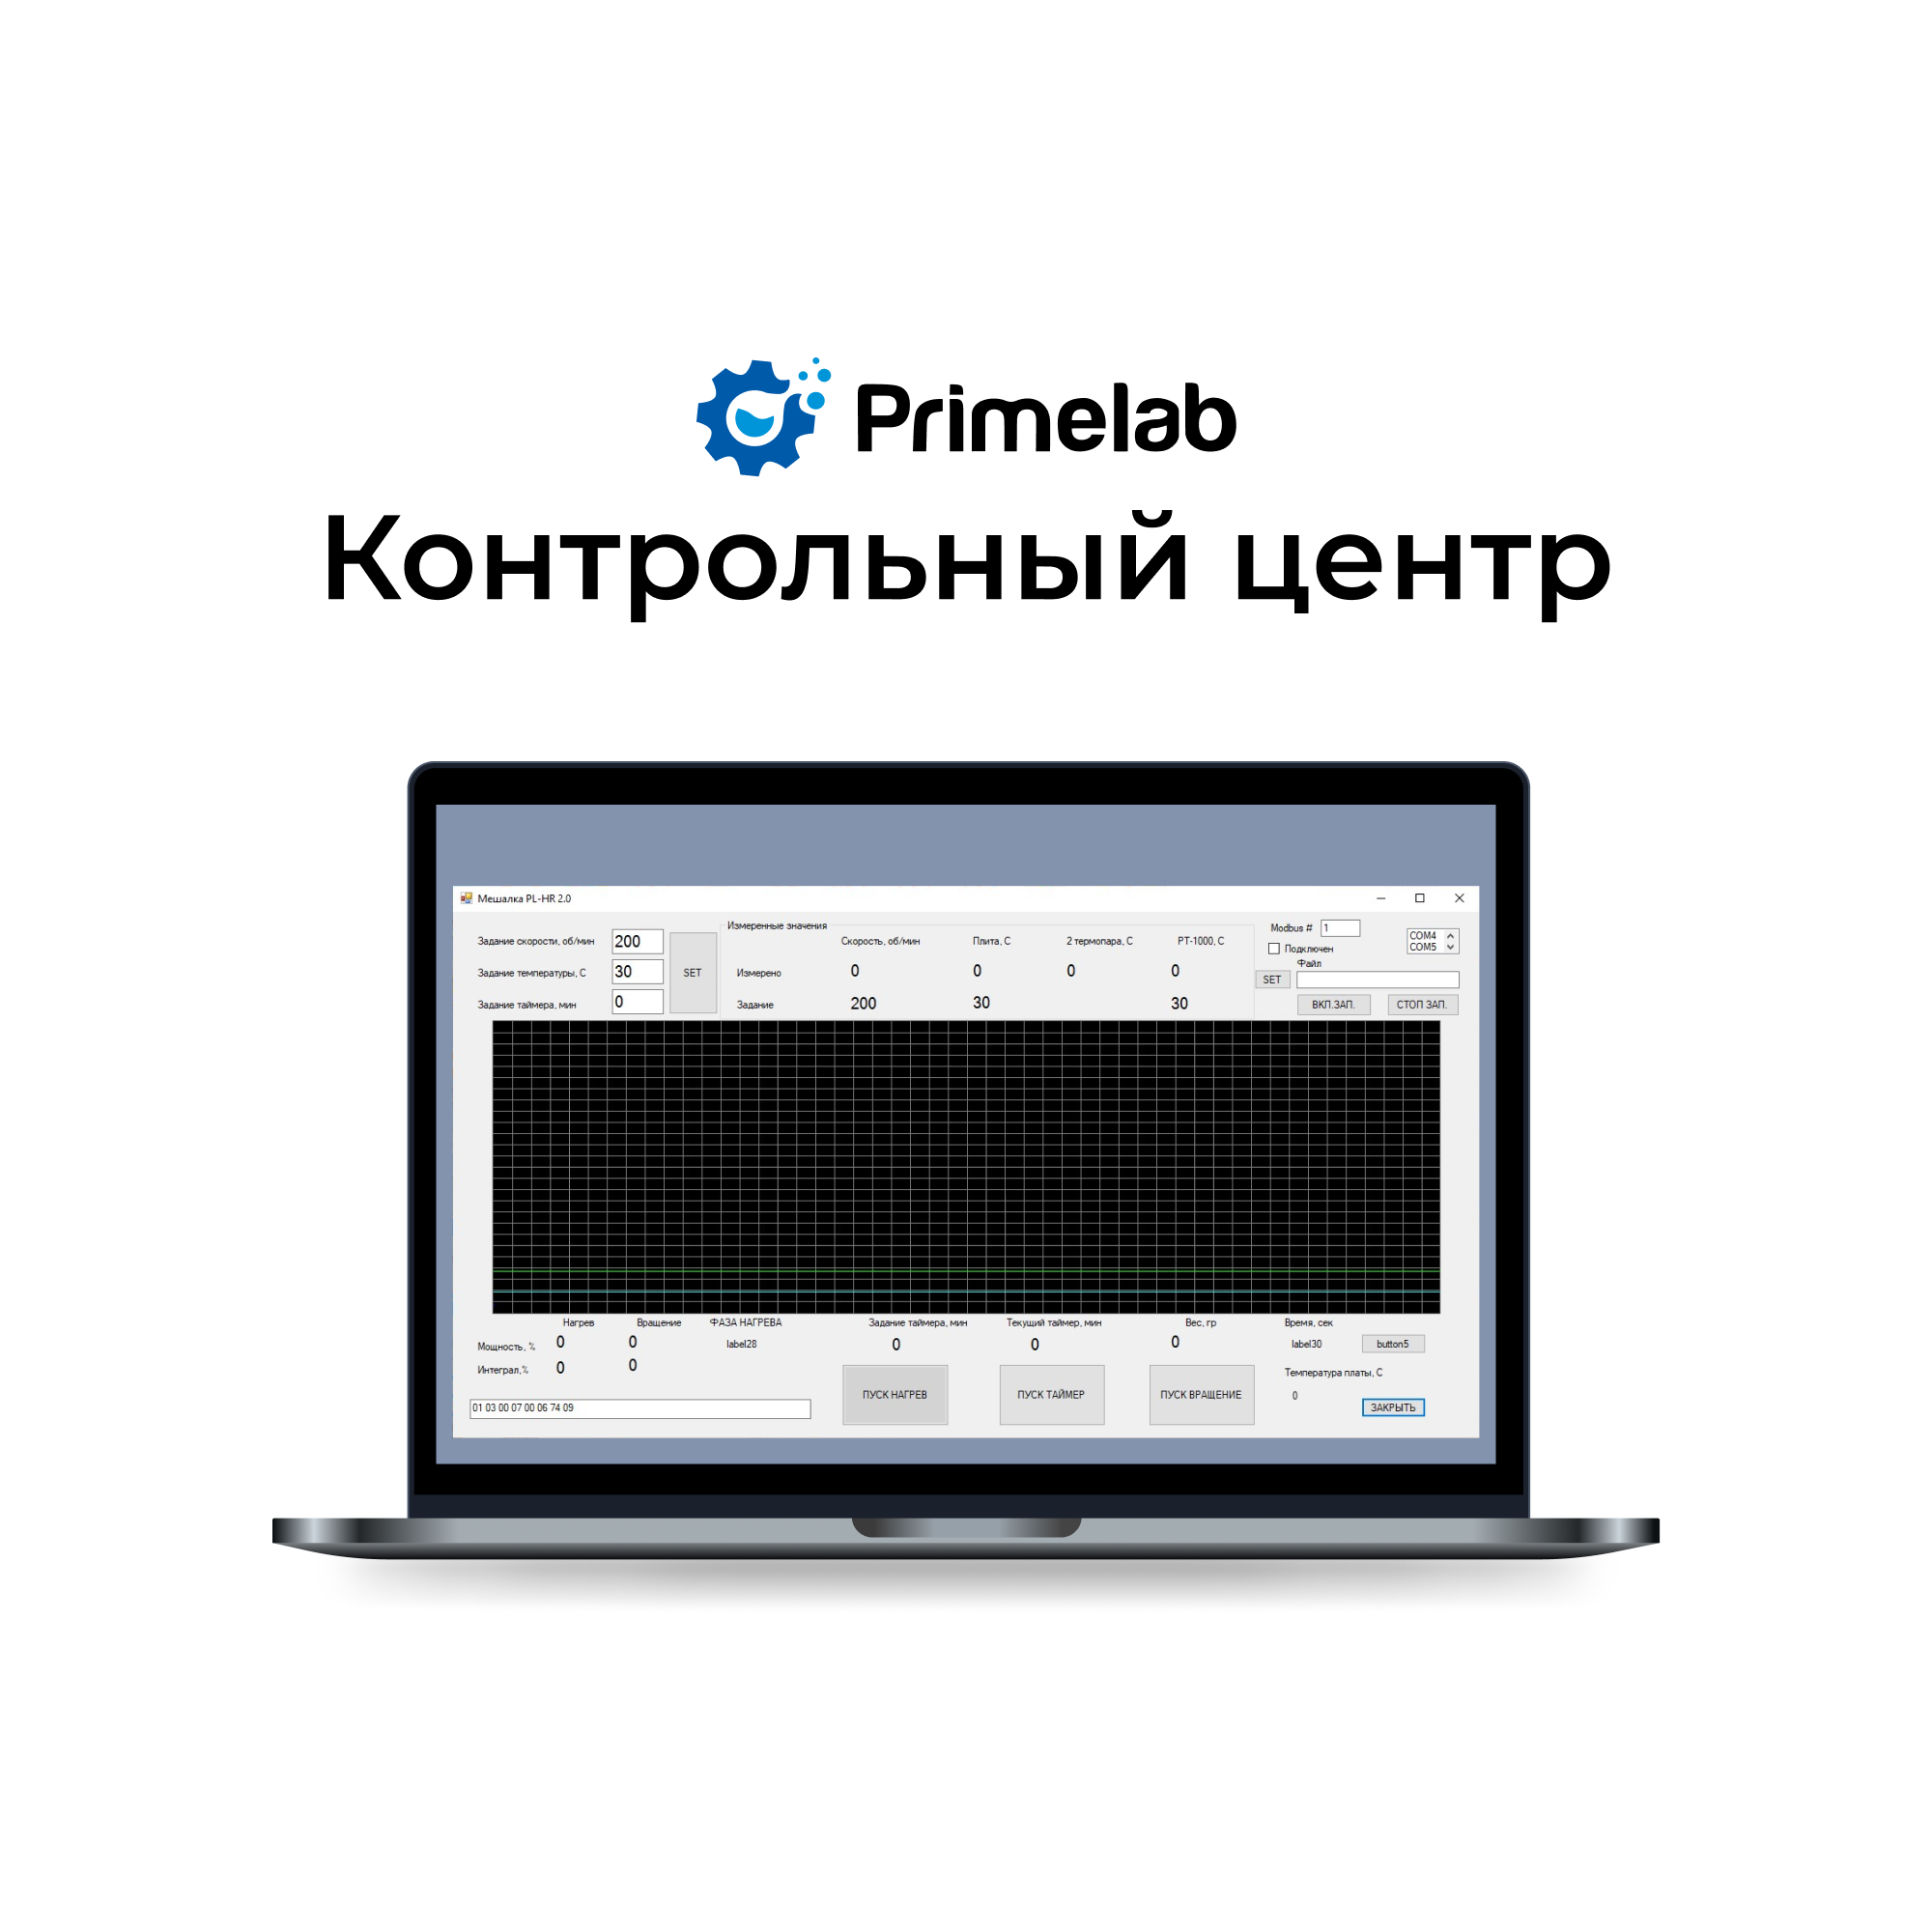
Primelab "Control Center" software
from
50 000 ₽
"Control Center" is a computer program that not only helps automate workflows in the laboratory, but also allows remote control of Primelab equipment.
Advantages of the Primelab "Control Center" software:
Automation of laboratory and production workflows.
Control and management of groups of equipment.
Accurate display and transmission of device operating parameters.
Intuitive interface and easy operation.
PC connection to laboratory equipment via port (RS485, USB).
Parameter storage.
Easy addition of new equipment.
Capabilities of the Primelab "Control Center" software:
Display of current parameters and settings.
Logging of current parameters.
Remote control of various types of Primelab equipment.
Creation of custom equipment operation scenarios.
Generation of graphs and reports.
Use of saved data in third-party software.
Thus, the "Control Center" makes laboratory work efficient and convenient for staff. It handles routine operations, allowing employees to focus on more important tasks. Additionally, the accumulated data can be used to improve processes and gain new insights.
Note: Interface modules for equipment are supplied and billed separately.
Primelab
Mytishchi
Produced in: Mytishchi

SNP TOOLBOX - Genomic variations
Our tool helps:
quickly obtain comprehensive information on each variation (genes, risks, diseases)
, select the variations of interest, use software filters (by disease, by position in genes/chromosomes, by damaging effect, by occurrence, as well as unknown ones)
to visualize the variations of interest in detail
Variations can be uploaded in any available format (vcd, gvf, ...) obtained in any study, be it sequencing, PCR diagnostics or microchip analysis. Each uploaded variation is compared with a combined database collected from supervised open world sources (UCSC, OMIM, GAD,...), and the summary information is provided in a single block. You can select different lists from the uploaded variations that meet the search criteria. The report can be printed either by a list of variations or individually.
Produced in: Novosibirsk

Criterial analysis of 2D cellular structures
Criterion Analysis of 2D Cell Structures (CritACS) software offers a scientifically proven and automated approach to analyzing your microscopic images. It can be used to study the effects of drugs, biomaterials, and medical devices on cell growth and viability, and to assess material biocompatibility.
Key Features and Benefits:
1. Quantitative Assessment of Spatial Organization:
Ultrametric Index (U-Index): Objectively measures the degree of order or randomness in cell arrangement. Allows for the detection of clustering, uniform distribution, or abnormal growth patterns.
Shannon Entropy: Assesses the uniformity of cell distribution across the culture surface area. A clear indicator of growth homogeneity.
d-Criterion: An additional parameter for analyzing cell density and distribution.
2. Viability Analysis: Easily label live (red marks) and dead (blue marks) cells in the image.
3. Local Analysis (Gradients): key metrics (entropy, d-value) are analyzed for specific regions of the image, rather than for the entire image (identify areas with growth anomalies (e.g., edge effects in wells) or local differences in the culture).
4. Ease of Use:
• Works with standard image formats (JPG, PNG, BMP).
• Intuitive interface for loading images, labeling cells, and running calculations.
• Automatically saves results.
Move from subjective assessments to accurate data! CritACS provides you with a powerful tool for quantitative analysis of cell cultures, increasing the reliability of your research and accelerating results. Request a demo or contact us to purchase.
СамГМУ
Самара
Produced in: Samara

CADLib Personal Model
The CADLib Personal model allows you to check both the geometric characteristics of a 3D project and the attributes, structure and completeness of information on objects without access to the database server. Provides simple and secure data transfer of BIM models of large objects, as well as performing verification and analysis of this data.
The freely distributed cross-platform CADLib Personal Model software is part of the Model Studio line and allows you to open and view super-large projects downloaded from the CADLib Model database and Archive in MLT format, as well as in the widely used IFC format. The new software core allows you to quickly download large amounts of data and increase the speed of working with them. The system allows you to view and display the components of the project structure and all the attribute data of objects. Improved visualization tools include viewing the project from a third person with a realistic avatar for visual verification of the project. In addition to callouts and measurements, geometric shapes have been added to annotations. The ability to transfer annotations using the XML format.
Сисофт Девелопмент
Москва
Produced in: Moscow
