Catalog
Search
16 products
View:
- Selected: 0Areas of use
- Selected: 1Item names
- Selected: 0Manufacturer
- Selected: 0Made in
- Selected: 0Additional
View:
16 products
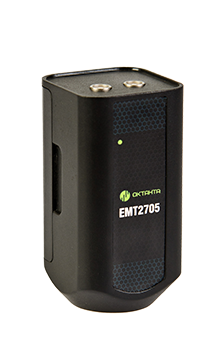
Active Electromagnetic-Acoustic Converter EMT2705
from
74 900 ₽
Oktanta
Saint Petersburg
Produced in: Saint Petersburg
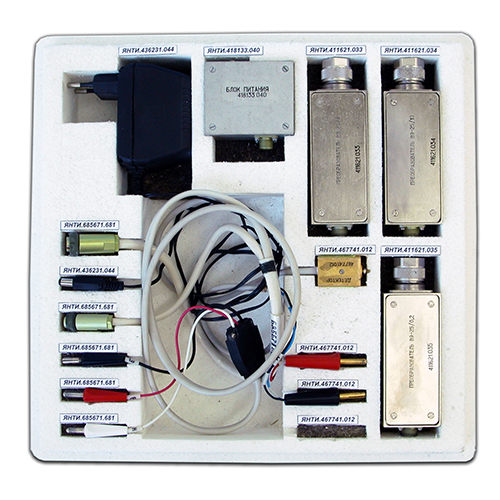
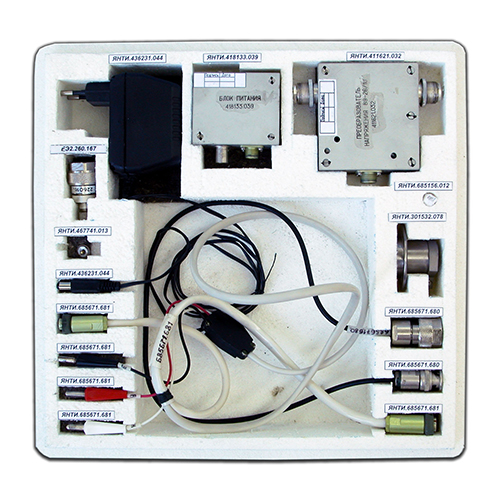
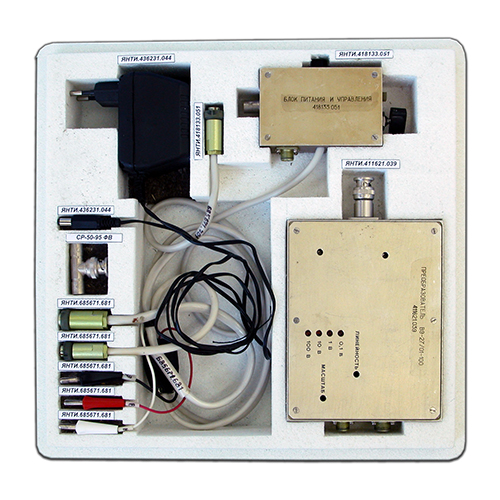
Voltage converter V9-26
Together with the conversion unit, a network AC-DC adapter module is supplied, as well as an intermediate power supply module.
NNPO im. M.V.Frunze
Nizhny Novgorod
Produced in: Nizhny Novgorod
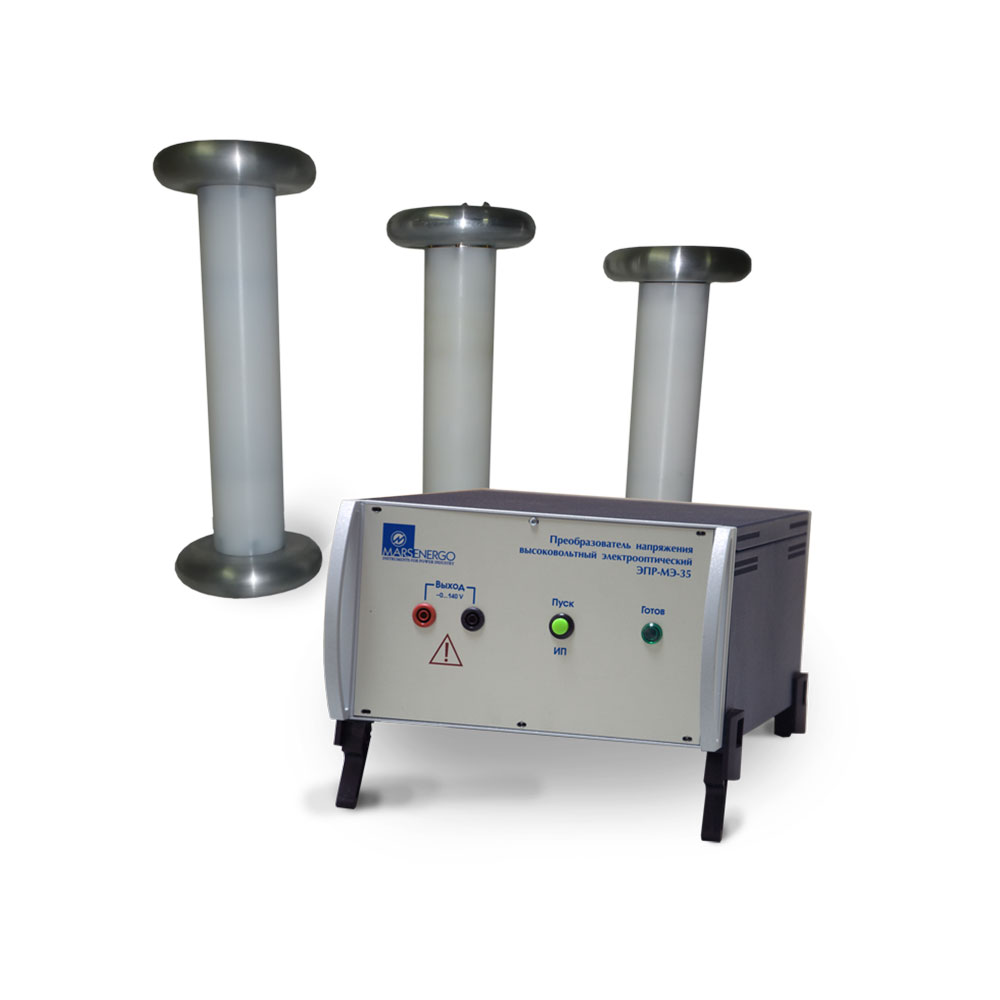
KRISMARS VT Optical Voltage Measuring Converter
Marsenergo
Saint Petersburg
Produced in: Saint Petersburg
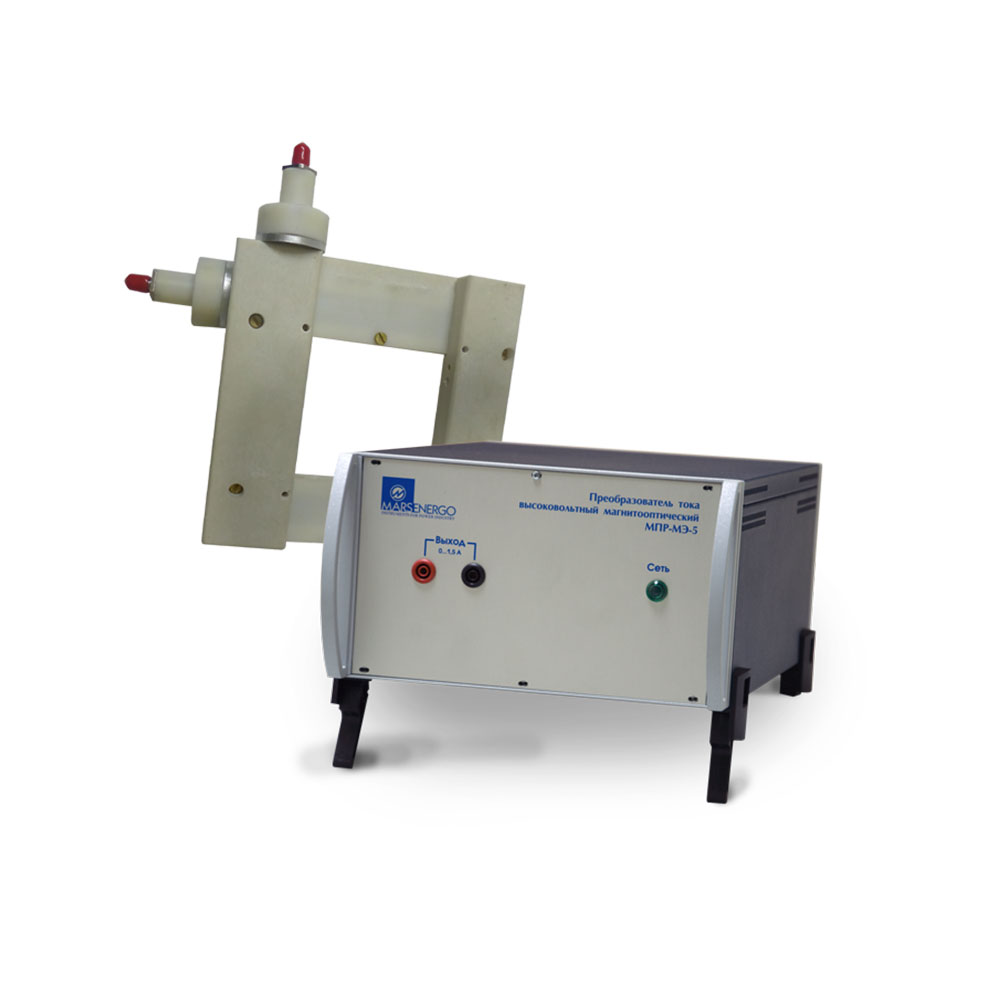
KRISMARS CT Optical Current Measuring Converter
Marsenergo
Saint Petersburg
Produced in: Saint Petersburg
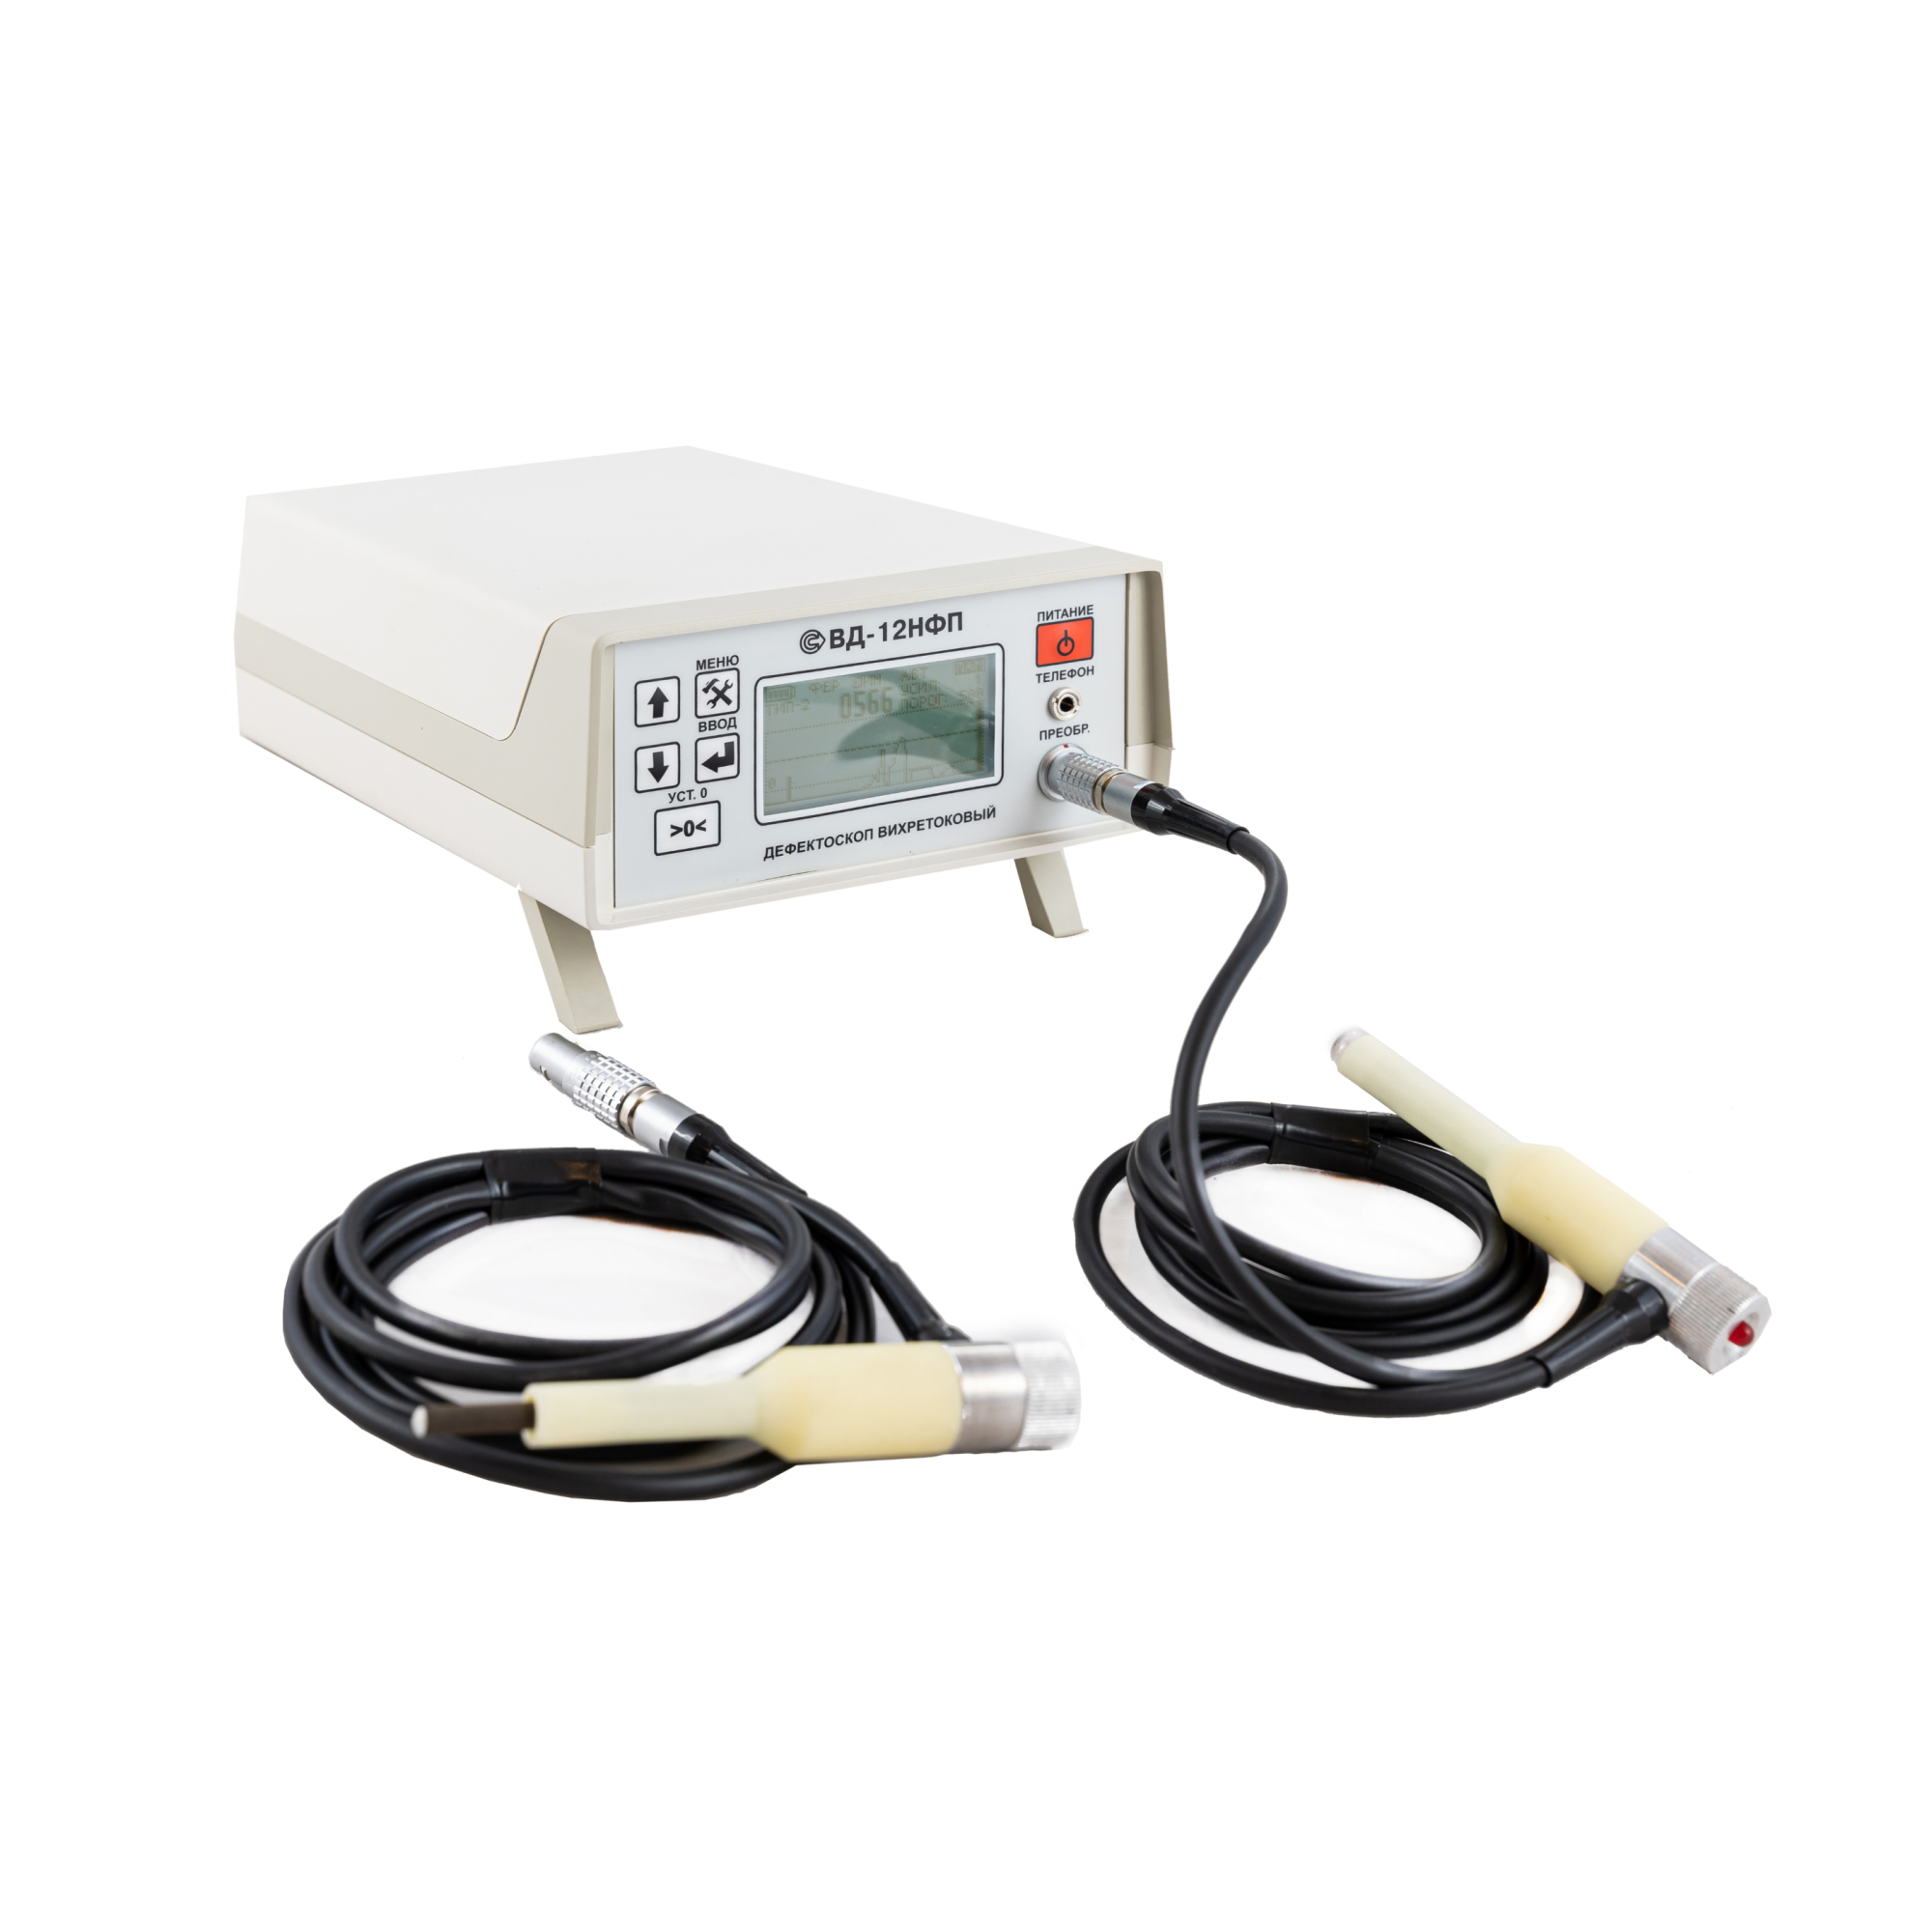
VD-12NFP Eddy Current Flaw Detector with 2 converters
from
292 500 ₽
The device allows you to detect surface defects like cracks, visualizing the signal from the continuity interruptions on the display. The design of the flaw detector allows to determine with high reliability the exact location and depth of defects even on rough surfaces of flat and curved shape, including under a layer of corrosion or in the presence of a protective coating of the controlled area of the product with a thickness of up to 3 mm.
The principle of operation of the VD-12NFP eddy current flaw detector:
The principle of operation of the VD-12NFP eddy current flaw detector is based on the phenomenon of electromagnetic induction. An alternating magnetic field created in the primary coil of the converter by means of a sinusoidal voltage generator excites eddy currents in the controlled product. A parasitic magnetic field formed by eddy currents at the locations of defects affects the measuring unit (two signal coils connected in series) of the converter, creating an electromotive force in it. The amplitude and phase of the secondary signal carries information about the properties of the defect and the position of the transducer relative to the surface of the controlled product. The output signal from the measuring unit of the converter, after amplification and processing using a microprocessor, is displayed on the readout of the device, and is also stored in the memory block for subsequent transmission to a personal computer. In addition, information about the defects is displayed on a piezoelectric bell used as an audio indicator.
Design, features and advantages of the VD-12NFP eddy current control device:
The VD-12NFP eddy current flaw detector is a portable device capable of working both in a desktop and in a suspended position in a special bag-case. This ensures convenient operation of the device in a variety of conditions: in the laboratory, in the factory shop or during field tests. The flaw detector consists of an electronic unit with controls and display of test results, as well as three replaceable converters with wear-resistant corundum tips connected to the electronic unit using a connector. The choice of the desired converter depends on the magnetic properties of the material. For the control of parts with grooves, a converter with an inclined tip is offered. The device is powered by 4 AA batteries located in the battery compartment of the electronic unit.
The advantages of the flaw detector include:
- a screen for visualizing the signal during measurement;
- light weight and compact dimensions that allow you to use the device in almost any conditions;
- the ability to control the quality of products of various curvature and surface roughness even in the presence of a protective coating or a layer of corrosion;
- wear resistance of converters, which is important when monitoring products with increased surface roughness (up to Rz£320);
- automatic detection of the type of converter when connected, as well as the presence of built-in memory for storing control results;
- the possibility to transfer data to a personal computer for storing or printing control protocols.
Scope of application:
Portability, high productivity, the ability to work with curved and rough surfaces, as well as the fact that the operation of the flaw detector is practically unaffected by humidity, pressure and contamination of the gas environment or the surface of the controlled product with non-conductive substances ensure the versatility of the device for detecting cracks in various materials.
The eddy current flaw detector VD-12NFP is actively used in heavy industry for diagnostics of metal structures, assemblies and mechanisms for various purposes in factory workshops or laboratories, including at enterprises of railway transport, automotive industry, mechanical engineering, pipelines and metal structures.
The VD-12NFP flaw detector can be used with equal success in the field, factory workshops, depots, laboratories and workshops to monitor the current condition, as well as to assess the degree of wear, the possibility and duration of further operation of such products made of metals and alloys as over-spring beams, wagon wheels, auto coupler housings, side frames, wheel couples and others.
Distinctive features:
• control of parts with surface roughness up to Rz320 due to wear-resistant corundum tips;
• assessment of the degree of danger (depth) of the defect;
• automatic detection of the converter type;
• microprocessor control;
• 5 universal programs for saving settings;
• capable of detecting defects with a depth of 0.3 mm
• The angle of deviation of the converter from the normal to the working surface up to 60°
• Operating frequency of 70 kHz;
• Maximum working clearance of 3mm;
• visualization of the signal from the defect;
• built-in memory for storing control results
• Equipped with a Bluetooth 2.0 wireless communication module, which allows you to transmit control results and control the flaw detector at a distance of up to 20m;
• The possibility of forming a control protocol based on the data transmitted to the PC;
• Temperature range from 0°C to +40°C;
• The design allows you to work with the flaw detector without removing it from the bag-case.
Basic kit:
Ia5.173.016: 1 electronic unit
Ia5.125.031: 1 converter, type 1; marked as (•)
Ia5.125.030: 1 converter, type 2; marked as (••)
Ia2.706.002: the KOIDZ-VD set of samples with a passport (consisting of:
Ia8.896.034: 1 piece;
Ia8.896.035: 1 piece;
Ia8.896.035-01: 1 piece) - A certificate of verification.
4 AA batteries
1 charger
1 small-sized phone
1 CD with software
1 special key
1 bag-case
A calibration certificate is issued for the VD-12NFP flaw detector.
1 passport
1 operating manual
1 calibration instruction
RII MNPO SPEKTR
Moscow
Produced in: Moscow
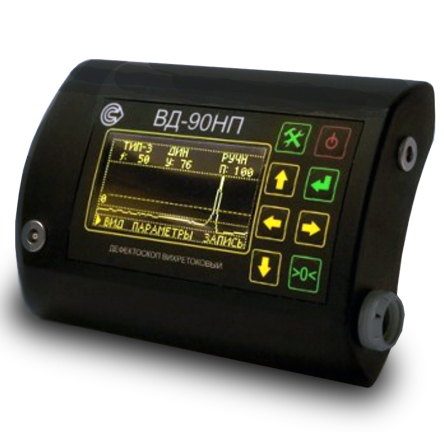
VD-90NP Eddy current flaw detector in the basic configuration
from
398 250 ₽
The principle of operation of the device:
The principle of operation of the flaw detector is based on the excitation of eddy currents in the controlled product and the subsequent release of a signal at the output of the converter, the amplitude and phase of which are determined by the secondary field of eddy currents.
Design features and advantages of the VD-90NP flaw detector.
The device has a small-sized case, which ensures its lightness, ergonomics and allows you to mount it on your belt or on your arm. The measurement is performed using a remote converter connected by a flexible cable. There are several types of converters for eddy current flaw detection of products made of different materials and different geometries. The large and bright display displays the selected operating modes and measurement results in text and graphic form. The VD-90NP is also characterized by:
high sensitivity (it detects cracks starting from 0.1 mm in size);
dust–and-moisture-proof housing, which makes it applicable for work in the field;
large operating frequency range;
maximum working clearance up to 10mm;
Bluetooth connection;
the ability to control products with high surface roughness, up to Rz320 class;
light and sound indication of defect detection;
wide operating temperature range from –30°C to +50°C;
autonomous low-voltage power supply;
long continuous operation time from one set of batteries;
compliance with the standard GOST R ISO 15549-2009 (ISO 15549:2008).
The use of a microprocessor-based hardware and software platform provide it with the following operational characteristics:
automatic adjustment when measuring conditions change, including compensating the influence of the gap;
built-in calibration modes;
saving the measurement results in the internal memory of the device;
a large number of stored programs: sets of parameters and measurement modes, both preset and saved by the user so as to repeatedly monitor the same type of products;
The Bluetooth 2.0 wireless communication module allows the device to be used in conjunction with an external laptop or mobile device for remote control, transmission of measurement results for further storage, printing, documentation and analysis.
Scope of application:
The eddy current method is suitable for non-destructive testing and detection of microcracks in products and parts made of any metals and alloys of complex shape, with high surface roughness, through non-conductive coatings, as well as for checking welded joints. The flaw detector can be used to control parts and assemblies of aviation equipment.
The VD-90NP eddy current flaw detector is used for quality control and preventive examination of:
- components and parts of rolling stock at railway transport enterprises: wheel sets, auto coupler housings, side frames, spring beams, labyrinth rings, pulleys;
- pipes, profiles, rods at rolling mills at the output control, and at the input control of consumers of products;
- products made of aluminum and titanium alloys with multilayer coatings at enterprises of the aviation and aerospace industry;
- cables, beams, critical components of equipment (cranes, lifts) in construction;
- main pipelines in order to detect stress corrosion.
A wide range of operating temperatures, dust and moisture protection (IP54 degree of protection), autonomous low-voltage power supply, a long time of continuous operation of the device allows it to be used in the field at low temperatures and under precipitation (rain, snow).
Basic kit:
• 1 electronic unit for the VD-90NP eddy current flaw detector;
• 1 Ia5.125.052 (Type-2) eddy current converter;
• 1 converter cable;
• 1 charger with batteries;
• 1 hand strap;
• 1 Ia8.896.104 sample with artificial defects;
• 1 Ia8.896.035 coating sample;
• 1 storage and carrying case;
• 1 documentation set.
RII MNPO SPEKTR
Moscow
Produced in: Moscow

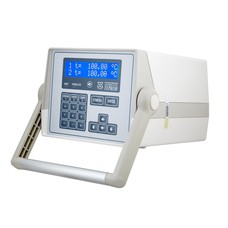
TS and TP signal precision converter TERCON
Platinum or copper resistance thermal converters with standard or individual calibration characteristics, thermocouples with HCX (types) can be used as primary temperature converters: B (PR30/6), E (HCn), J (LCn), K (HA), L (HC), N (CC),R (PR13/0), S (PR10/0), T (MCs) with standard calibration characteristics according to MTSH-90, as well as reference thermocouples of the CCI and TPR types with individual calibration characteristics.
Overall dimensions 210x210x240 mm
Weight 2.5 kg
Power consumption 12 W
Termeks
Tomsk
Produced in: Tomsk
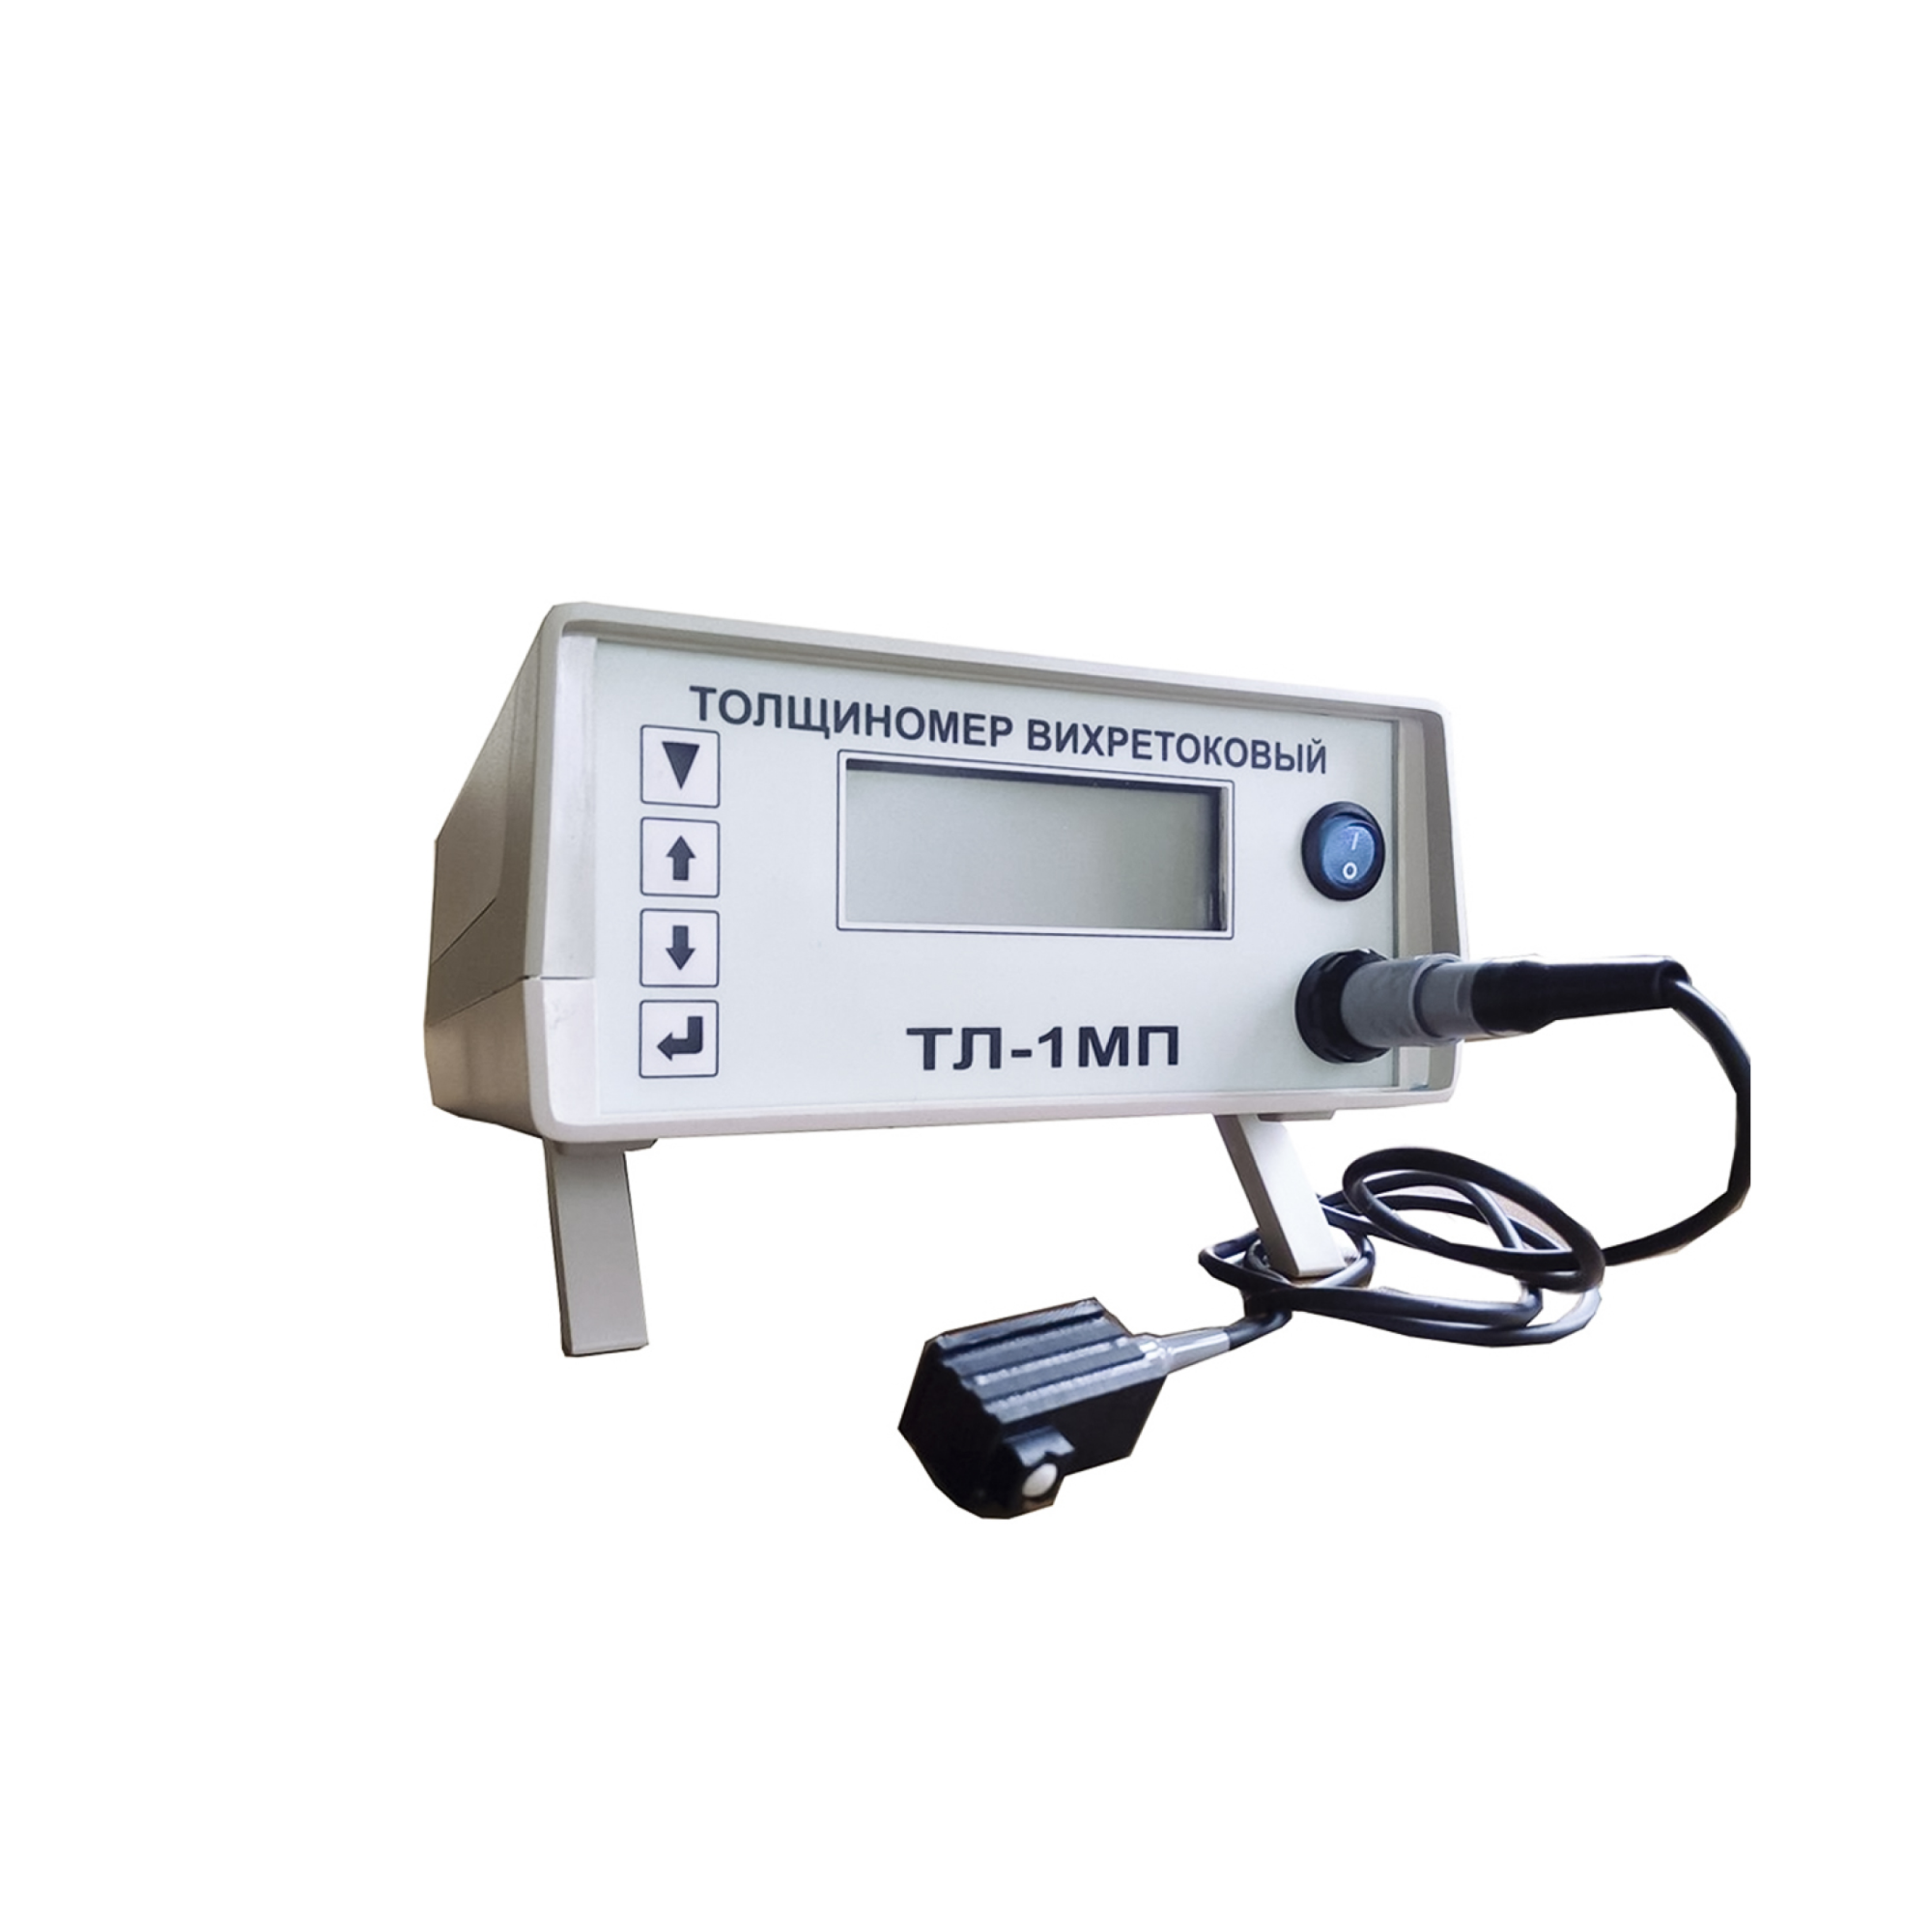
TL-1MP Eddy Current Thickness Gauge
from
1 110 000 ₽
The principle of operation of the electroplating thickness gauge:
A converter with an induction coil on a ferrite core generates a high-frequency signal (frequency 1 MHz), which is used to create an alternating magnetic field. As the converter approaches the conductive surface, an alternating magnetic field creates eddy currents, the magnitude of which depends on the characteristics of the metal base and the thickness of the coating. In turn, eddy currents create their own electromagnetic field, which can be received by an induction coil. The resulting signal enters the amplitude detector, after which it is transmitted to the processing unit, where it is digitized and displayed on the device readout. In addition to signal conversion, the processor is used to set the required gain, as well as the initial voltage offset, depending on the characteristics of the materials in the controlled object.
Features of the device design and advantages of the measurement method
The TL-1MP eddy current thickness gauge consists of an electronic unit with a display, a power supply and a converter. The device is controlled using four buttons located on the front panel of the electronic unit. The converter can be disconnected from the electronic unit during transportation or for convenience of storage. The advantages of the device include:
- convenience and ease of operation;
- small size and light weight, allowing the TL-1MP to be used in difficult conditions with limited access to the controlled area of the facility;
- high measurement accuracy;
- factory setting of the measuring instrument to the customer's requirements;
- high degree of localization of defects due to the small size of the converter.
Scope of application:
The service life of metal parts and components of mechanisms used in mechanical engineering is largely determined by their resistance to corrosion and surface wear. However, not all metals are sufficiently resistant to external destructive influences. Therefore, various electroplating coatings made of zinc, nickel, chromium, cadmium, tin, copper, silver and other metals are used to protect them. Even small fluctuations in the thickness of protective coatings can significantly affect the performance characteristics of parts, their service life, and interaction with other components. Therefore, measuring the thickness of the metal coating applied by the electrochemical method is important when conducting quality control of products. The use of the TL-1MP eddy current thickness gauge allows non-destructive quality control of electroplating coatings on the surface of metal parts in mass production conditions with special requirements for product quality. The device detects even small mechanical defects, the effects of abrasion, erosion, corrosion on the surface. Due to its ease of use, efficiency and reliability, eddy current thickness measurement is a standard method of quality control of products with electroplated coatings in such industries as mechanical engineering, aerospace industry.
RII MNPO SPEKTR
Moscow
Produced in: Moscow
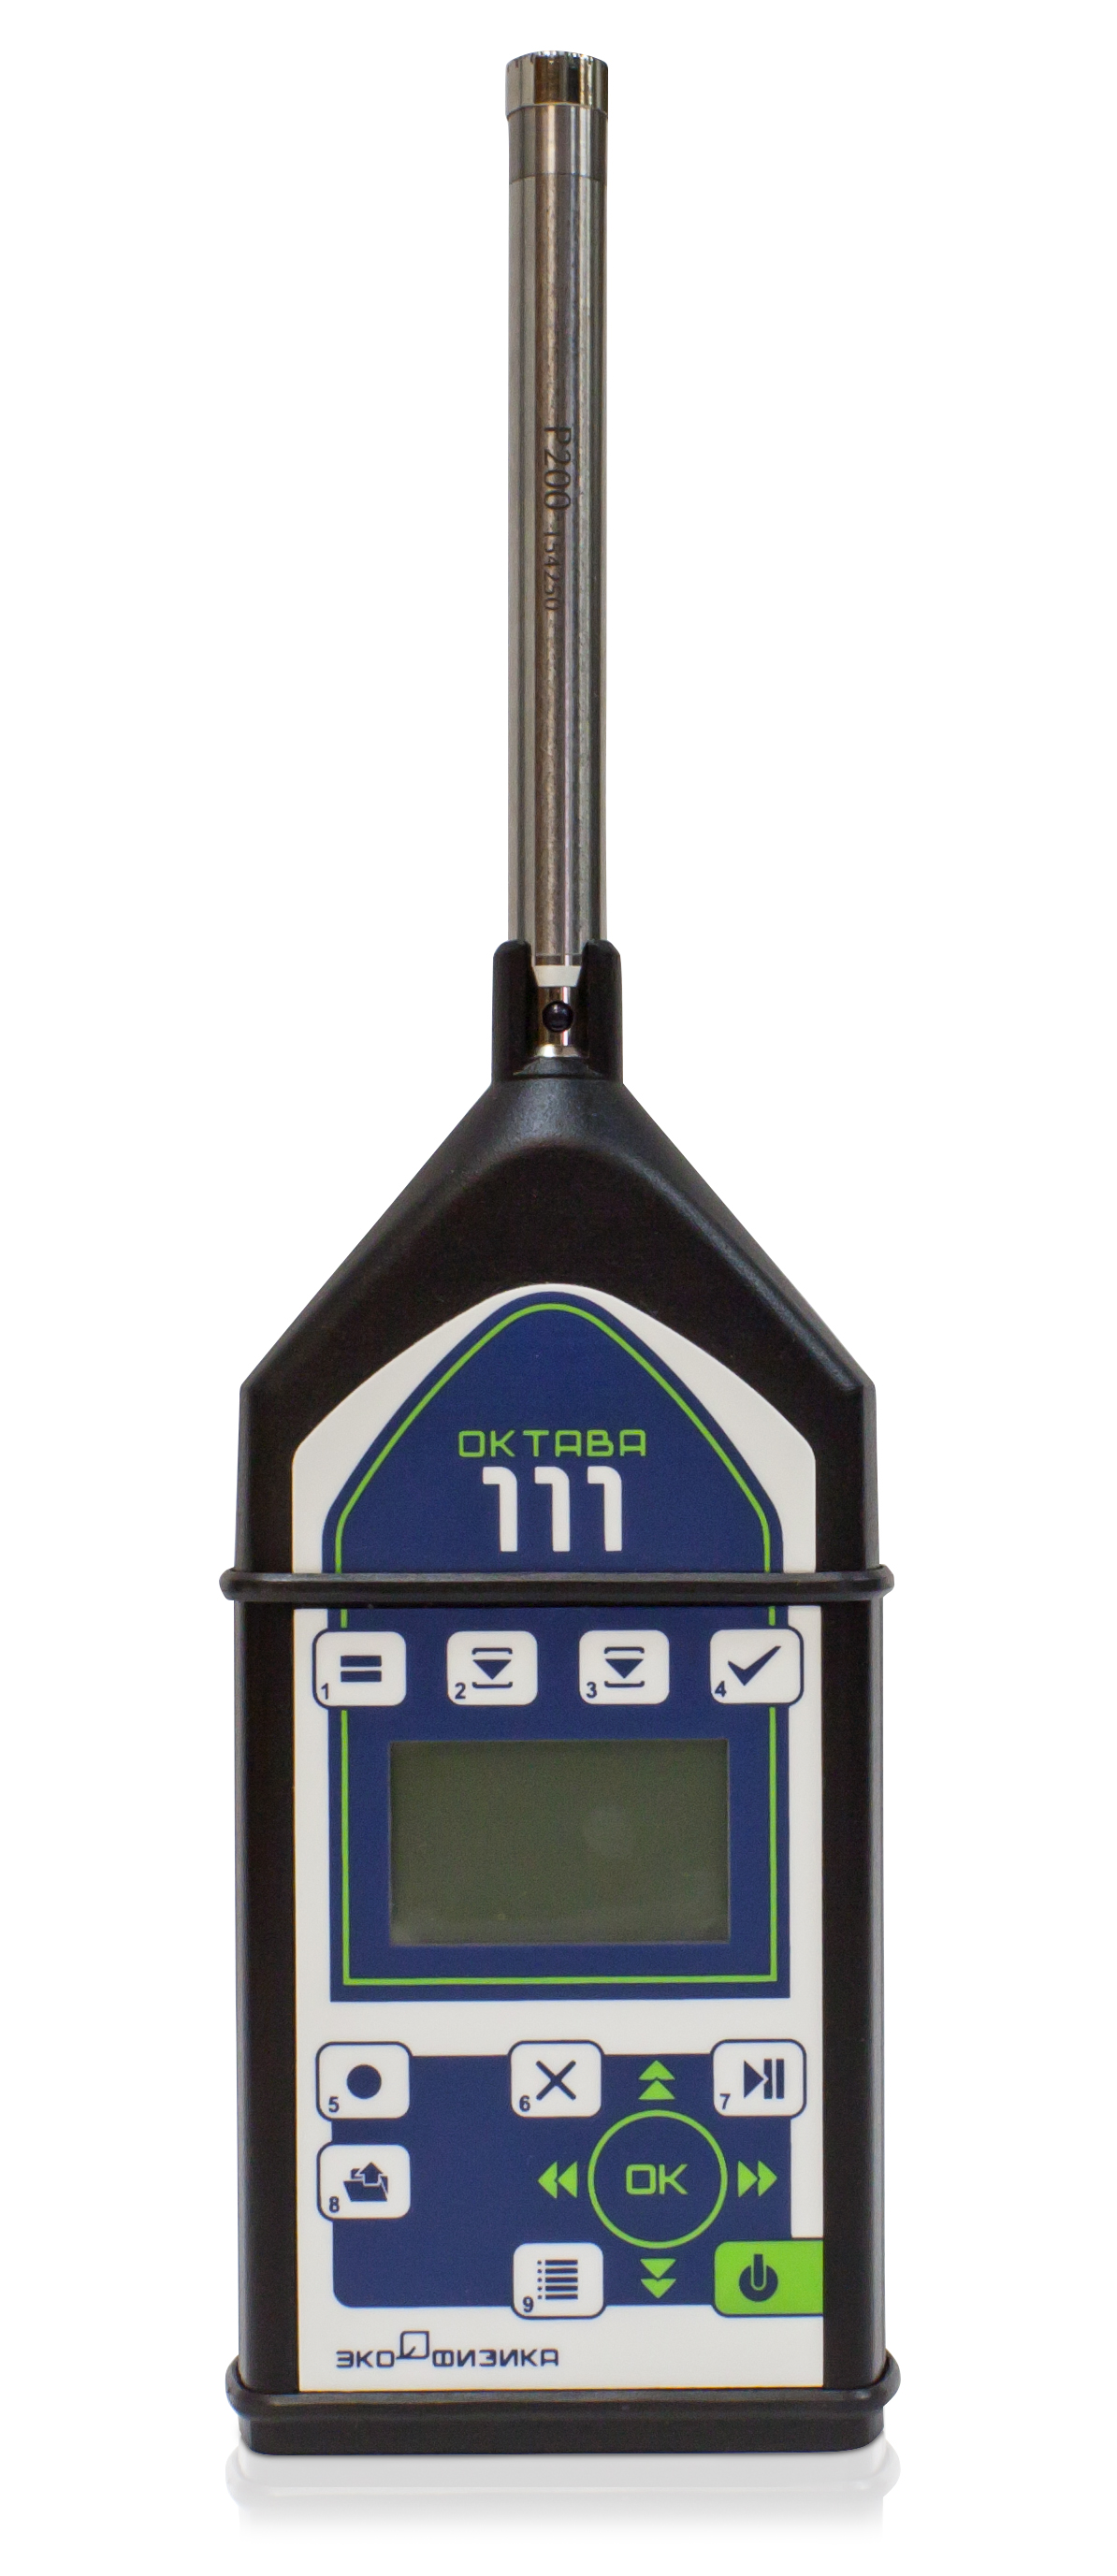
OCTAVE-111 Noise meter, spectrum analyzer
Functionality
■ Sound level measurement: Class 1 according to GOST 17187-2010, IEC 61672-1
■ Measures sound pressure levels in octave and third octave frequency bands
■ Has a metal body, resistant to external influences
■ Automatic recording of measurement results in memory
■ Non-volatile memory
■ Telemetry channel, remote control and operation of the device
Features
■ Easy setup: one measurement mode, all values are measured
simultaneously
■ Easy to manage: all results are grouped in two windows
■ Measurement of sound levels below 20 dBA
■ Affordable solution
Application areas
■ Noise control in residential and public buildings
■ Noise control on the territory of enterprises and residential buildings
■ Production control
■ Vehicle inspection
Complies with standards:
- as a noise meter: GOST 53188.1-2019 (17187-2010, IEC 61672-1), Class 1
- as a spectrum analyzer: GOST R 8.714-2010, IEC 61260 (Class 1)
Noise meter mode
- Measuring range of sound levels, dBA: from 19 to 150*
- Frequency characteristics: A, C, Z, AU, FI, G
- Time characteristics: S, F, I, Peak, Leq
* When equipped with 50 mV/Pa microphones and 12 mV/Pa
Spectrum Analyzer mode with constant relative bandwidth
- Frequency range of digital octave filters, Hz: 31.5 - 16000
- Frequency range of digital third-octave filters, Hz: 25 - 20000
PKF TSIFROVYE PRIBORY
Moscow
Produced in: Moscow
